Attic Conversion Flooring – Weight and Structure Guide
Changing your attic into a useful area starts by knowing the important points about attic flooring for conversion. In the Republic of Ireland, ensuring structural integrity is essential when choosing attic flooring materials, especially wood. This guide will discuss the key factors of weight and building rules for an attic project, helping you make smart choices that improve safety and appearance. Get started to improve your attic conversion process!
Key Takeaways:
1.
2.
3.
Contents
- Loft Conversion Costs and Structural Statistics 2024
- Understanding Attic Structure
- Weight Considerations for Flooring
- Choosing the Right Flooring Material
- Installation Considerations
- Regulations and Building Codes
- Maintenance and Safety Tips
- Frequently Asked Questions
- What is the recommended weight limit for attic conversion flooring?
- Can I install any type of flooring for an attic conversion?
- Do I need to reinforce the structure before installing attic conversion flooring?
- What type of flooring is best for attic conversions?
- Can I use the attic for storage after converting it into living space?
- Do I need a permit for an attic conversion flooring installation?
Benefits of Attic Conversions
Attic conversions offer many benefits, such as increased property value, better use of space, and improved insulation that can lower energy bills by up to 30%.
When contemplating an attic conversion, consider specific steps to maximize these benefits.
- Begin by checking the current state of your attic; make sure it is strong enough for conversion.
- Next, invest in high-quality insulation materials, like spray foam or rigid foam boards, to improve energy savings.
- It’s a good idea to talk with a building designer or contractor to create a welcoming layout that uses skylights for natural light, making the area more attractive.
This thoughtful approach can yield a functional area that serves as a home office or guest room, significantly adding to your home’s value.
Loft Conversion Costs and Structural Statistics 2024
Loft Conversion Costs and Structural Statistics 2024
Loft Conversion Cost Breakdown: Cost Distribution
Loft Conversion Cost Breakdown: Conversion Costs by Type
The Loft Conversion Costs and Structural Statistics 2024 dataset provides a detailed breakdown of the expenses associated with loft conversions and the cost variations based on different types of conversions.
Loft Conversion Cost Breakdown highlights the distribution of costs across various aspects of a loft conversion project. The highest expense is attributed to Builders/Contractors, accounting for 53.5% of the total cost. This large percentage shows the amount of work needed for loft conversions, which need experienced workers for jobs like framing, insulation, and finishing.
- Materials represent 30% of the total cost. These include essential items like wood, drywall, flooring, and windows, which are necessary for constructing and finishing the loft space.
- Architect and Plumbers/Electricians each make up 4.4% The cost emphasizes the importance of hiring experts to design and install the loft properly, so it follows building regulations and works well.
- Structural Engineer costs are 2.1%, reflecting the requirement for structural integrity assessments and engineering solutions to support modifications.
- Other Professionals, such as interior designers and surveyors, contribute 1.7% to the total cost, offering particular services to make the loft look better and comply with rules.
Conversion Costs by Type detail the expenses associated with different loft conversion methods. A Velux Conversion, which involves adding roof windows, is the most affordable at $30,000. This type is less invasive and requires fewer structural changes.
- Dormer Conversion costs around $42,000. This includes stretching the current roof to increase ceiling height and floor area, making it a common option for increasing functional space.
- Hip-to-Gable Conversion is priced at $60,000. This method converts a hip roof into a gable end, significantly increasing the loft’s size and creating more usable space.
- Mansard Conversion is the most expensive at $85,000. It involves altering the entire roof structure to create steeply sloped sides, maximizing the loft’s usable area and providing substantial additional living space.
The Loft Conversion Costs and Structural Statistics 2024 This dataset offers useful information for planning the costs involved in converting lofts. By knowing how costs are spread out and the expenses linked to different types of conversions, homeowners and developers can make choices that fit their budget and building needs.
Common Uses for Converted Attics
Converted attics are often used as extra bedrooms, home offices, or playrooms to meet the changing needs of today’s families.
-
For attic bedrooms, consider installing built-in storage under sloped ceilings to maximize sleeping space and eliminate clutter.
-
In a home office, use a corner desk to take advantage of natural light from any skylights, ensuring a productive atmosphere.
-
When setting up a playroom, use soft, colorful rugs and wall-mounted shelves for toys. This creates a safe and fun space.
Each design should focus on practical use while respecting the distinct structure of the attic.
Understanding Attic Structure
Knowing attic structures well is important for safe conversions, following building rules, and keeping the structure strong.
Types of Roof Structures
Common roof structures include gable, hip, and mansard roofs, each presenting unique challenges and opportunities for attic conversion projects.
Gable roofs have a sloped shape that usually gives a lot of room in the attic, which makes it simpler to turn into living spaces. The slope can limit full usage unless you add dormer windows, which create headroom and natural light.
Hip roofs, while more stable against high winds, generally offer less attic space, requiring creative solutions like raised ceilings or more extensive dormer installations.
Mansard roofs provide the most space due to their double slopes, making them ideal for converting into living areas. Installing skylights increases light without affecting the building’s stability.
Load-Bearing Walls vs. Non-Load-Bearing Walls
Determining which walls hold up the building and which don’t is important when turning an attic into a usable space. Incorrect modifications can seriously harm the structure.
To identify load-bearing walls, start by examining the house’s layout-walls that run perpendicular to floor joists are often load-bearing.
Use a stud finder to locate joists and check the placement of beams in the basement or crawl space, as these will indicate where the load is distributed.
If you’re unsure, talk to a structural engineer who can give expert advice. Ask for guidance before making adjustments, particularly big ones, to avoid expensive errors.
Assessing Existing Structure Integrity
Checking the attic is important, which means looking for water damage, pest problems, and the state of the roof beams.
- Start by visually inspecting the attic for any signs of cracks or sagging in the roof joists, which may indicate structural issues.
- Next, use a moisture meter to detect hidden dampness that could lead to mold growth and further decay.
- If you identify any alarming signs, it’s advisable to consult a structural engineer for a professional assessment, which can range from $300 to $800, depending on the complexity of the issues.
This method keeps attic maintenance safe and effective.
Weight Considerations for Flooring
Knowing how much flooring weighs is important because choosing the wrong type can damage the attic’s ability to hold weight and affect the building’s strength.
Calculating Load Capacity
To find the load capacity, use this formula: Total Weight Capacity = (floor joist spacing in inches / 16) x 40 lbs (standard load).
Begin by determining the spacing of your floor joists, which is typically 16, 19.2, or 24 inches on center.
For example, if your joist spacing is 16 inches, the equation simplifies to (16 / 16) x 40 lbs = 40 lbs. This means each square foot can support a total weight of 40 lbs.
To make sure your measurements are correct, try using online tools or apps, like the ‘Joist Span Calculator.’ Always check with a structural engineer or contractor to confirm these numbers for your project.
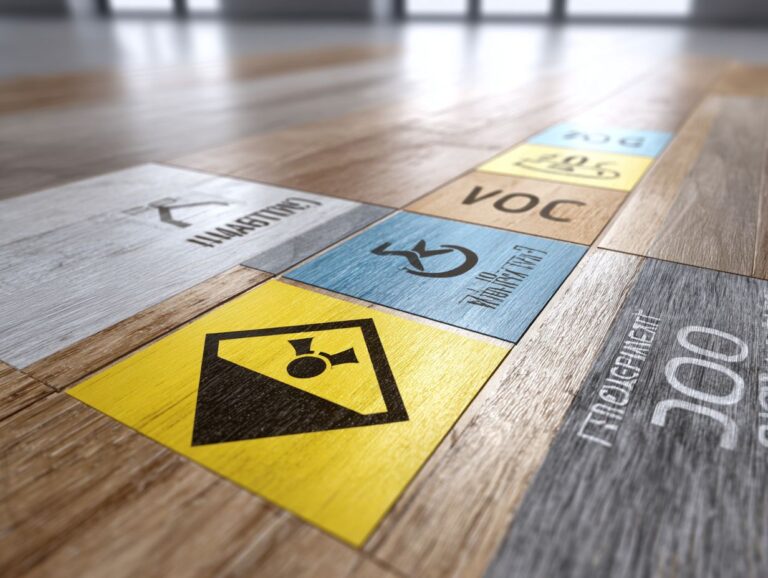
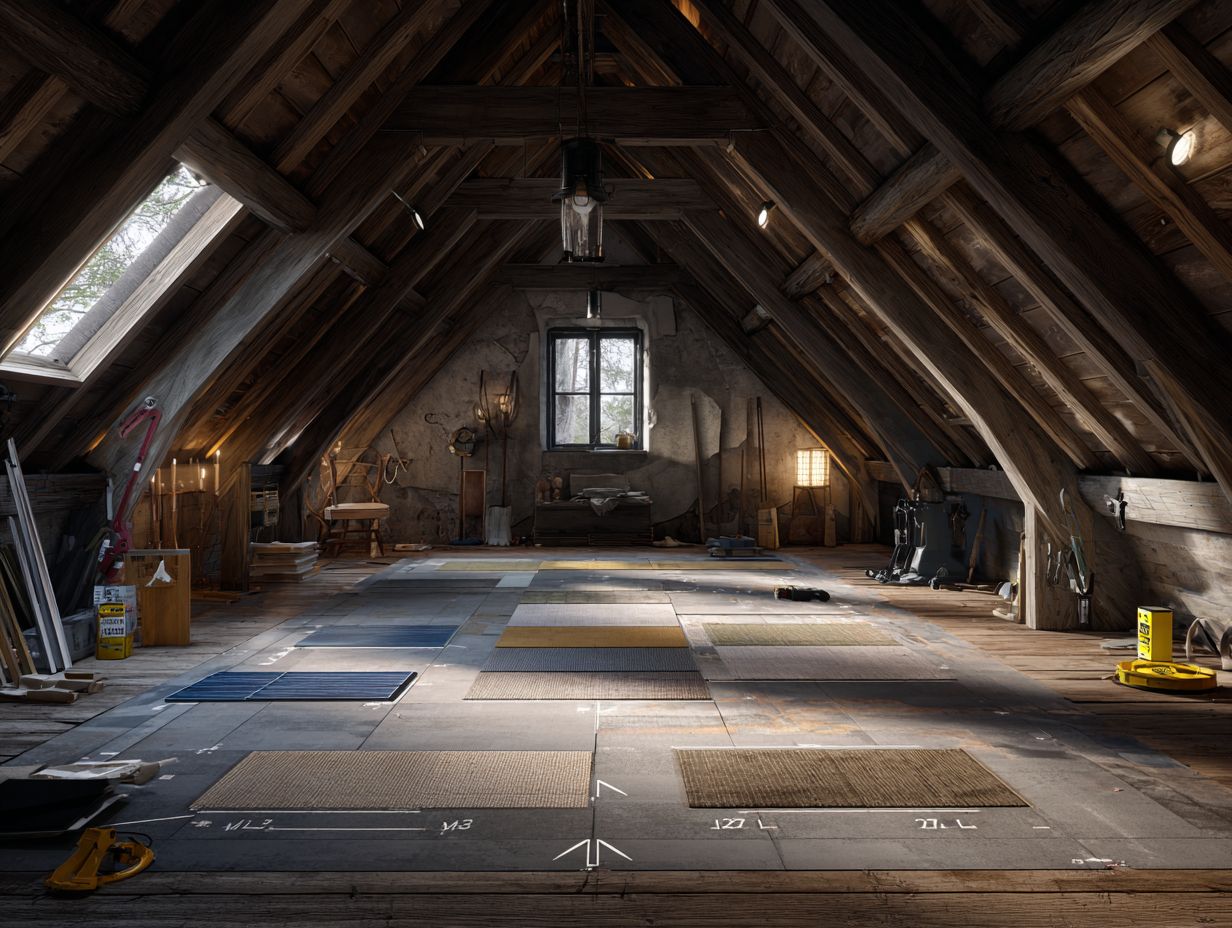
Types of Flooring Materials and Their Weights
Different flooring materials have varying weights, impacting the load that the attic can support; for example, solid wood can weigh around 3.5 lbs/sq ft, while engineered hardwood weighs about 2.5 lbs/sq ft.
Besides solid wood and engineered hardwood, you can also think about laminate flooring. It generally weighs about 1.5 pounds for each square foot, which makes it a lighter option.
Luxury vinyl planks are also popular, ranging from 1.5 to 2 lbs/sq ft while offering durability and moisture resistance.
When choosing flooring, check the attic’s weight limit and possible extra storage to keep it safe. Talking to a structural engineer can give specific guidance based on how your attic is built and the materials used.
Impact of Flooring on Attic Structure
Picking the right flooring impacts both the look and the strength of the attic. Heavier materials might cause sagging or damage.
When selecting flooring for your attic, consider lightweight options such as plywood or oriented strand board (OSB), which provide sufficient load distribution without excessive weight.
For example, using 3/4″ plywood can support loads while still being manageable. Choosing flooring with built-in insulation can improve energy use.
Inadequate flooring choices have led to failures, like a homeowner’s attic collapsing under the weight of tile flooring, which contributed to structural damage. Make sure your flooring matches the planned purpose of your attic to prevent problems.
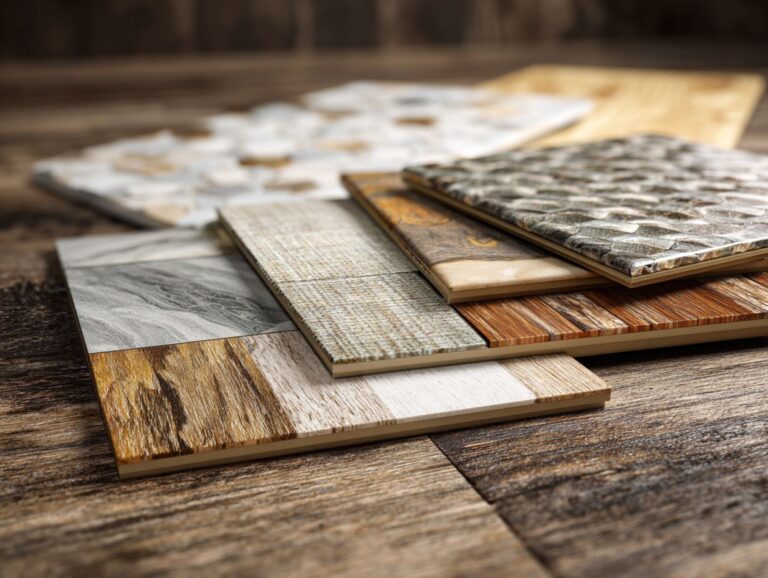
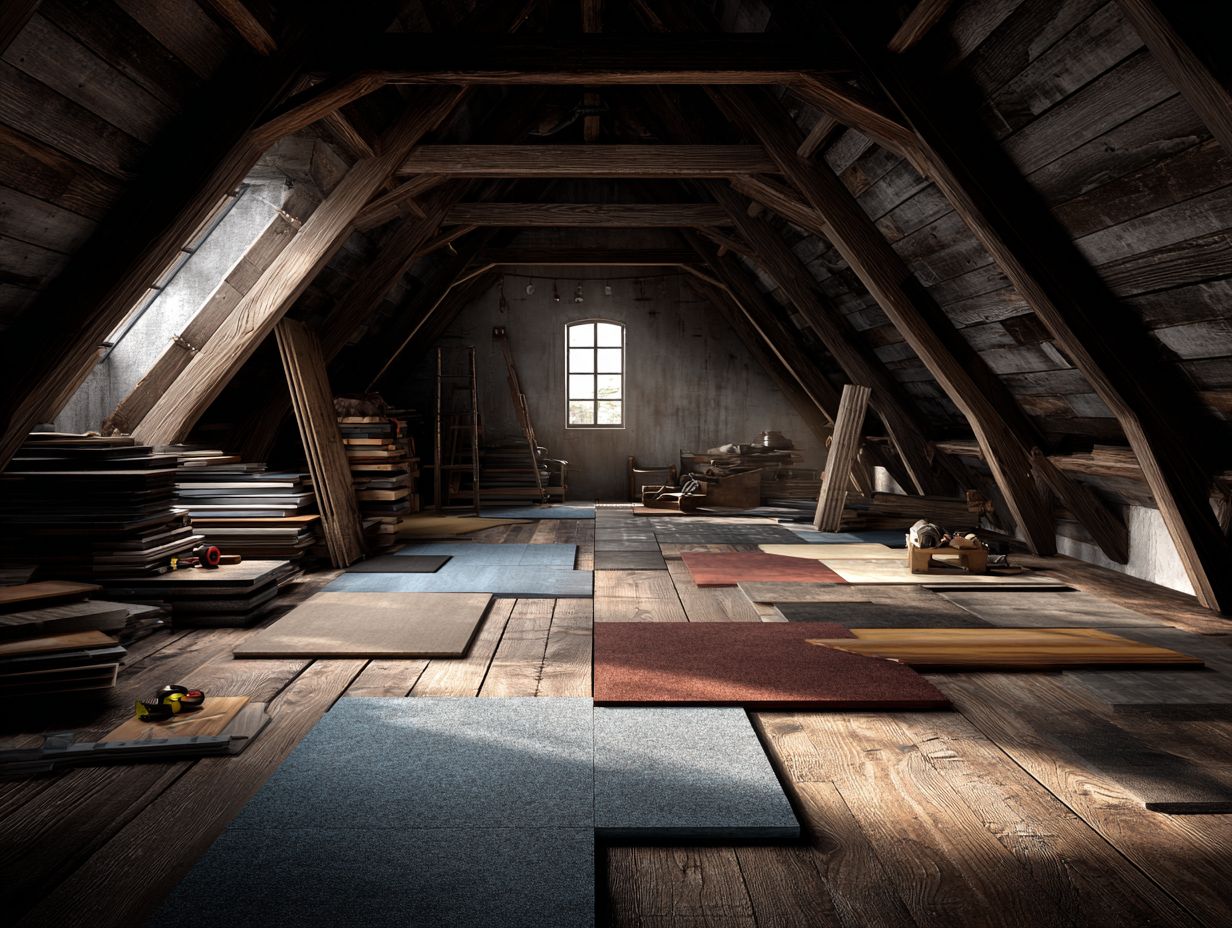
Choosing the Right Flooring Material
Choosing the best flooring for an attic renovation is important for how it looks and works, with many choices available to fit different uses and budgets.
Wood Flooring Options
Wood flooring offers a timeless look, with options ranging from solid hardwood to engineered hardwood, each with unique benefits for attic conversions.
Solid hardwood is strong and has a classic appearance, making it a great choice for high-traffic areas. Humidity can affect it, which is important in attics.
Engineered hardwood consists of multiple layers, which provide improved durability against moisture, making it a good choice for fluctuating conditions in attics.
Cost-wise, solid hardwood typically ranges from $5-$15 per square foot, while engineered options are often priced slightly lower.
Maintaining solid hardwood requires frequent sweeping and occasional sanding and sealing. In contrast, engineered surfaces usually need less work, which makes them an easy option.
Carpet Flooring Options
Carpet is a comfortable and warm option for attic spaces, which makes it a common choice. However, remember to consider insulation and moisture control when installing carpet here.
When choosing carpet for your attic, consider options like nylon, which offers durability and moisture resistance, typically priced between $3-$8 per square foot.
Polyester is another economical choice, ranging from $2 to $5 per square foot, due to its stain resistance.
To maintain your home, keep the attic well-ventilated to stop mold from developing. Choose carpets with moisture-resistant backing to reduce the chance of mold.
Regular cleaning with a vacuum equipped with a HEPA filter will help maintain a fresh environment, extending the carpet’s lifespan.
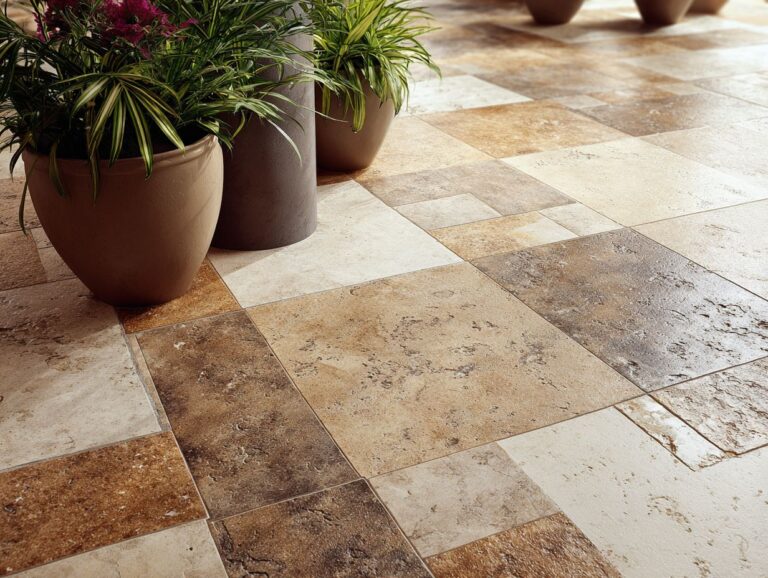
Tile and Laminate Flooring Options
Tile and laminate flooring provide tough and flexible choices for attic conversions, attracting homeowners who want both style and practicality.
Tile flooring resists water and is simple to clean, making it an excellent choice for attics where dampness could be an issue. Options often range from $3 to $12 per square foot, including installation.
Though strong, tile can feel cold and hard when you walk on it. In contrast, laminate offers a cost-effective alternative with a variety of designs mimicking wood or stone. Prices typically start at $1 per square foot, but it may not perform as well in damp conditions, leading to potential long-term issues.
Choosing between these two options depends on your budget and the intended use of the attic space.
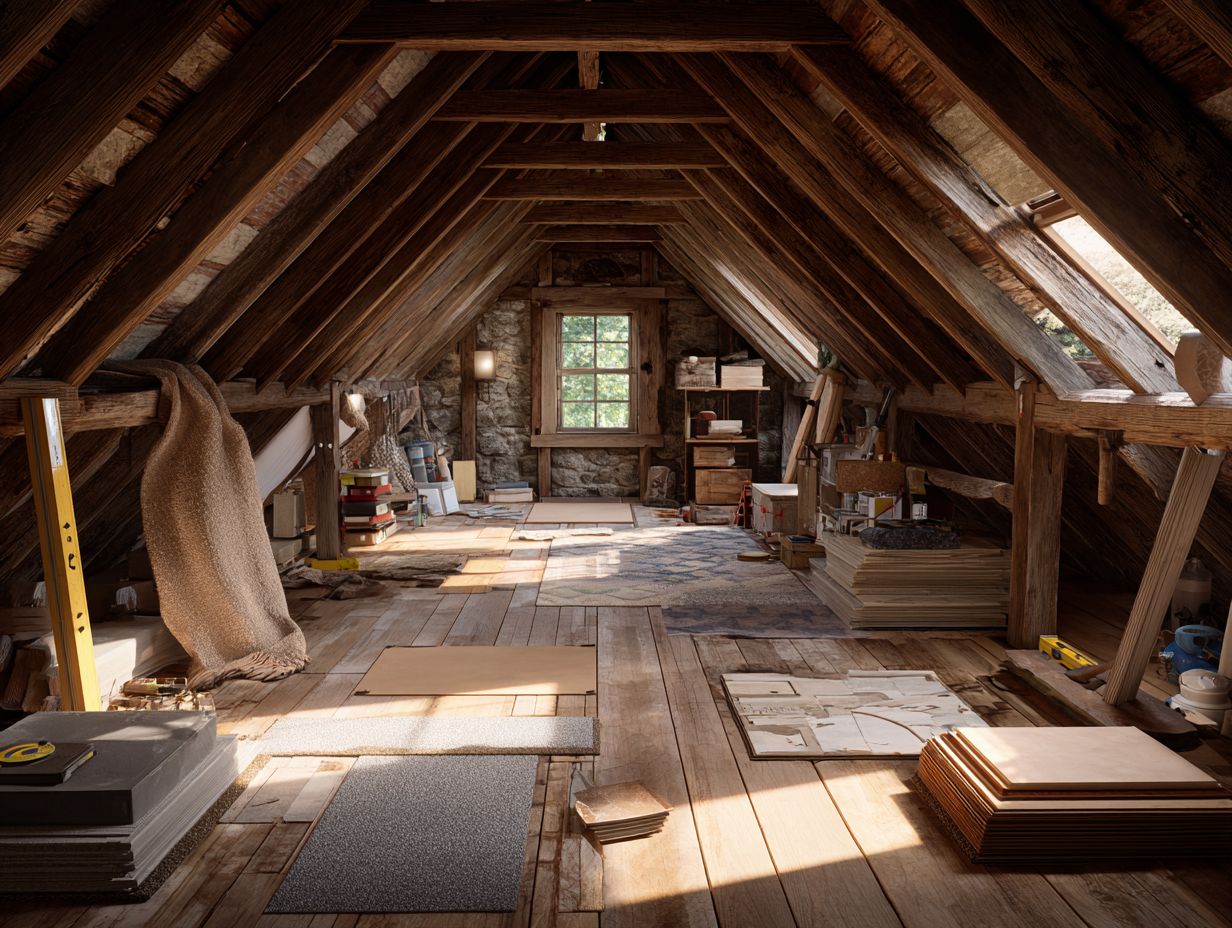
Installation Considerations
Correct installation is important for a successful attic conversion. This includes preparing the space and ensuring insulation and moisture control are effective.
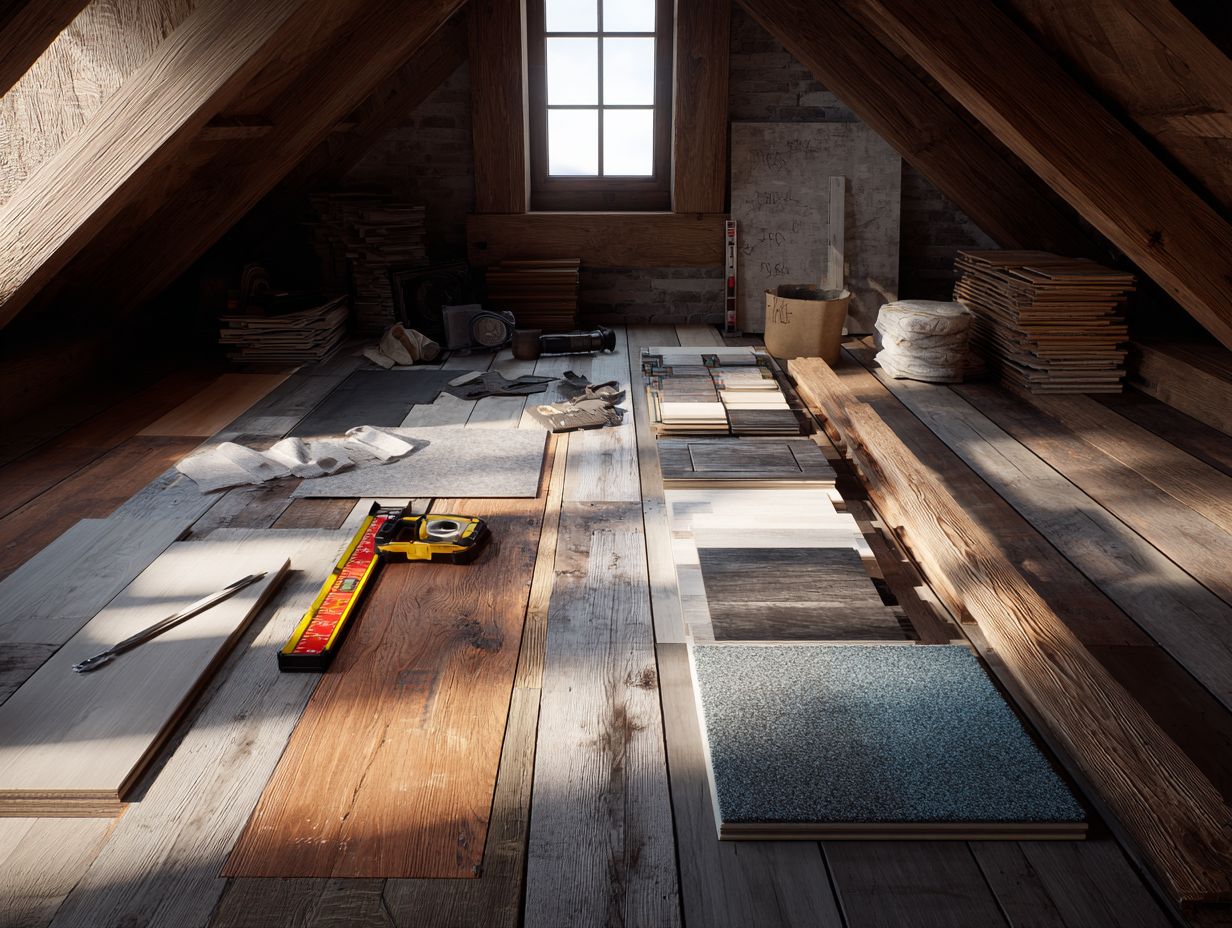
Preparing the Attic Space
Preparing the attic space involves clearing out debris, assessing existing structures, and determining necessary modifications to improve functionality.
- Start by clearing the area completely, removing any old insulation, junk, or unwanted materials.
- Next, inspect the structure for any potential issues such as water damage or sagging beams using a stud finder to locate critical supports.
- Then, budget for necessary modifications, like adding extra insulation or reinforcing beams; a quick calculation can help determine costs.
- Consider tools like an insulation gauge to measure current thickness, ensuring your space is well-prepared and compliant with local building codes for optimal use.
Insulation and Moisture Control
Effective insulation and moisture control are paramount in attic conversions to prevent heat loss and moisture buildup, essential for fire safety and comfort.
For insulation, fiberglass batts are frequently chosen and cost from $0.50 to $1.00 per square foot. Foam boards offer stronger protection against temperature changes and cost about $1.50 to $2.00 per square foot, making them suitable for very cold or hot places.
To manage moisture, use vapor barriers placed directly on the side of the insulation that faces the heat to stop moisture from coming in, and make sure there is good airflow through soffit and ridge vents to let air move.
This two-part method increases energy savings and extends the lifespan of your roof.
Flooring Installation Techniques
Using correct methods for flooring installation makes sure the floor lasts long and remains safe, particularly with the specific difficulties found in attic spaces.
- Begin by acclimating your flooring materials for 72 hours to reduce the risk of warping. Using a top-notch flooring nailer makes it easier to attach planks to the joists, while a level helps keep surfaces flat.
- After laying the underlayment, carefully check for any gaps or inconsistencies before proceeding to nail the flooring. You need to attach boards to each joist, which are usually 16 inches apart. Use glue for extra strength.
- By following these methods, you can achieve a durable and safe attic floor that withstands wear and tear.
Regulations and Building Codes
Knowing and following local building codes and obtaining necessary permits are important for attic conversions to meet safety and structural standards.
Local Building Codes for Attic Conversions
Local building codes vary significantly, often outlining specific requirements for structural changes, fire safety measures, and insulation standards in attic conversions.
To understand these regulations, check with your local authority or visit the Building Control Authority’s website in the Republic of Ireland. For instance, regulations might dictate minimum insulation levels, egress window requirements, or fire-resistant materials.
Hire a licensed designer or contractor who knows local rules to make your project smoother. They can make sure it follows all guidelines and avoid costly revisions. Look at local forums to find advice from homeowners who have finished similar projects.
Permits and Inspections
Getting the right permits and setting up inspections are necessary steps in turning an attic into a usable space to follow all the rules.
- To start, submit detailed plans to your local building department, outlining structural changes and intended use for the attic space.
- This typically involves paying a permit fee, which can average between $300 and $500, depending on your area.
- After submission, you’ll need to schedule inspections at various construction stages.
Be mindful that failure to obtain the necessary permits can result in fines or required demolition of non-compliant work, potentially delaying your project for months.
Maintenance and Safety Tips
Routine upkeep and safety measures are key to keeping converted attic spaces in good condition and functional over time.
Regular Inspections
Checking the attic regularly can find problems early like leaks, pests, or weak structures, which helps keep the area safe over time.
To maximize the effectiveness of your inspections, consider implementing a checklist for each visit.
- Start by checking for mold or mildew, as these can indicate moisture problems.
- Next, visually inspect insulation and roofing for signs of wear or damage.
- Check that vents are clear to keep air moving. This stops heat from building up and reduces fire risk.
Scheduling these inspections at least twice a year, ideally in the spring and fall, will help maintain an early detection strategy and save costly repairs down the line.
Safety Precautions During Use
Being careful in attic spaces is important to prevent accidents and ensure safety for everyone.
- Start by checking that all hand tools and equipment are in good condition before ascending to the attic.
- Use a strong ladder with a non-slip base for safe access.
- Make sure the attic has good lighting; putting in lights with motion sensors can improve how well you can see.
- Lay down flooring boards to create stable walking paths and prevent falls.
- Check the area often for dangers like loose insulation or pests, and keep emergency exits clear for fast evacuation if necessary.
Frequently Asked Questions
What is the recommended weight limit for attic conversion flooring?
The recommended weight limit for attic conversion flooring is typically around 40 pounds per square foot. This can change based on the kind of flooring and the state of the building, so it’s wise to talk to an expert before making changes.
Can I install any type of flooring for an attic conversion?
No, not all types of flooring are suitable for attic conversions. It’s important to choose a flooring option that is lightweight and won’t add too much stress to the existing structure. Also, the flooring should handle changes in temperature and moisture.
Do I need to reinforce the structure before installing attic conversion flooring?
In most cases, it is recommended to reinforce the attic structure before installing conversion flooring. This can involve adding additional support beams or joists to handle the added weight of the flooring and any furniture or items that will be placed on top.
What type of flooring is best for attic conversions?
The best type of flooring for attic conversions is typically lightweight and durable, such as engineered hardwood or laminate. These options are also able to handle changes in temperature and humidity without warping or buckling.
Can I use the attic for storage after converting it into living space?
It is not recommended to use the attic for storage after converting it into living space, as this can add extra weight and stress to the structure. If storage space is needed, it’s best to consider adding additional support or using lightweight storage solutions.
Do I need a permit for an attic conversion flooring installation?
The need for a permit for an attic conversion flooring installation can vary depending on your location and the extent of the conversion. It’s important to check with your local building codes and regulations to determine if a permit is required for your specific project.