Floating Floor Installation – Complete Step-by-Step Guide
Ready to transform your space? Our complete guide to installing floating floors is your main resource. Created by LA’s top design-build company, Letter Four, and led by Lauren Adams and Jeremy Baker, this guide breaks down the process into easy steps. Whether you’re new to DIY or have lots of experience, you’ll find important tips and methods to get a perfect result. Upgrade your home with stylish floating floors!
Key Takeaways:
Contents
- Types of Floating Floors
- Tools and Materials Needed
- Preparing the Installation Area
- Installation Process
- Floating Floor Installation Data Overview
- Installation Parameters and Recommendations: Moisture Content
- Installation Parameters and Recommendations: Environmental Conditions
- Installation Parameters and Recommendations: Installation Specifications
- Choosing the Right Direction
- Installing Underlayment
- Starting the First Row
- Continuing with Subsequent Rows
- Cutting and Fitting Pieces
- Finishing Touches
- Maintenance Tips
- Frequently Asked Questions
- What is a floating floor installation?
- What types of flooring can be installed using the floating method?
- What are the benefits of a floating floor installation?
- What tools do I need for a floating floor installation?
- Do I need to prepare my subfloor before installing a floating floor?
- Is it possible to install a floating floor over carpet?
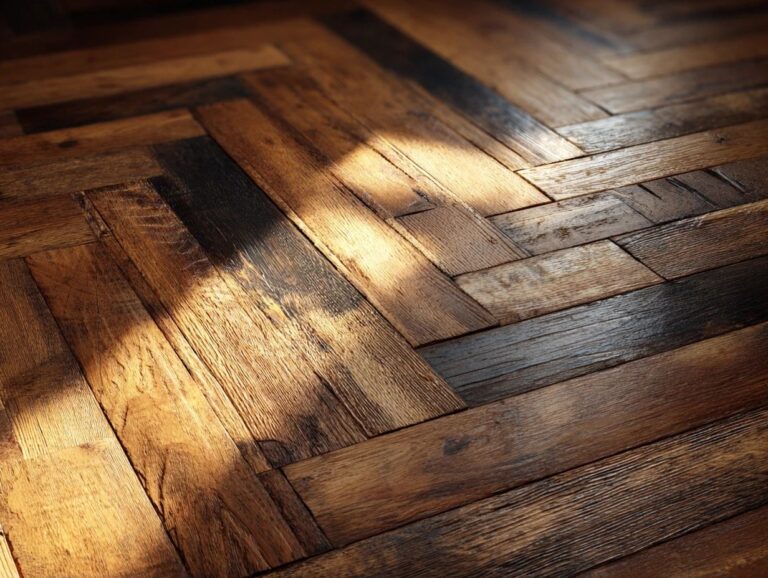
What is a Floating Floor?
A floating floor is a type of flooring that is not nailed or glued to the subfloor but instead ‘floats’ above it, allowing for greater flexibility and easier installation.
Typically constructed from laminate, engineered hardwood, or luxury vinyl, floating floors can be installed quickly and without professional help.
Unlike traditional flooring, which may require adhesive or nails, floating floors use a click-lock mechanism for connection. This method makes installation easy-usually done in one day-and upkeep in the coming time simple.
Make sure you have a padded layer, as it makes the floor more comfortable and quiet. Regular cleaning with a micro-fiber mop will help maintain their appearance while avoiding harsh chemicals.
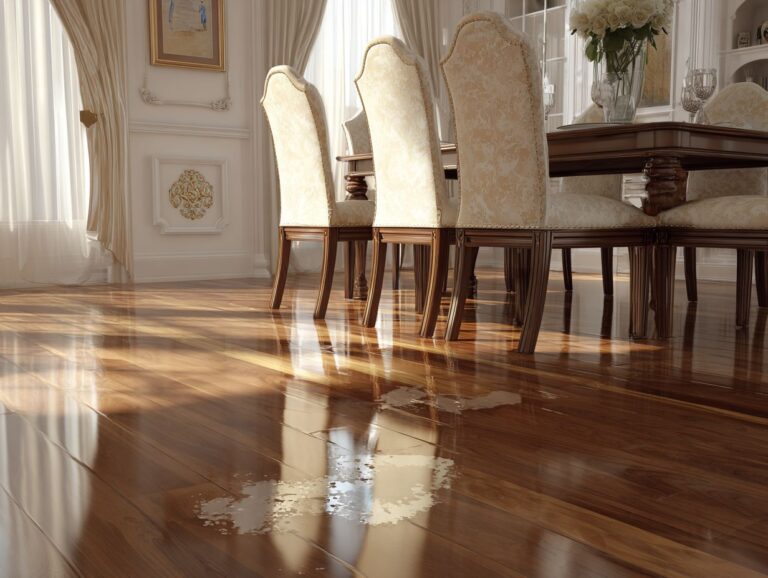
Benefits of Floating Floors
Floating floors have many benefits, like being easy to install, costing less, and lasting longer, which makes them popular with homeowners.
Putting in floating floors is 30% faster than using nails or glue. It’s a great choice for DIY enthusiasts like Jeremy Baker, who redid his entire basement in just one weekend.
These floors typically cost about 20% less than conventional hardwood, ensuring budget-conscious homeowners can still enjoy stylish designs. Homeowners can select from luxury vinyl or laminate finishes that match their taste and way of living, creating spaces that show their personal style without spending too much money.
Types of Floating Floors
Floating floors are available in different styles, each with specific features that provide both visual and practical benefits for various settings. For those interested in eco-friendly options, cork flooring stands out due to its unique advantages. Learn more about the sustainability and comfort benefits of cork flooring and how it can enhance your space.
Laminate Flooring
Laminate flooring is a popular floating floor option known for its affordability and wide range of styles, mimicking the look of wood and stone.
Laminate flooring usually costs between $1 and $3 per square foot, which is affordable.
Durability is another strong point; it resists scratches and wear, ideal for high-traffic areas, but it’s important to avoid excessive moisture, as this can lead to damage.
When selecting laminate, consider the AC rating: an AC3 rating is suitable for residential use, while AC4 is better for moderate commercial spaces. Select a thicker product (10mm or more) for better comfort and sound absorption.
Engineered Hardwood Flooring
Engineered hardwood flooring provides the appealing appearance of natural wood and is more durable, making it suitable for various climates and environments.
This flooring consists of multiple layers: a hardwood veneer on top, plywood or high-density fiberboard beneath, and a backing layer for moisture resistance.
Prices range from $3 to $9 per square foot, depending on the quality and brand.
You can easily install it over current floors without needing extra layers underneath.
For longevity, regularly clean with a damp mop and use felt pads under furniture to prevent scratches. Avoid excessive moisture to maintain its appearance and integrity.
Luxury Vinyl Plank (LVP)
Luxury Vinyl Plank (LVP) is a highly durable flooring option that offers the aesthetic appeal of hardwood while providing water resistance and ease of maintenance.
Typically ranging from $2 to $5 per square foot, LVP is an excellent choice for moisture-prone areas like kitchens and bathrooms, as it can withstand spills without warping.
Setting it up is easy. You often just click the pieces together without needing glue or nails, which makes it good for DIY projects.
In homes, people often use it in living rooms and basements. Businesses, such as stores and restaurants, appreciate its strong build and how easy it is to clean.
Its strength and ability to suit various needs make it a wise flooring choice.
Tools and Materials Needed
Having the right tools and materials is essential for installing a floating floor correctly, leading to long-lasting and professional results.
Essential Tools
Key tools for installing floating floors include a tape measure, moisture meter, and flooring cutter, each playing an essential role in the installation process.
A tape measure, priced around $10, provides accurate measurements for your floor space, helping you plan cuts correctly.
The moisture meter, priced between $20 and $50, is useful for measuring the dampness in subfloors to stop them from bending later.
A flooring cutter, available for $30 to $60, simplifies the process of cutting boards to size without compromising quality.
Using these tools properly will simplify your installation and make your floating floors last longer.
Materials Overview
Choosing the right materials, such as underlayment and transition strips, is critical for a seamless floating floor installation that accommodates movement and moisture.
Underlayment is important because it acts as a moisture barrier and provides cushioning. It costs between $0.20 and $0.50 per square foot.
Transition strips, costing between $5 and $15 each, help connect different flooring types and keep them stable.
Baseboards, which vary by material, finish the look while covering expansion gaps.
When installing, lay the underlayment first, ensuring it’s taped down, followed by the flooring and finally, install baseboards to complete your project. This multi-level method improves both performance and appearance.
Preparing the Installation Area
Getting the area ready is an important part of the process that includes cleaning and checking the subfloor to make sure the floating floor goes in smoothly and correctly.
Cleaning the Subfloor
Cleaning the subfloor well is important to get rid of dirt and help the flooring stick correctly, which can stop problems later on.
- Begin by removing any large debris with a vacuum, ensuring you reach corners and edges.
- Next, mop the area using a mixture of warm water and a mild detergent. This step is important for removing any sticky residue.
- Once you finish mopping, let the subfloor dry fully. This might take a few hours, depending on how humid the air is.
- To prevent moisture damage, consider using a dehumidifier in the space as you clean.
- Checking regularly for moisture can prevent flooring issues later on.
Checking for Moisture
Before installation, make sure to check the moisture levels in the subfloor with a moisture meter to avoid later damage to the floating floor.
For correct measurements, use a moisture meter and make sure the levels stay under 12%. Test multiple areas of the subfloor, as moisture can vary significantly across your space.
If readings are higher, allow the subfloor to acclimate by using fans or dehumidifiers for a few days. It’s important to manage moisture well because too much humidity can cause mold and damage your new flooring, leading to expensive repairs and more maintenance over time.
Acclimating the Flooring
Getting the flooring ready means letting it sit in the room to match the temperature and humidity before installing it, which helps avoid problems with expanding or shrinking later.
- To properly acclimate your flooring planks, place them upright in the room where they will be installed for 48-72 hours.
- Keep the room temperature at 70 degreesF and humidity from 30% to 50%.
This method helps the material change shape less over time. Consider using a hygrometer to monitor humidity and a thermometer for temperature.
Following these tips helps your floor look good and last longer after it is installed.
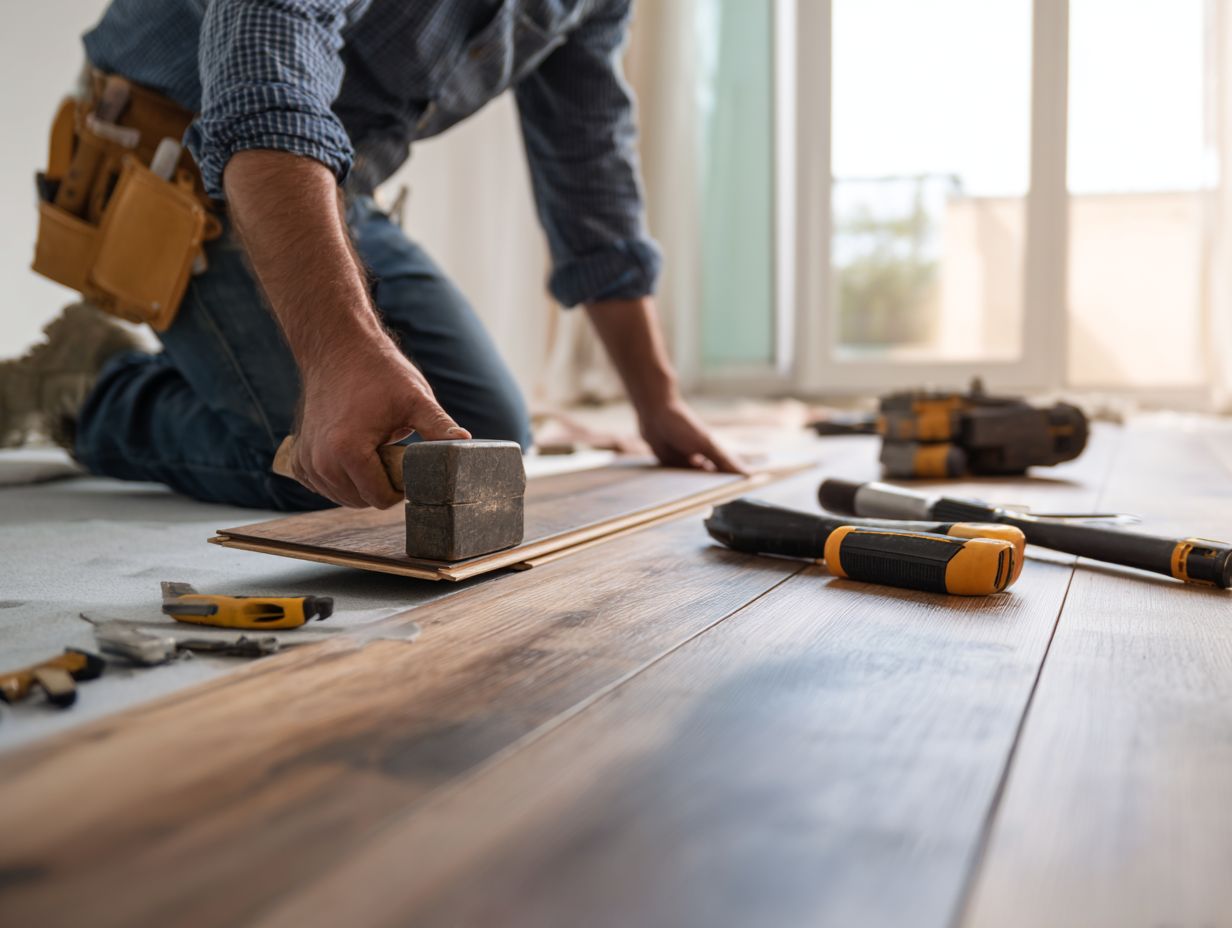
Installation Process
Installing floating floors requires completing various tasks with careful consideration to achieve a great outcome.
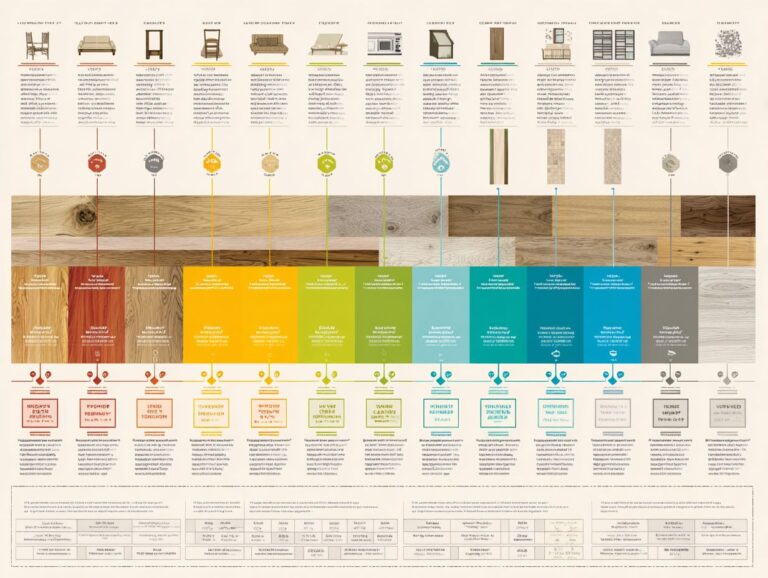
Floating Floor Installation Data Overview
Floating Floor Installation Data Overview
Installation Parameters and Recommendations: Moisture Content
Installation Parameters and Recommendations: Environmental Conditions

Installation Parameters and Recommendations: Installation Specifications
The Floating Floor Installation Data Overview Offers necessary instructions and rules for properly installing floating floors. This information addresses moisture levels, surrounding conditions, and installation details, all of which are important for how well floating floors perform and how long they last. Knowing these parameters helps prevent common mistakes that might cause flooring problems.
Moisture Content is critical for ensuring the stability of the flooring system. For different substrates, specific maximum moisture content levels are recommended. For a wooden substrate, the maximum allowable moisture content is 9%, which prevents warping and expansion. Concrete substrates should not exceed a 2% moisture content to avoid efflorescence and adhesion problems. Anhydrite substrates, which are often used as an alternative to traditional concrete, have a much lower tolerance, with a maximum moisture content of 0.5%. Following these guidelines keeps the floor solid and long-lasting.
The Environmental Conditions during installation also significantly impact the outcome. The recommended relative humidity range is 45%, maintaining a balance that prevents excessive contraction or expansion of the flooring material. Temperature is another critical factor, with the recommended range being 64.4 degreesF (18 degreesC). Keeping the temperature within this range helps the adhesive stick well and keeps the material flexible, which are important for a correct installation.
Installation Specifications provide detailed guidelines for the physical preparation of the installation site. The maximum unevenness over a span of 6.56 feet is set at 3%, ensuring that the floor is level enough to prevent stress on the locking systems of the floating floor. The maximum horizontal offset allowed is 5%, which helps maintain the structural integrity of the floor by ensuring that the floorboards are properly aligned. Finally, for larger areas, a maximum dimension without expansion gaps of 66 feet is recommended. This allows for natural expansion and contraction of the flooring material without causing buckling or gaps.
By following these Floating Floor Installation Data Overview Parameters help installers achieve a successful and durable floating floor installation. Proper moisture control, environmental regulation, and adherence to installation specifications are key to achieving a stable and aesthetically pleasing result.
Choosing the Right Direction
Choosing the right direction for installing floating floors can improve the room’s look and make sure they align with the natural light.
- To achieve the best results, start by aligning your flooring with the longest wall in the room. This will create a sense of length and spaciousness.
- Next, check the natural light sources; placing floorboards across from windows can reduce glare and improve the look.
- Measure carefully and create a drawing to show how the planks will be arranged. This careful planning helps prevent expensive errors and results in a professional outcome.
Installing Underlayment
Installing underlayment is a critical step that provides cushioning, soundproofing, and moisture protection for floating floors.
To achieve optimal results, begin by rolling out the underlayment across the entire area, ensuring it covers the subfloor completely. Carefully seal seams with tape to prevent moisture seepage, which can compromise the floor.
It’s important to eliminate wrinkles, as these can affect the flooring above. Consider different types of underlayment:
- Foam options offer basic cushioning and soundproofing.
- Cork provides superior insulation and dampening.
For moisture control, a polyethylene film underlayment is ideal, particularly in basements or high-humidity areas.
Starting the First Row
Starting the first row of floating flooring carefully is important to make sure the rest of the installation is straight and even.
To begin, leave a 1/4 inch expansion gap along the wall to accommodate inevitable expansion and contraction. Use spacers to maintain an even distance from the walls throughout the installation.
When you lay down the first plank, make sure it matches up exactly with your starting point, because this will affect how the rest of the floor looks. Double-check that the first row is level using a straight edge and a level tool before moving forward, as any misalignment will affect subsequent rows.
Continuing with Subsequent Rows
Laying the next rows needs care with the stagger pattern to make the floor stronger and more visually pleasing.
To effectively lay your flooring, follow these steps:
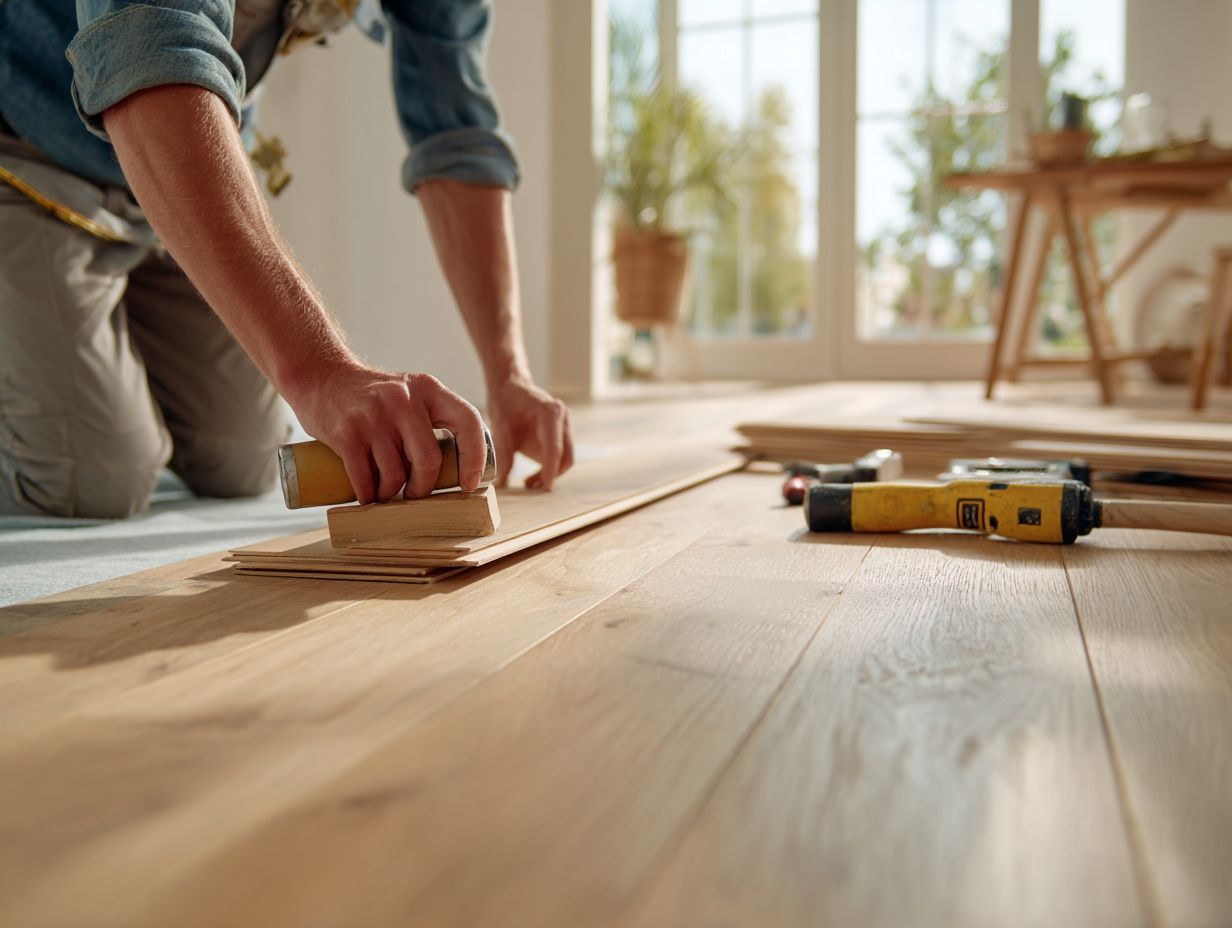
- First, stagger the seams of each row by at least 12 inches to create a stronger bond and a more pleasing look.
- Use a tapping block while fitting planks together to eliminate gaps; this helps achieve a snug fit without damage.
- Regularly check alignment as you progress, ensuring a straight line throughout the installation.
- Use a dust mask to handle cuts and minimize waste by measuring precisely.
This method makes things last longer and makes your setup easier.
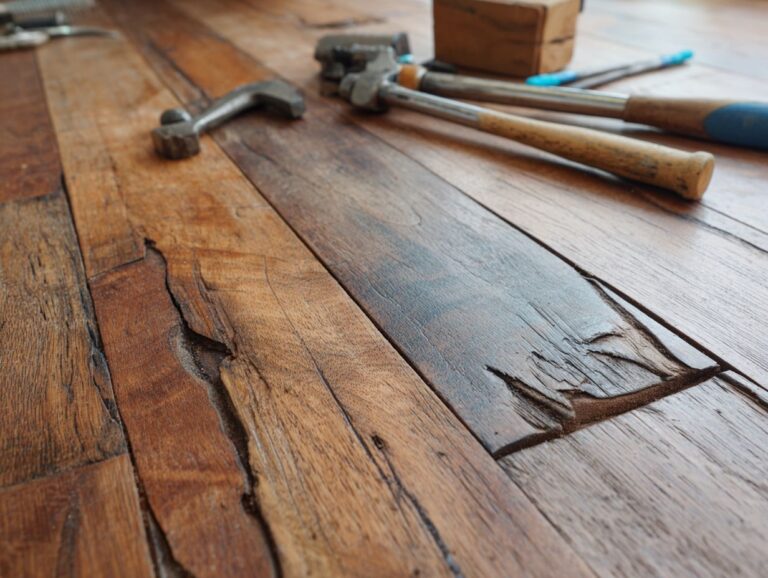
Cutting and Fitting Pieces
Cutting and fitting pieces of floating flooring needs careful attention to guarantee they fit correctly and keep the design intact.
Begin with a flooring cutter or jigsaw for clean and accurate cuts. Measure the area carefully, ideally with a tape measure, and remember the adage “measure twice, cut once” to avoid mistakes.
When fitting pieces for edges and corners, make sure they fit tightly against walls and transitions to reduce gaps. Using wood filler in small spaces can help create a seamless look.
Think about buying a miter saw for accurate angle cuts, especially for corners, to improve the finished look.
Finishing Touches
The final steps in floating floor installation improve the look, safeguard the edges, and finalize the process.
Installing Baseboards and Trim

Putting in baseboards and trim holds the flooring in place and completes the room’s look, improving its appearance.
- First, measure the wall length carefully and cut the baseboard sections to fit using a miter saw. Pay attention to angles, particularly at corners.
- Secure the boards with finishing nails or construction adhesive for stability. Once installed, fill any gaps with painter’s caulk to achieve a seamless look.
- Coordinate colors and styles; for example, pairing white baseboards with darker walls can create a striking contrast, while stained wood complements warmer tones. This careful method improves both practicality and visual appeal.
Cleaning the New Floor
It’s important to clean the new floor to get rid of dirt and make sure it’s ready for daily use, which helps it last longer.
Begin your cleaning process with a thorough sweep or vacuum to eliminate loose dirt. Follow up by mopping with a pH-neutral cleaner to avoid damaging the finish. Harsh chemicals can degrade the floor’s surface over time, so it’s advisable to steer clear of them.
For ongoing maintenance, regularly dust your floors and immediately clean up spills to prevent stains.
Consider placing doormats at entryways to minimize dirt and grit tracked inside, which can help keep your floor looking new longer.
Maintenance Tips
Regular maintenance is important to keep floating floors looking good and working well, so they last for many years.
Regular Cleaning Practices
Regular cleaning keeps your floating floor looking good and lasting longer.
To maintain your floor’s beauty, follow a cleaning schedule:
- Dust and mop weekly using a microfiber mop to avoid scratches.
- Employ specialized floor cleaners designed for floating floors; these products typically include pH-neutral formulas to prevent damage.
- Avoid excessive moisture by rinsing the mop only lightly and drying spills immediately.
- Consider using a vacuum with a soft brush attachment for daily maintenance to capture debris without risking surface wear.
Invest in these tools to create an efficient cleaning routine that extends the life of your floor.
Frequently Asked Questions
What is a floating floor installation?
A floating floor installation is a way to put down floorboards without nails or glue. The boards are instead secured together using a locking or clicking mechanism, allowing them to “float” over the subfloor.
What types of flooring can be installed using the floating method?
Virtually any type of flooring can be installed using the floating method, including hardwood, laminate, vinyl, and bamboo. Always look at the manufacturer’s advice for particular types of flooring.
What are the benefits of a floating floor installation?
The main benefit of a floating floor installation is that it can be done quickly and easily without the need for specialized tools or skills. It also allows for the floorboards to expand and contract with changes in temperature and humidity, reducing the risk of buckling or warping.
What tools do I need for a floating floor installation?
You will need a measuring tape, a utility knife, a hammer, a tapping block, a pull bar, and a jigsaw for cutting the boards. You may also need a saw for cutting door jambs and trim pieces.
Do I need to prepare my subfloor before installing a floating floor?
Yes, it is important to prepare your subfloor before installing a floating floor. This involves taking out the current flooring, checking that the base floor is even and clean, and putting in a vapor barrier if needed.
Is it possible to install a floating floor over carpet?
It is not recommended to install a floating floor over carpet. Take out the carpet before putting in the floorboards to create a solid and steady base. Installing over carpet can also cause the floorboards to shift and create an uneven surface.