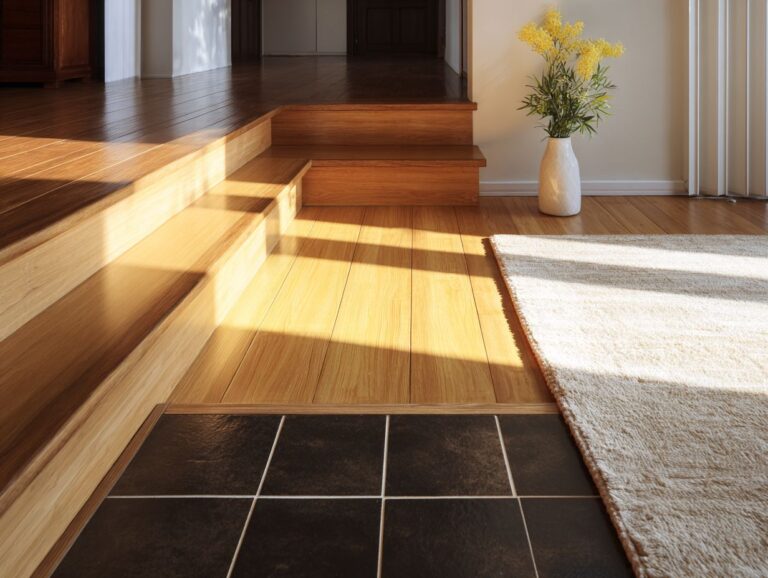
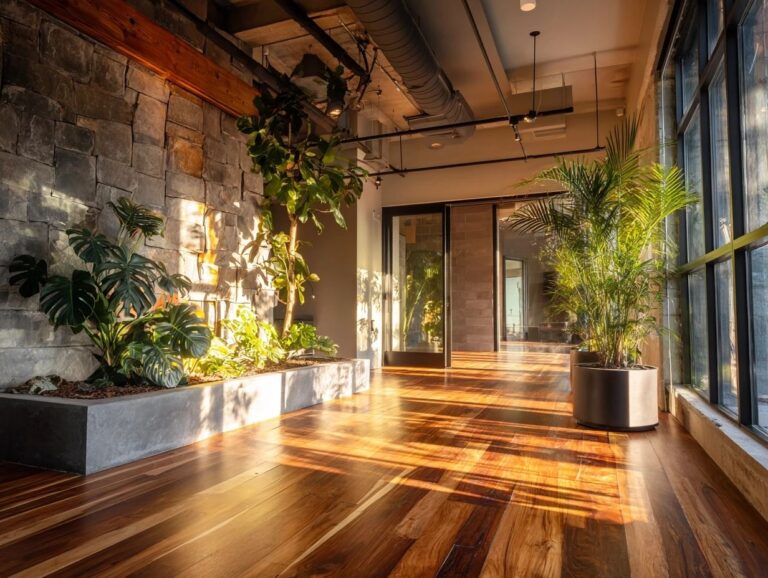
Painted Floor Restoration – Stripping and Refinishing
Contents
- Introduction to Painted Floor Restoration
- Global Wood Floor Restoration Services Market Overview
- Understanding Painted Floors
- Preparation for Restoration
- Stripping the Old Paint
- Cleaning and Preparing the Surface
- Refinishing the Floor
- Post-Restoration Care
- Frequently Asked Questions
- What is the process for stripping and refinishing a painted floor?
- Can I strip and refinish my own painted floor?
- How long does painted floor restoration typically take?
- What type of finish should I use when refinishing a painted floor?
- Can I choose a different color for my refinished painted floor?
- How often should I refinish a painted floor?
Introduction to Painted Floor Restoration
Fix and repaint your hardwood floor with expert floor repair! This detailed guide walks you through the essential refinishing process, including stripping old paint and applying water-based polyurethane for a fresh sheen. Find out how to vacuum efficiently to get rid of dirt and learn the technique of polishing wooden floors. With tips from Angi, you’ll learn the best ways to keep your floors looking great for years. Get ready to transform your space!
Key Takeaways:
Importance of Floor Restoration
Restoring your floors can increase property value by up to 10% while prolonging the life of your flooring materials.
Specialists state that floors that look new improve the look of a room and leave a positive impression on interested buyers. According to the National Association of Realtors, homes with well-maintained floors sell 20% faster.
For instance, reclaiming hardwood floors with refinishing services averages around $3 to $8 per square foot, and this rejuvenation can attract offers above asking price-especially in competitive markets.
Using tools like a floor sander or hiring professionals in restoration can help you achieve excellent results, making your property stand out. If interested in understanding potential structural issues that may arise during this process, see our Subfloor Damage Assessment and Repair Guide.
Global Wood Floor Restoration Services Market Overview
Global Wood Floor Restoration Services Market Overview
Market Growth and Projections: Market Size and Growth Rates
Market Growth and Projections: Regional Market Analysis
The Global Wood Floor Restoration Services Market Overview presents a promising outlook for the industry, with substantial growth anticipated over the next decade. The data shows how the market is growing and the impact of different regions, giving information about upcoming chances and difficulties.
Market Growth and Projections indicate a significant expansion from a market size of $4.5 billion in 2023 to an expected $7.1 billion by 2032, driven by a compound annual growth rate (CAGR) of 5.2%. This growth reflects an increasing preference for restoring existing wood floors over replacement, influenced by environmental concerns and cost-effectiveness.
- Regional Market Analysis showcases distinct growth patterns across major regions:
- North America: With a 2023 market size of $1.5 billion, it is expected to reach $2.3 billion by 2032. This growth is likely fueled by a strong renovation culture and technological advancements in restoration techniques.
- Europe: Starting at $1.2 billion in 2023, the market is projected to grow to $1.9 billion by 2032. Europe’s focus on sustainability and heritage conservation supports the demand for restoration services.
- Asia Pacific: With an initial market size of $900 million in 2023, it is set to expand to $1.5 billion by 2032. Rapid urbanization and rising disposable incomes in the region are key drivers of growth.
This data suggests that the Global Wood Floor Restoration Services Market is set to grow strongly, backed by a mix of economic, cultural, and environmental reasons. Companies in this industry can use this information to plan their growth, concentrating on new technology and eco-friendly methods to match changing customer needs.
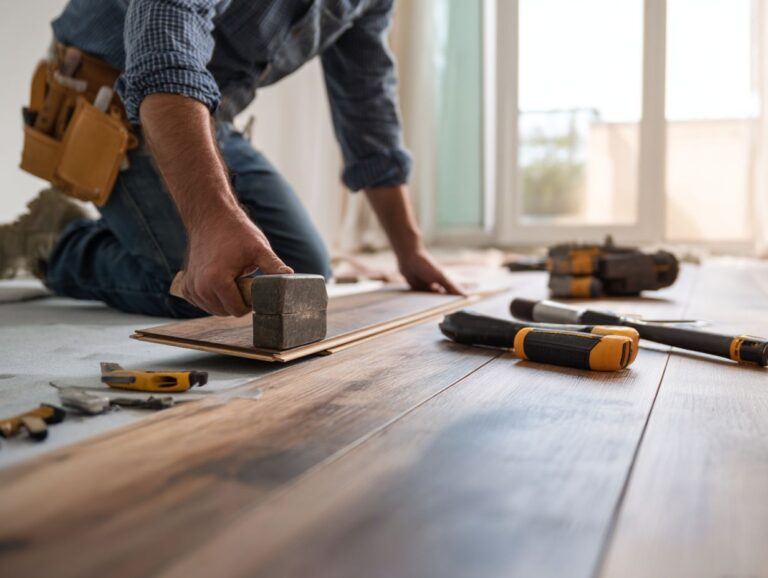
Overview of Stripping and Refinishing
The process of removing old finishes and applying new ones can restore the beauty of worn-out floors. For those interested in maintaining the character of older floors, it’s important to consider the methods used during historic floor restoration.
- Start by assessing the floor’s condition: look for deep scratches or stains that may require extensive work.
- Next, choose appropriate tools, such as a drum sander for large areas or a detail sander for edges.
- After sanding, thoroughly clean the floor to remove dust.
- When selecting finishes, consider options like water-based polyurethane for quick drying or oil-based for a richer sheen. Each choice affects durability and appearance, so assess your lifestyle and aesthetic preferences before finalizing your selection.
Understanding Painted Floors
Knowing the various types and materials of painted floors is necessary for restoration, as each requires a particular approach.
Types of Painted Floors
Common types of painted floors include hardwood, concrete, and tiles, each requiring specific refinishing techniques.
Hardwood floors, usually painted with acrylic paints, offer a bright finish but might require a primer for improved sticking.
For a more durable option, consider epoxy paints on concrete, which can withstand heavy foot traffic and are resistant to chemicals.
Tiles can be refreshed using specialized tile paint, ensuring they adhere well to the surface.
Each type of floor needs proper surface preparation-sanding for hardwood, cleaning and etching for concrete, and applying a degreaser for tiles-to achieve the best results and prolong the lifespan of the paint.
Common Materials Used
Common materials for painted floors include enamel paints, water-based polyurethane, and shellac, each contributing to the floor’s overall durability and finish quality.
Enamel paints offer a glossy, hard finish and are excellent for areas with high foot traffic due to their resistance to wear.
Water-based polyurethane is a green choice. It dries quickly and has less smell, making it great for indoor spaces.
On the other hand, shellac provides a rich, warm appearance but is less durable than the others, requiring more frequent reapplication.
When choosing a material, consider factors such as the intended use of the floor, the desired aesthetic, and environmental impact to select the best option.
Signs Your Floor Needs Restoration
Key indicators that your painted floor needs restoration include visible wear, scratches, and discoloration, which can detract from any room’s aesthetics.
Other signs to look for include peeling paint, especially in high-traffic areas, and uneven surfaces that make the floor look unattractive or unsafe.
To restore your floor, start by cleaning thoroughly with a gentle detergent to remove dirt and grime. Next, sand down any rough patches to create a smooth surface, followed by applying a fresh coat of paint suited for floors, like porch paint.
For deeper scratches, consider using wood filler before painting. Regular maintenance can prolong the floor’s life, so schedule touch-ups as needed.
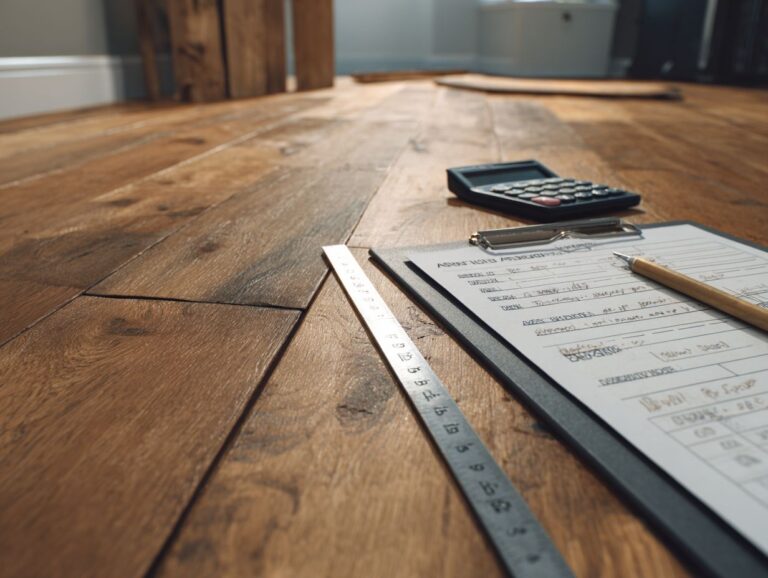
Preparation for Restoration
Getting ready correctly is important before beginning the restoration work to make the job safe and successful.
Gathering Necessary Tools and Materials
Essential tools for floor restoration include a floor sander, vacuum, paintbrushes, and safety equipment like respirators and dust masks.
Plus these basics, consider investing in a maroon buffing pad and a felt-bottomed attachment for your sander to achieve a polished finish.
You can find these accessories online at suppliers like Home Depot or Lowes. If you’re working on a tight budget, these tools can often be rented from local hardware stores for a fraction of the purchase price.
Also, remember to always wear protective gear to stay safe from dust and debris while working.
Safety Precautions
Always use protective gear including respirators, gloves, and goggles while working with chemical strippers or during sanding to minimize health risks.
Plus these essentials, consider investing in a heavy-duty apron and knee pads for added protection and comfort.
When selecting a respirator, a half-mask with P100 filters is ideal for blocking fine particles and vapors. Use chemical-resistant gloves, like nitrile or neoprene, to avoid skin irritation.
Maintain a well-ventilated workspace by utilizing fans or open windows, reducing harmful fume accumulation. Regularly inspect your equipment for damage and replace it when necessary to keep it safe.
Clearing the Work Area
Before starting the restoration, remove furniture and clutter from the area to keep the workspace safe and organized.
- Start by moving larger furniture pieces to a different room or covering them with drop cloths.
- Next, remove any smaller items like lamps or rugs to eliminate tripping hazards.
- Sweep or vacuum the floors thoroughly to clear dust and debris, ensuring a clean surface for your restoration projects.
- Check your workspace for any dangerous or unsafe items, and throw them away safely.
This preparation promotes safety and helps keep you focused while working on your restoration tasks.
Stripping the Old Paint
Removing old paint is important in restoration, as it lets the new coat stick well and creates an even surface.
Choosing the Right Stripping Method
Choosing the right stripping method is important; you can use chemical strippers such as Benjamin Moore’s Paint Stripper or mechanical tools like a floor sander.
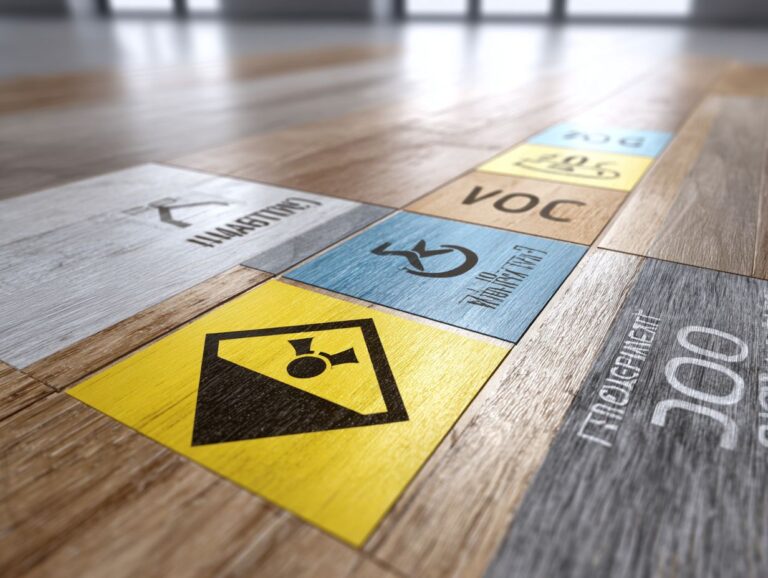
Chemical strippers, while effective, can release volatile organic compounds (VOCs) that harm the environment.
For wooden floors, using a floor sander is safer and reduces the need for chemicals, but it does require some do-it-yourself skills and takes a lot of time.
For tile floors, consider using a heat gun alongside scraper tools, which can effectively remove tough adhesives without chemicals.
In the end, pick a technique that suits your floor and the tools you are comfortable using. For environmentally conscious projects, mechanical options are generally preferred.
Step-by-Step Stripping Process
- Follow these steps for an effective stripping process: clean the floor, apply the stripper, wait, scrape, and clean again.
Start by sweeping the floor thoroughly to remove debris and dust.
For applying the stripper, choose a product like Citristrip, which should sit for about 30 minutes to an hour, depending on the paint’s thickness.
When scraping, use a plastic putty knife to avoid gouging the wood; work with the grain.
After scraping, a mineral spirits wipe-down can help remove residual stripper. Allow the wood to dry fully before sanding or applying a new finish for a smooth final result.
Dealing with Stubborn Paint
For particularly stubborn paint, consider using heat guns or steam removal techniques for effective paint removal without damaging the underlying surface.
A heat gun can warm up the paint, allowing it to be scraped off more easily. Aim the gun at a low setting, holding it about six inches from the surface, and move it back and forth.
Steam removers, like the Wagner 915, provide a gentler alternative. Hold the steam nozzle on the paint for a few seconds to soften it.
Always wear heat-resistant gloves and safety goggles for protection, and work in a well-ventilated area. No matter which method you pick, try it on a hidden spot first to check that it doesn’t cause damage.
Cleaning and Preparing the Surface
Once stripping is done, it is important to clean and prepare the surface carefully to get a perfect refinishing result.
Cleaning Techniques
Use a mix of vacuuming, mopping with a hardwood cleaner, and wiping with mineral spirits to make sure the surface is clean and free of dirt and residue.
After cleaning, it is important to stop buildup from happening again. Apply a high-quality floor finish like Bona Mega to create a protective barrier, which helps resist dirt and moisture.
Consider using area rugs in high-traffic zones and placing mats at entryways to trap dirt effectively. Schedule regular maintenance, such as light sweeping followed by a damp mop bi-weekly, to keep your floors pristine.
By caring for your hardwood floors often, they will last longer and maintain their appearance.
Inspecting for Damage
Inspect the surface for any damage, such as scratches or water stains, that may need repair before refinishing.
Start by examining the floor thoroughly for subtle imperfections. Look for deep scratches that may require sanding and check for any signs of water damage, like warping or discoloration.
Use a moisture meter to accurately check areas with issues. For minor scratches, a wood filler can be effective, while larger issues might necessitate replacing individual boards.
After completing the repairs, make sure the surface is clean and dry before you start the refinishing work to get a polished result.
Refinishing the Floor
Refinishing involves putting on new coatings to bring back the floor’s look and shield it from damage later on.
Selecting the Right Finish
Picking the right finish is important. Water-based polyurethane is a good choice because it’s strong and easy to apply for DIY enthusiasts.
Water-based polyurethane dries quickly and emits fewer toxic chemicals, which makes it safer to use indoors. It’s ideal for projects like furniture and cabinets, providing a crystal-clear finish.
In contrast, oil-based polyurethane offers a richer color and superior durability, but it takes longer to dry and has a stronger odor. If you’re refinishing hardwood floors, oil-based may be your best bet.
To decide, assess your project requirements, including desired appearance, drying time, and VOC concerns. Use a test area to evaluate the finish before committing to the entire piece.
Application Techniques for Refinishing
Application techniques can significantly affect the final look, with methods like using a paintbrush for edges and a roller for large areas recommended.
To achieve a professional finish, consider the following techniques.
- For edges and corners, a good angle paintbrush provides accuracy and control, preventing smudges on nearby areas.
- Meanwhile, a 9-inch roller with a medium nap covers large areas quickly and evenly.
- Using painter’s tape can make clean edges and safeguard other areas while painting.
Remember to use thin, even layers of paint. Let each coat dry before you add the next one for better strength and look.
A sprayer may be useful for larger spaces, as long as you practice first for an even distribution.
Drying and Curing Times
Drying times vary by product, with water-based finishes typically requiring 2-4 hours to dry and up to a week for full curing.
For optimal durability, follow these timelines: oil-based finishes take about 6-8 hours to dry and can require up to 30 days to cure fully, while gel stains usually dry in 24 hours but may need up to 14 days to reach their maximum hardness.
For the best outcome, set a timer to know when to apply another layer and don’t use heavily until it is fully dry.
To correctly measure drying, a moisture meter can determine when the wood is ready for the next step.
Post-Restoration Care
Taking care of your restored floors is important to keep them looking good and lasting a long time.
Maintaining Your Restored Floor
Regular maintenance includes using appropriate hardwood flooring cleaners and avoiding excessive moisture to preserve your floor’s finish.
To maintain your hardwood floors effectively, follow a simple schedule.
- Clean weekly with a terry-cloth mop and a pH-balanced cleaner specifically formulated for hardwood.
- Monthly, inspect for scratches or dents; consider using a touch-up kit for minor issues.
- Look over your floor’s finish twice a year. If it looks worn out, consider applying another coat.
Use a damp mop rather than a wet one to clean the floor, and quickly clean up any spills to avoid harm.
These methods keep your hardwood floors looking good and durable.
When to Seek Professional Help
Knowing when to get help from a pro can save you time and make sure your restoration job is done right.
When dealing with dangerous materials such as lead paint or serious structural damage, it is important to get a professional evaluation.
For instance, if you suspect lead paint, hiring a certified inspector can cost between $300 to $600. For significant water damage, a restoration expert might charge between $1,500 and $3,500, depending on how bad the damage is.
Attempting these repairs yourself can lead to health risks or increased costs from improper fixes. It’s best to talk to experts when safety is a worry or when damage could harm your home.
Frequently Asked Questions
What is the process for stripping and refinishing a painted floor?
To remove and refinish a painted floor, follow these steps. First, the old paint is removed using a chemical stripper or a sanding method. Next, the floor is cleaned and sanded to remove any remaining residue. Finally, a new coat of paint or finish is applied to the floor.
Can I strip and refinish my own painted floor?
While it is possible to strip and refinish your own painted floor, it is not recommended unless you have experience with this type of project. Improper techniques or use of harsh chemicals can damage your floor and create a safety hazard. It is best to hire a professional for this type of job.
How long does painted floor restoration typically take?
The length of time for painted floor restoration depends on the size and condition of the floor. A small room might need a few hours to complete, but a big room or several rooms might need a few days. The process may also be extended if there are multiple layers of paint or hard-to-remove stains.
What type of finish should I use when refinishing a painted floor?
The type of finish you use for your painted floor will depend on your personal preference and the type of floor you have. Oil-based polyurethane is a popular choice for its durability, while water-based polyurethane is a more eco-friendly option. Pick a floor finish that is made for floors to get results that last.
Can I choose a different color for my refinished painted floor?
Absolutely! When refinishing a painted floor, you have the option to change the color. One of the benefits of painted floor restoration is the ability to update the look of your floor. Just be sure to choose a paint or finish that is suitable for your floor type and desired color.
How often should I refinish a painted floor?
The frequency of refinishing a painted floor will depend on the amount of foot traffic and wear and tear on the floor. Usually, it’s suggested to refinish a painted floor every 3-5 years to keep it looking good and prevent damage. But, you might have to refinish the floor more frequently if it gets used a lot or if it’s in a damp place.