Spot Refinishing Techniques – Matching Existing Floors
Reviving dull scratched floors can be a game changer for your home, especially when refinishing hardwood floors. Spot refinishing techniques offer a practical solution to match existing floors, ensuring seamless repairs. Companies like Keller Design Floors and Flooring Galaxy can guide you through the process, helping you recognize signs of refinishing and the tools needed, like a floor polisher. Check out our guide to find professional advice for bringing back the beauty of your hardwood floors.
Key Takeaways:
Contents
- Spot Repair vs. Full Hardwood Refinishing Statistics
- Types of Flooring Materials
- Tools and Materials Needed
- Preparing the Area
- Spot Refinishing Techniques
- Color Matching Strategies
- Final Touches and Maintenance
- Frequently Asked Questions
- What is spot refinishing and why is it necessary?
- What are some common causes of damage that require spot refinishing?
- Can I spot refinish my own hardwood floor or should I hire a professional?
- How does the process of spot refinishing work?
- Will the spot-refinished area blend in with the rest of my floor?
- What steps can I take to avoid damage that might need repair later?
What is Spot Refinishing?
Spot refinishing involves sanding, staining, and finishing only the damaged parts of hardwood floors. This approach limits disturbance and lowers labor costs.
To begin spot refinishing, you’ll need essential tools: a floor scraper to remove damaged areas, a drum sander for smoothing the surface, and stain to match the existing floor color.
Typically, this method targets areas with dullness, scratches, or water damage. Unlike full refinishing, which needs sanding the entire floor and takes more time and effort, spot refinishing can usually be done in a few hours. This makes it a faster and cheaper way to keep your hardwood floors in good shape.
Spot Repair vs. Full Hardwood Refinishing Statistics
Spot Repair vs. Full Hardwood Refinishing Statistics
The Spot Repair vs. Full Hardwood Refinishing Statistics The dataset probably looks into the important points about preferences, expenses, and results related to two different ways of caring for hardwood floors: repairing small areas and completely refinishing. While exact data is missing, we can still figure out and examine key details from the topic.
Spot Repair typically involves fixing small areas of damage or wear on hardwood floors without doing a full refinishing. This method is generally more cost-effective and less time-consuming, appealing to homeowners with budget constraints or minor imperfections in their flooring. Fixing small areas can protect the rest of the floor’s finish, keeping its appearance and reducing the impact on the household. However, making the repair blend perfectly with the current finish can be difficult, which might cause it to look different.
Full Hardwood Refinishing, on the other hand, involves sanding down the entire floor to the bare wood and applying a new finish. This thorough approach provides a uniform appearance and addresses widespread wear or damage, significantly enhancing the floor’s longevity and aesthetic. Although it is more expensive and takes more time than spot repair, full refinishing makes surfaces look like new. This can be a good option for homeowners who want to increase property value or completely change the look of their space.
The decision between spot repair and full refinishing often depends on factors such as the extent of the damage, budget considerations, and the homeowner’s long-term plans for the property. For minor scratches or small areas of wear, spot repair provides a practical solution. If there’s significant wear or you want to change the floor color, it’s best to completely refinish it.
Knowing the effects of each method helps homeowners decide how to care for their hardwood floors, considering cost, time, and goals.
Importance of Matching Existing Floors
To fix the hardwood floor so it looks even and matches the nearby area, it’s important to get the color and finish just right.
To successfully spot refinish, start by identifying the wood species. Oak has distinctive grain patterns, while maple features a smoother surface.
Next, assess the existing finish: oil-based polyurethane dries amber and is more durable, whereas water-based polyurethane is clearer and less yellowing. Sample both finishes on hidden areas to find the closest match.
Use tools like a color-matching app to aid in selecting the right stain. Lightly sand the area to help the finish stick properly before applying it.
Types of Flooring Materials
Knowing the type of flooring is important for picking the correct refinishing method and tools. To ensure you’re choosing the right approach, it’s crucial to understand the flooring’s characteristics such as its hardness. See also: Understanding Flooring Janka Hardness Ratings.
Hardwood Floors
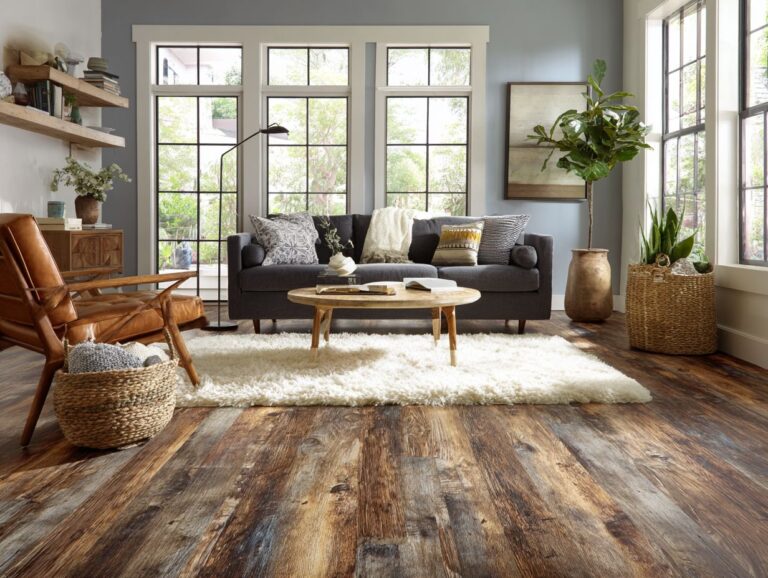
Hardwood floors are popular because they last a long time and look nice, but they need special refinishing methods that match the type of wood and finish.
- Start by identifying the wood species, as this impacts your choice of stain and finish. For example, oak absorbs stain differently than maple.
- Use a wood sample for testing-sand a small area to see how the finish reacts. After picking a stain that matches your home’s style, choose between water-based stains, which dry quickly and give a clear finish, and oil-based stains, which deepen the color.
- Choose a polyurethane finish for durability, with options available in matte, satin, or gloss to match your desired look.
Laminate Floors
Unlike hardwood, laminate floors often require careful handling during refinishing due to their synthetic layers and printed surface.
Spot refinishing on laminate is limited; while surface scratches can sometimes be filled, deeper gouges often remain visible. Instead of refinishing, consider repair methods like using a laminate repair kit that matches your floor’s color.
This includes applying colored wax or putty to fill minor scratches. For significant damage, replacing individual planks is often the best course.
Measure the affected area and source matching planks-many home improvement stores carry various styles. This approach maintains the floor’s integrity and appearance more effectively than refinishing. Related insight: Laminate Floor Peaking and Buckling Solutions can offer additional repair strategies, especially for structural issues.
Vinyl Floors
Vinyl floors offer a cost-effective option but require a different approach when refinishing, often involving surface cleaning and repair rather than sanding.
To maintain vinyl floors effectively, avoid abrasive cleaning agents that can damage the surface. Instead, use a pH-neutral cleaner or a mixture of warm water and vinegar for routine cleaning.
For minor scratches, a specialized vinyl floor repair kit can restore the finish; simply follow the product instructions.
Find places with heavy foot traffic and apply a protective layer every few years to extend the lifespan of the floor. This careful method keeps your vinyl floors looking lively and strong, saving money on replacements.
Tile Floors
Tile floors present unique challenges in refinishing due to their rigid structure, often requiring replacement rather than refinishing.
To maintain tile flooring effectively, regular cleaning is essential. Use a pH-neutral cleaner specifically designed for tile surfaces, and avoid abrasive materials to prevent scratches.
To clean grout, use a mixture of baking soda and vinegar to remove stains. If significant damage occurs, assess whether to replace individual tiles or entire sections based on the extent of the wear.
To change tiles, use a chisel and hammer to take them off, and wear safety goggles. Next, attach a new tile using thin-set mortar and seal the grout to protect against any later damage.
Tools and Materials Needed
Having the right tools and materials is important for effective spot refinishing, making the repair process efficient and high-quality.
Sanders and Scrapers
Using the correct sanders and scrapers helps effectively remove damaged finish and prepare the wood for refinishing.
For optimal results, consider using an orbital sander ($50-$200) for smooth surfaces and a drum sander ($1,000+) for larger areas like floors.
A carbide scraper ($15-$50) is ideal for removing stubborn finishes, while a detail sander ($30-$100) excels in tight corners.
Use the orbital sander for the first sanding, the drum sander for tough jobs, and scrapers for detailed work.
This method guarantees a polished result, creating a perfect refinishing process.
Stains and Finishes
Choosing the right stains and finishes is critical for ensuring that the repaired area matches the existing floor’s appearance and durability.
Oil-based polyurethanes, like Minwax Super Fast-Drying Polyurethane, offer excellent durability but can take up to 24 hours to dry. They provide a rich, amber hue, which deepens the wood’s color.
In contrast, water-based options, such as Varathane Diamond Wood Finish, dry in a mere 2-3 hours and maintain the wood’s natural look.
When applying, use a high-quality synthetic brush for oil-based finishes and a foam applicator for water-based. It’s essential to apply at least three coats, sanding lightly between each for optimal smoothness.
Brushes and Applicators
The choice of brushes and applicators affects the quality of stain and finish application, impacting the overall look of the refinished area.
To achieve the best results, consider these options:
- Foam brushes (around $5) are excellent for smooth finishes but can absorb too much stain.
- Natural bristle brushes ($10-$25) work well for oil-based stains, ensuring even application due to their flexibility.
- For larger areas, use a high-quality roller (approximately $15) for quick coverage, especially on flat surfaces.
- Synthetic wool pads ($10-$30) are ideal for water-based finishes, providing a smooth, lint-free application.
Choose the right brush for your stain to get the best results.
Protective Gear
Wearing the right protective equipment is important to stay safe when doing refinishing work, especially in areas with a lot of dust.
Key protective items include safety glasses to shield your eyes from flying debris, respirators to filter harmful dust particles and fumes, and dust masks for lighter tasks.
For reliable options, consider:
- 3M’s safety glasses ($15)
- A P100 respirator ($30)
- Disposable N95 masks ($5 for a pack)
Each item is important: safety glasses protect eyes from harm, respirators limit breathing in dangerous substances, and dust masks keep the airways clean. Using top-quality gear protects you and improves your work efficiency.
Preparing the Area
It’s important to prepare the area correctly for spot refinishing.
Begin by cleaning thoroughly and checking for any damage. For a comprehensive understanding of the tools and steps necessary for the job, you might find our guide on the DIY Floor Refinishing process helpful.
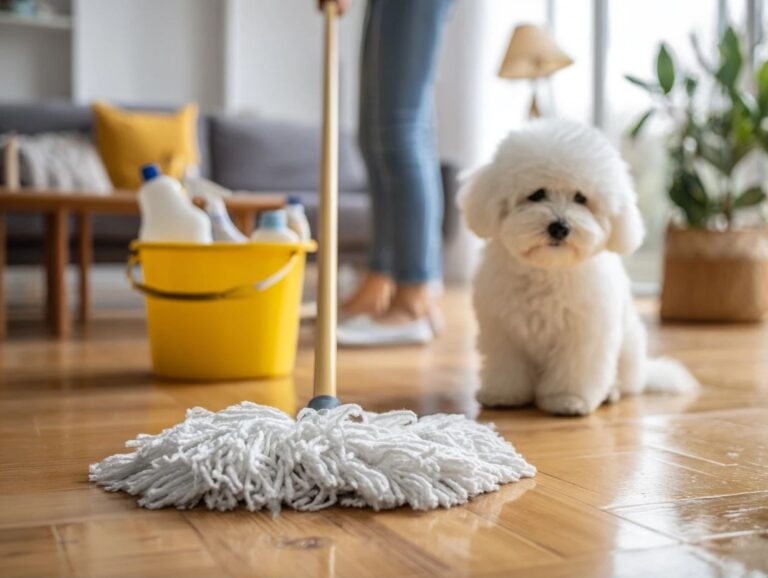
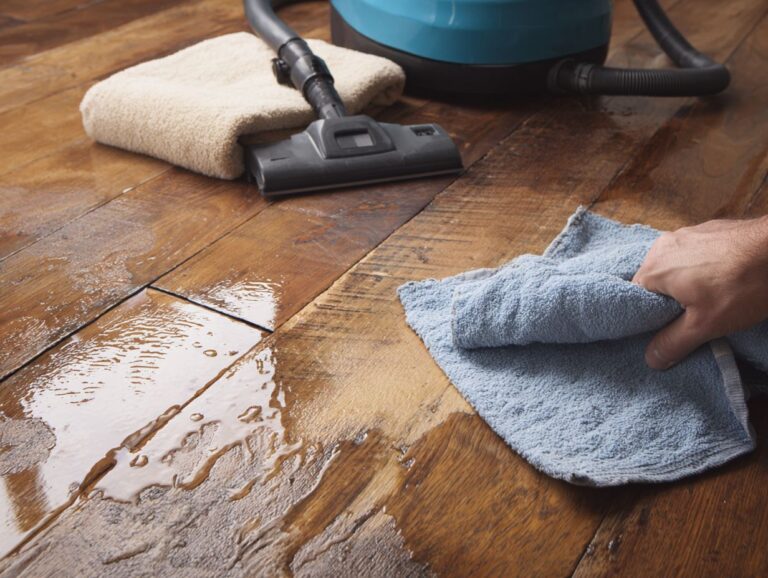
Cleaning the Floor
Cleaning the floor thoroughly removes dirt and debris, allowing for a smooth refinishing process and better adhesion of stains and finishes.
To clean your floor effectively, start by using a vacuum cleaner to remove larger particles and dust. Focus on corners and crevices where debris tends to accumulate.
After vacuuming, use a damp tack cloth to wipe the surface, ensuring you avoid excessive moisture to prevent damage. Make sure to work in sections, applying light pressure to avoid scratching.
This method has two parts: it cleans the floor by getting rid of dirt and prepares it for refinishing, making it suitable for applying stains or finishes.
Assessing Damage
Evaluating the extent of damage helps determine whether spot refinishing or a different repair method is necessary.
Start by identifying specific issues: look for scratches, which are typically shallow and can often be buffed out, or dents that may require more extensive work.
Also, assess discoloration; if it’s localized, spot refinishing might suffice. For example, a small scratch on a table might just need a minor repair, while large areas of fading mean the whole surface needs refinishing to look consistent.
Use a magnifying glass for close inspection, and compare repair costs. If it’s extensive or affects structural integrity, consider full refinishing for optimal results.
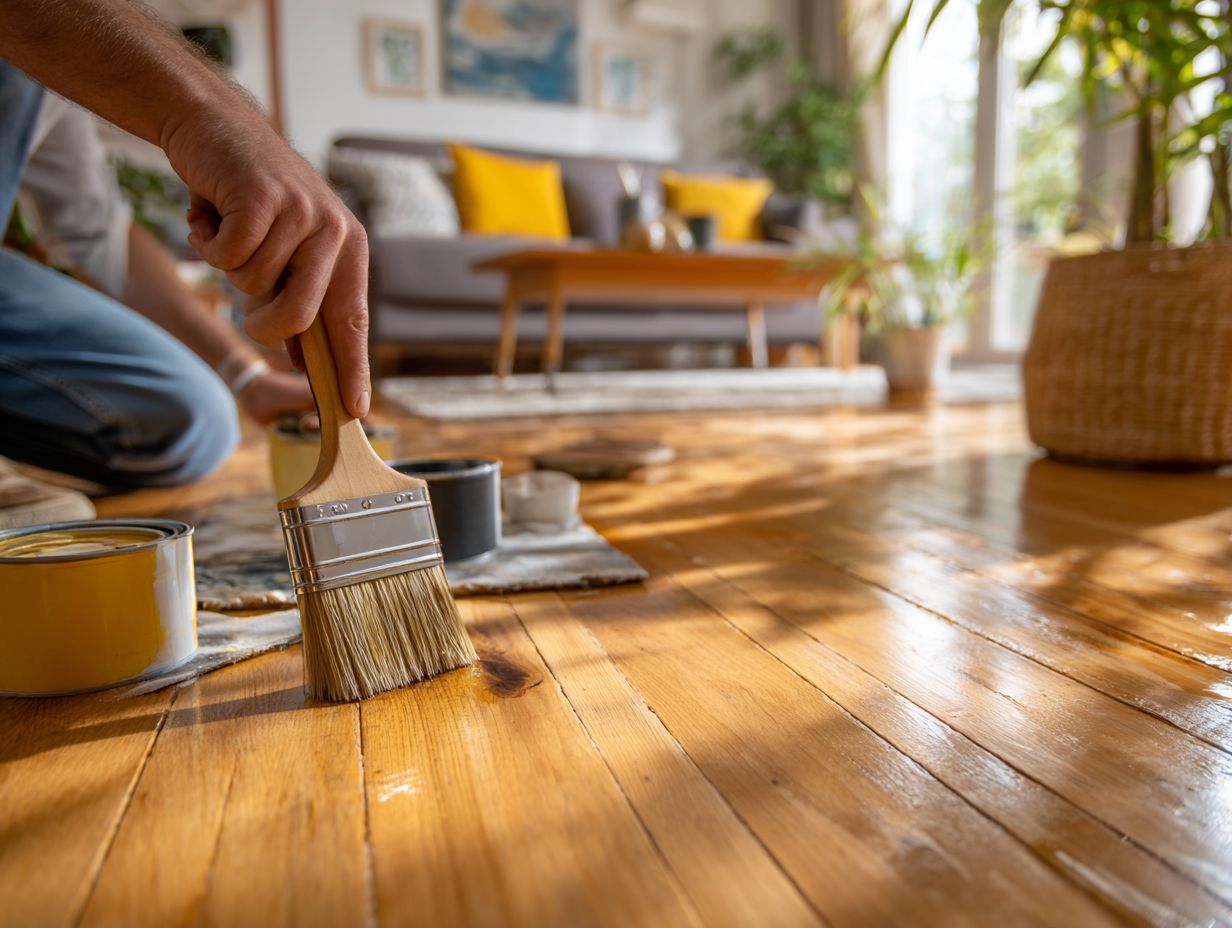
Spot Refinishing Techniques
Knowing the right refinishing methods is essential for a flawless result and for making the repaired area blend with the existing floor seamlessly.
Light Sanding
Light sanding is often the first step in spot refinishing, effectively smoothing out minor imperfections without removing too much of the original finish.
To achieve the best results, you’ll need tools like sanding screens (240-grit) or sanding disks for your power sander.
Start by gently sanding the area in circular motions to create an even surface. Pay attention to the edges where there are flaws, being careful not to press too hard. This task typically takes around 30 minutes for small areas.
Wipe clean with a damp cloth to remove dust before applying any topcoat, ensuring a smooth finish.
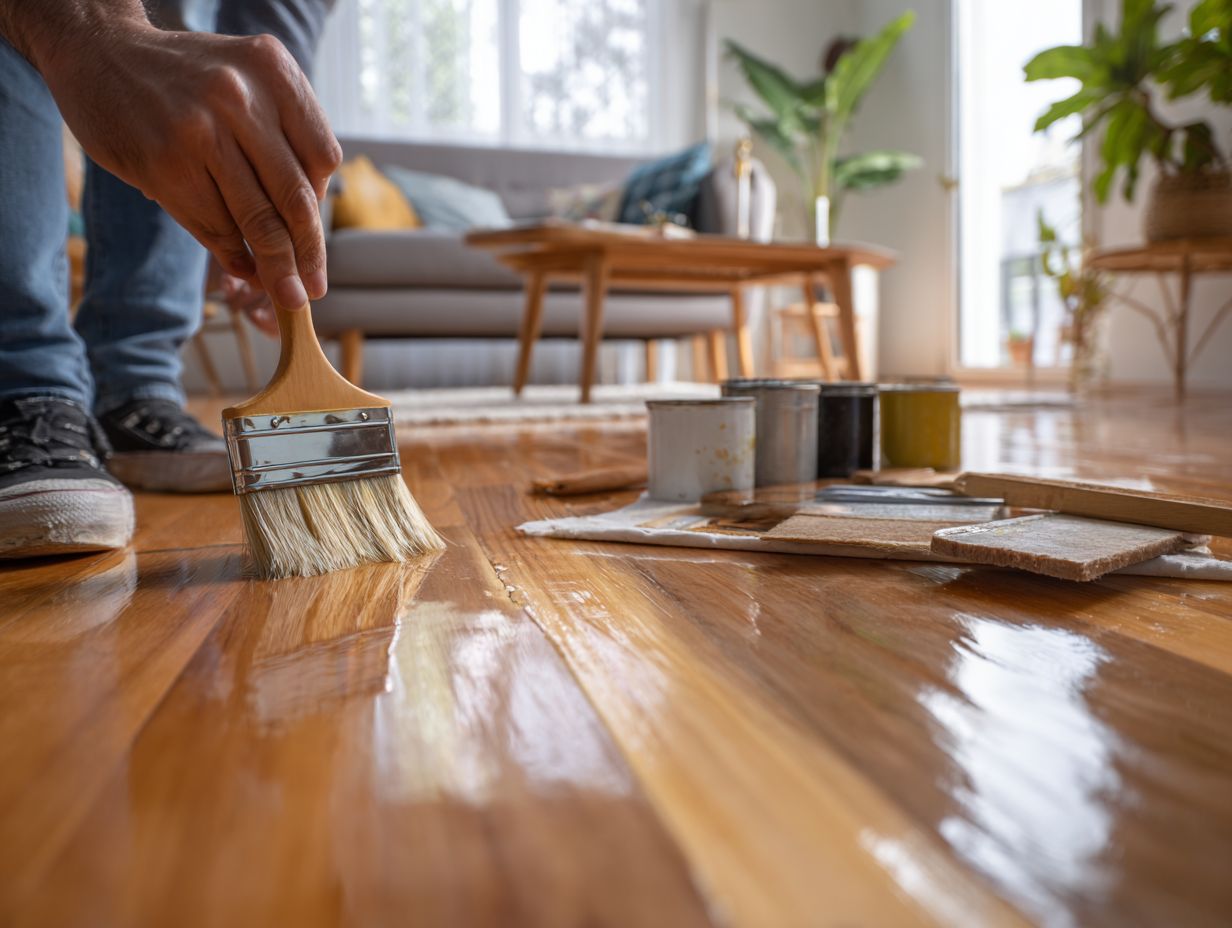
Stain Application
Putting stain on properly improves the floor’s color and makes sure it blends well with the nearby wood pattern for a consistent appearance.
- Start by selecting a test area on your floor to apply the stain, ideally in a less visible spot. Use sample boards to try different colors, applying them as per the manufacturer’s instructions.
- After you find a match, check that you have enough stain to cover the whole surface. For even application, use a high-quality brush or foam applicator, applying the stain along the wood grain.
- Allow it to penetrate for a few minutes before wiping off the excess with a clean cloth to prevent streaks.
Applying Finish
Putting on the last layer safeguards the wood and makes it look better, making it a key step in refinishing.
To apply the finish effectively, consider using a high-quality brush for a smooth, even application. If you prefer a quicker method, a foam roller can also work well for larger surfaces.
For detailed work, using a spray can prevent brush marks. You should apply multiple layers, typically two or three, allowing each one to dry completely before adding the next. The drying time can vary from 1 to 8 hours, depending on the product.
Always lightly sand the surface between coats to help the layers stick well and look perfect in the end.
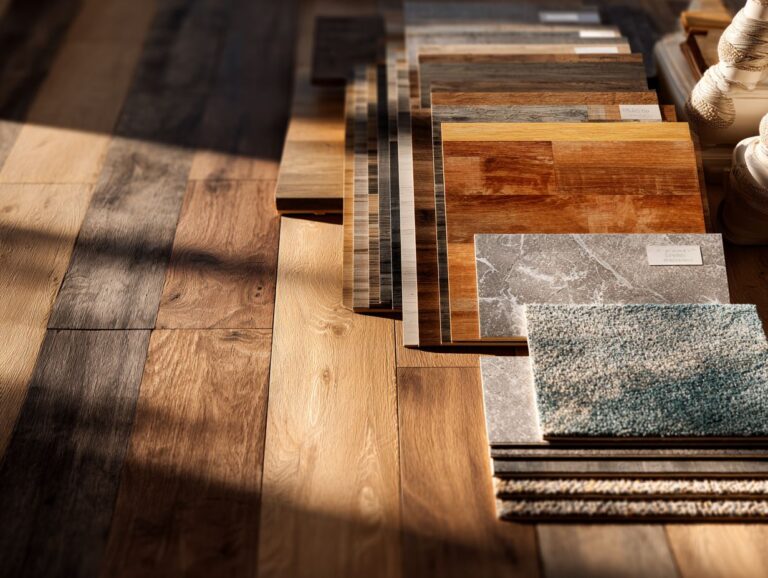
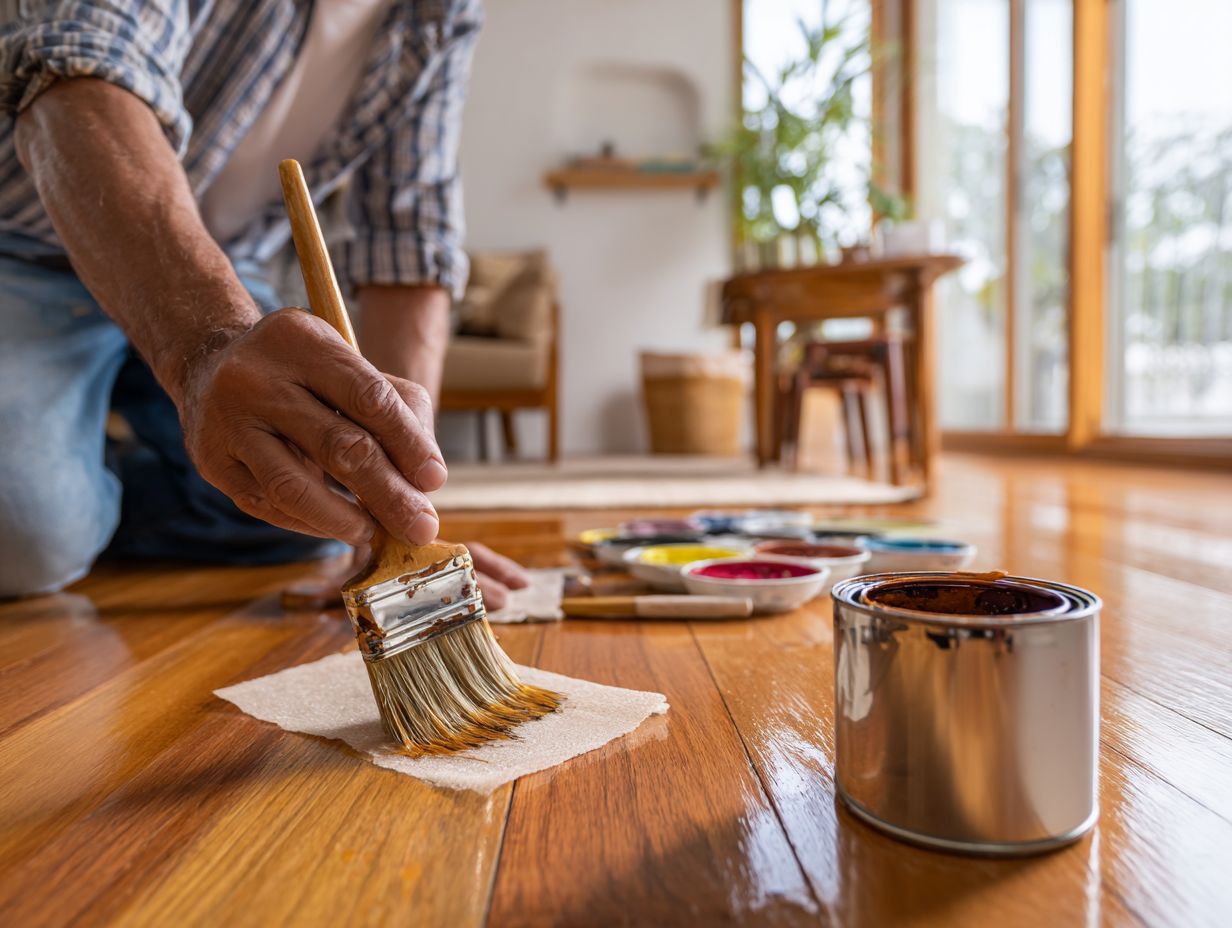
Color Matching Strategies
Choosing the right color is important for a smooth appearance in a refinishing project, using methods that make sure the new finish matches the existing floors well.
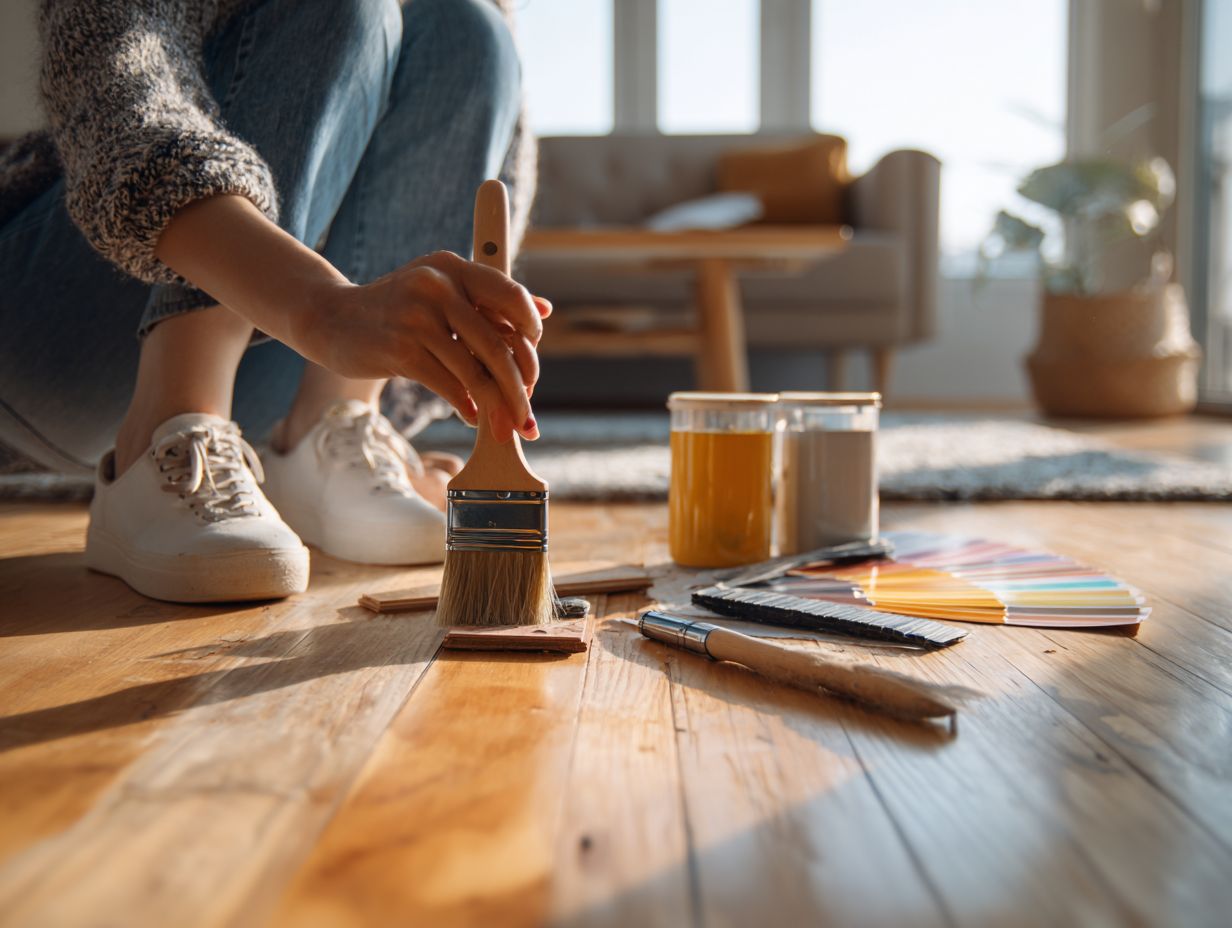
Using Sample Boards
Using sample boards helps homeowners see how various stains will appear on their current floors before deciding.
- To create effective sample boards, start by cutting 2×2-foot pieces of plywood or MDF.
- Next, apply your chosen stains in sections, allowing each to dry according to the manufacturer’s instructions. For the best results, consider testing multiple finishes, such as matte, satin, or gloss, on separate boards.
- Once dry, place the boards next to your existing flooring in various light conditions. This will help you assess color match and sheen levels over time, ensuring a seamless integration with your home decor.
Understanding Color Undertones
Identifying the subtle differences in wood colors is essential for choosing the right stain to match current flooring.
To identify undertones, start by examining the wood in natural light, as this reveals true colors.
For instance, oak often displays a subtle red undertone, which can clash with yellow stains. On the other hand, maple usually has a soft yellow tint, so cooler colors match well with it. Mahogany has rich, deep red hues that complement darker, richer stains.
Use color charts or digital tools like Sherwin-Williams’ ColorSnap to see possible matches and make sure your chosen stain brings out the wood’s natural look.
Final Touches and Maintenance
Buffing and polishing the floor makes it look better and last longer. For a comprehensive approach, understanding the tools and steps involved in the process can be beneficial-our DIY Floor Refinishing guide provides detailed insights.
Buffing and Polishing
Buffing and polishing hardwood floors creates a glossy finish while helping to restore some of the flooring’s original luster.
To achieve the best results, use a floor polisher such as the Bona PowerPlus ($300) or the Oreck Commercial Orbiter ($350). Pair these with synthetic wool pads to effectively remove scuff marks and build-up.
To maintain your floors, polish them every 3-6 months based on foot traffic. After polishing, use a good hardwood polish such as Howard Restor-A-Finish to care for the wood and improve its shine.
By first buffing and then polishing, your hardwood floors will stay beautiful and protected for a long time.
Frequently Asked Questions
What is spot refinishing and why is it necessary?
Spot refinishing is a technique used to repair and touch up small damaged areas on a hardwood floor. It is necessary to maintain the overall appearance and integrity of the floor, especially in high traffic areas.
What are some common causes of damage that require spot refinishing?
Some common causes of damage on hardwood floors include scratches, dents, water damage, and wear and tear from heavy furniture or pets.
Can I spot refinish my own hardwood floor or should I hire a professional?
Even though spot refinishing may seem simple, it’s best to hire a professional with the right equipment and skills for a smooth and polished finish.
How does the process of spot refinishing work?
The first step in spot refinishing is to clean and prepare the damaged area. Then, the damaged area is sanded down and stained to match the existing color of the floor. Finally, a coat of finish is applied to protect the repaired area.
Will the spot-refinished area blend in with the rest of my floor?
With the proper techniques and materials, a spot-refinished area should blend in seamlessly with the rest of the floor. But, if the floor is very damaged or heavily worn, you might need to redo the whole floor.
What steps can I take to avoid damage that might need repair later?
To prevent damage to your hardwood floor, it is important to regularly clean and maintain the floor, avoid dragging heavy furniture, and use protective pads under furniture legs. Putting rugs in busy areas can help protect the floor.