Tile Floor Crack Repair – When to DIY vs Call Pro
Contents
- Introduction to Tile Floor Crack Repair
- Assessing the Damage
- When to DIY
- When to Call a Professional
- Cost Comparison: DIY vs Professional Repair
- Tile Floor Repair Cost Analysis
- Prevention Tips
- Frequently Asked Questions
- Can I repair a cracked tile floor on my own?
- How can I tell if a cracked tile floor requires professional help?
- What are some DIY methods for repairing small cracks in a tile floor?
- When should I call a professional for tile floor crack repair?
- What are the benefits of hiring a professional for tile floor crack repair?
- How can I stop cracks from forming later in my tile floor?
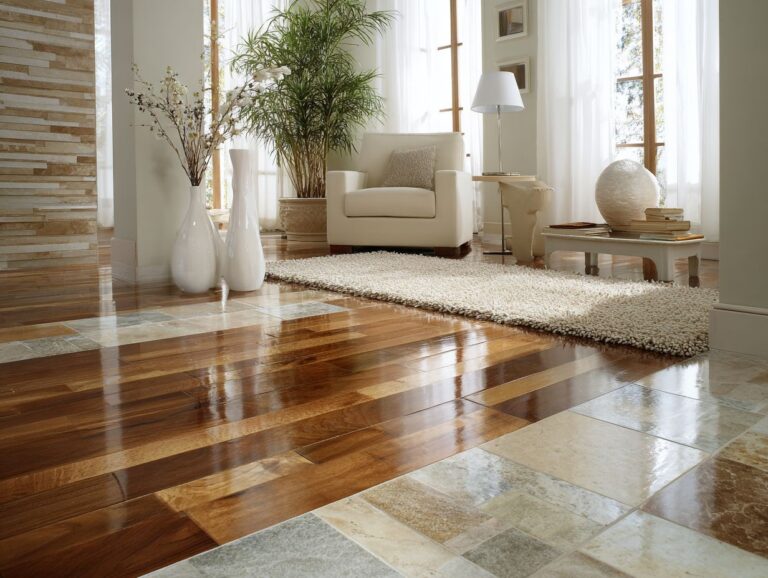
Introduction to Tile Floor Crack Repair
 Broken ceramic tiles can be a big problem for homeowners. Knowing when to fix the tiles on your own or hire an expert, such as Mr. Handyman, is important. If your porcelain tile flooring has a small chip or more serious damage, using the right method can help you save time and money. In this guide, we’ll help you check your damaged tiles, look at DIY solutions, and know when hiring a professional is the right choice.
Key Takeaways:
1.
2.
3.
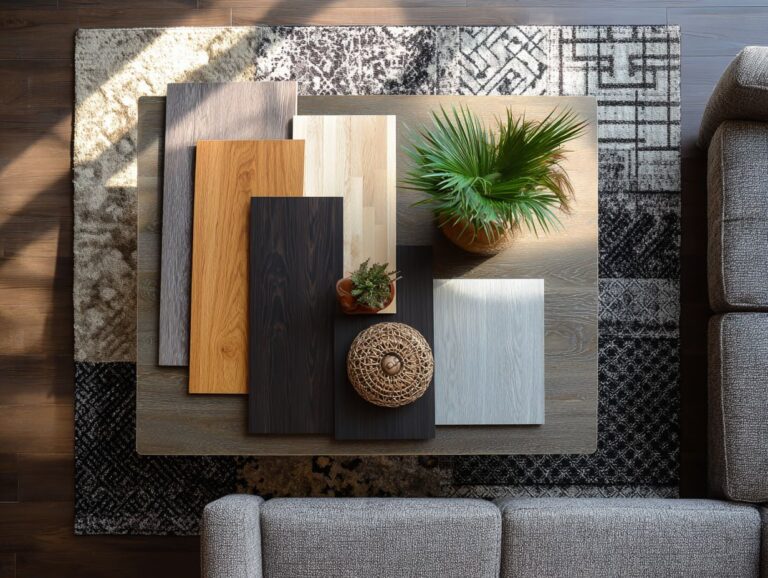
Understanding Tile Floors
Tile floors come in various materials, including ceramic, porcelain, laminate, and natural stone, each with its own characteristics and maintenance requirements.
Ceramic tiles, known for their affordability and water resistance, are suitable for high-traffic areas but may chip easily.
Popular options like the Daltile 6×6 ceramic tiles are durable yet stylish, perfect for kitchens.
Porcelain tiles are thicker and better at resisting water, which makes them perfect for bathrooms.
The Marazzi Treverksoul series has a wood appearance but lasts longer.
Even though both types need regular sweeping and occasional mopping, porcelain tiles are easier to care for because they absorb less water, making them a good choice for long-term use.
Common Causes of Cracks
Knowing what usually causes tile cracks-like water damage, bad flooring installation, and structural problems-can help homeowners avoid problems later on.
Water damage is a leading cause of tile cracks. For instance, leaks from plumbing pipes can seep into the subfloor, leading to expansion and eventual cracking of tiles.
To stop this, check your plumbing systems often and fix any leaks right away. Improper setup, such as lacking sufficient underlayment, can lead to cracks. Make sure an experienced expert completes the installation.
Structural issues, such as settling foundations, may need a structural engineer’s assessment. By addressing these factors proactively, homeowners can significantly reduce the risk of tile damage.
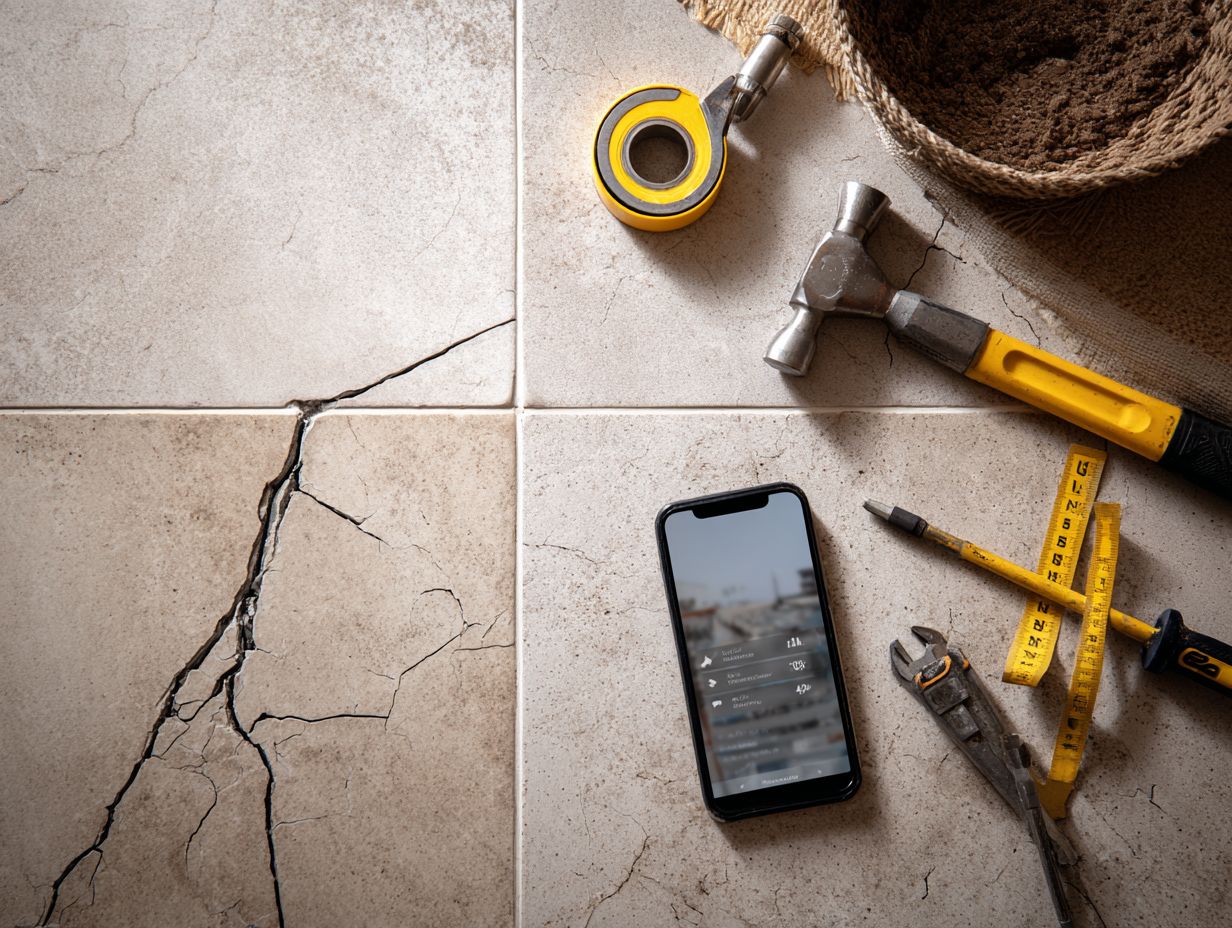
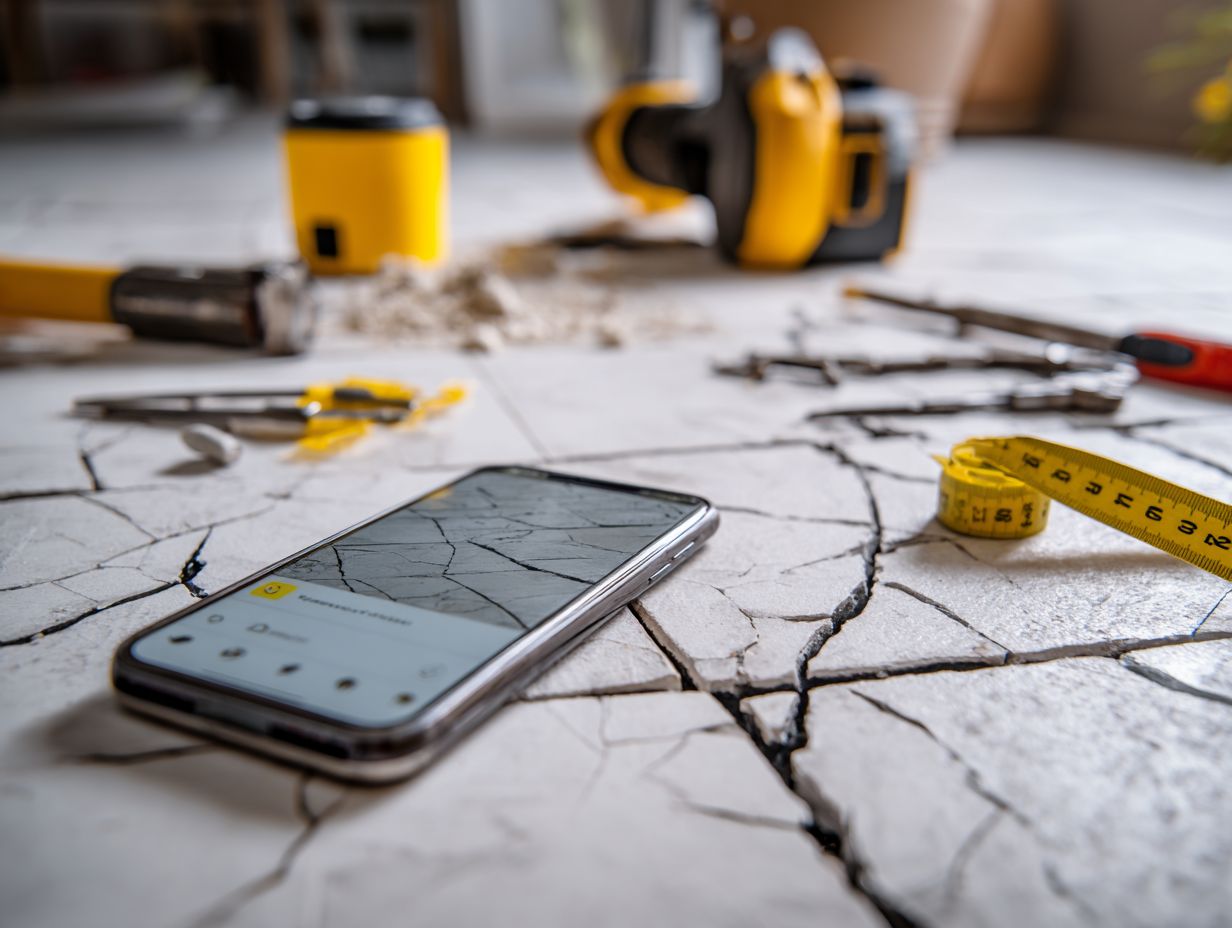
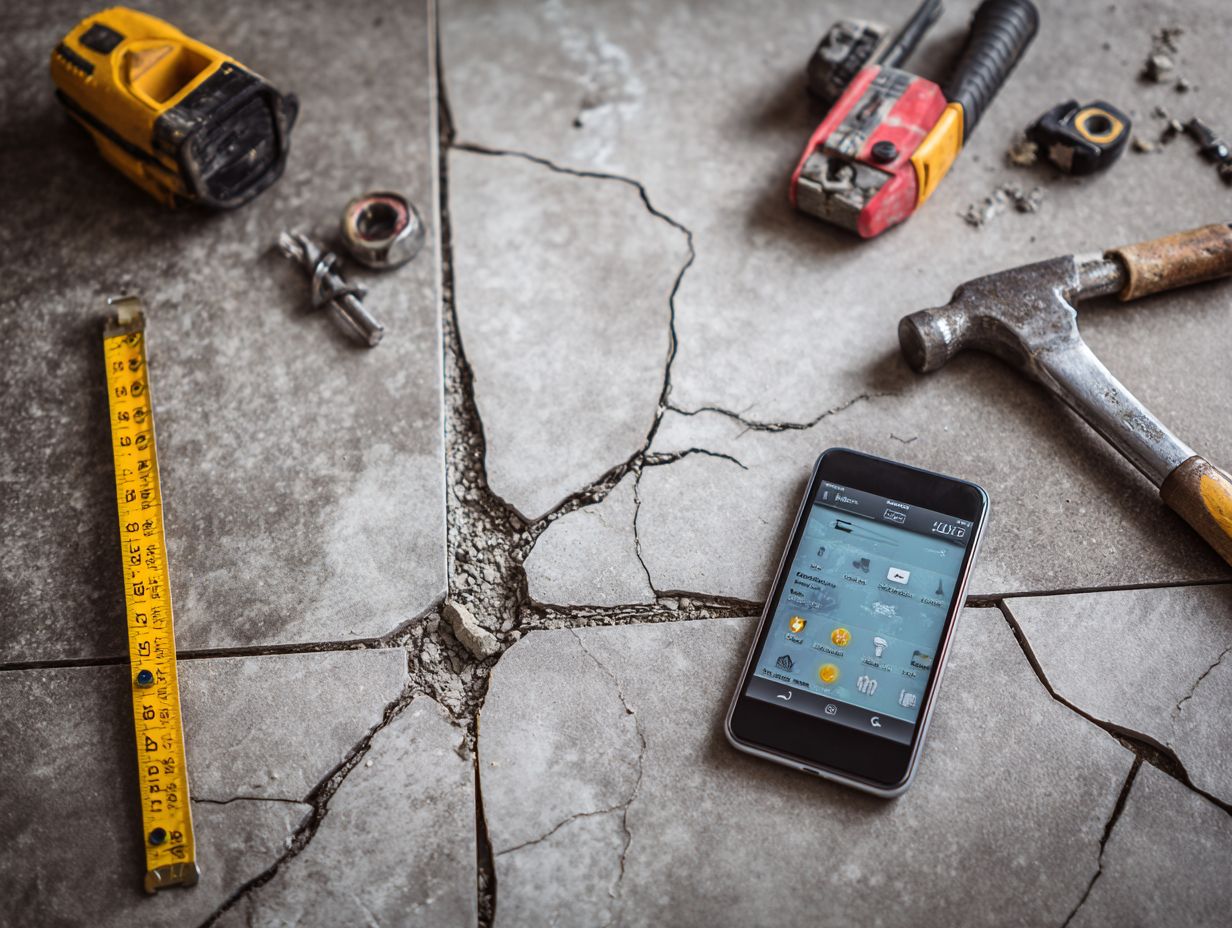
Assessing the Damage
Checking tile damage carefully is important to decide the best way to fix it and whether you should do it yourself or hire an expert.
Types of Cracks
Tile cracks come in different forms such as small surface cracks, those affecting the tile’s structure, and very deep cracks. Each type needs a different method for fixing.
Hairline cracks, often cosmetic, can typically be addressed with a simple grout refresh or a specialized filler. Structural cracks can indicate deeper problems and may require replacing the entire tile or adding extra support.
Big cracks usually mean water damage. It’s important to use a waterproof sealant before fixing them. To identify these cracks, look for their width and pattern; hairline cracks are thin and often evenly spaced, while structural cracks can vary significantly in width and often involve tile displacement.
Inspecting early can prevent costly repairs later.
Extent of Damage
The extent of damage to your tile floor-whether it’s isolated or widespread-can dictate whether a simple repair or full replacement is necessary.
- Start by visually inspecting the tiles for cracks or chips. Count the number of damaged tiles; if there are more than three, a replacement may be more efficient.
- Next, check for loose tiles-gently press down to see if they shift. If you notice significant movement, moisture might be getting underneath, which could require more extensive repairs. A moisture meter can precisely find hidden issues.
This evaluation will guide you in deciding the best course of action, ensuring you address both surface and potential underlying problems.
Location of the Crack
The position of a crack can hint at what caused it and how serious it is. Cracks close to walls might point to structural problems, while ones in the center of floors may indicate settling issues.
To check cracks properly, use tools like moisture meters to measure humidity levels, which can show hidden leaks.
Inspect the crack’s width and shape; a width greater than a quarter inch may signal a more serious problem. Documenting the crack’s progression over time can help in assessing its movement.
For serious situations, think about hiring a structural engineer to carry out a full check, especially for buildings older than 20 years, to guarantee safety and correct repairs.
When to DIY
Some people who like to do things themselves can fix tiles, especially when fixing small cracks that don’t affect the strength of the floor.
Minor Cracks
Minor cracks, such as hairline fractures or superficial chips in tiles, can typically be repaired effectively by homeowners using the right tools and materials.
To tackle these repairs, consider using a high-quality epoxy filler. For example, products like the DAP Liquid Cement Crack Filler or the Red Devil Tile Repair Kit are excellent options.
Begin by cleaning the area around the crack, ensuring no dust or debris interferes. Apply the filler with a putty knife, pushing it firmly into the crack.
Once it dries, lightly sand it to create a smooth surface. Finish with a matching paint or sealant if needed to blend it seamlessly.
Tools and Materials Needed
Essential tools and materials for DIY tile repair include tile adhesive, grout, putty knife, and a tile saw for extensive damage.
For effective tile repair, choose an adhesive that suits your tile type, such as thin-set for ceramic tiles ($10-$20 per bag) or mastic for wall tiles. A thorough understanding of material differences can aid in making the right choice (our comparison of porcelain vs ceramic tiles is insightful).
Grout choices vary too; unsanded grout ($5-$10) is ideal for narrow joints, while sanded grout ($5-$15) works best for wider ones.
Use a putty knife to spread the glue smoothly, and a tile saw will help you cut tiles accurately if you need to replace them. This blend guarantees a long-lasting, neat repair.
Step-by-Step DIY Repair Process
Fixing a tile yourself involves a step-by-step process, starting from checking the crack to using the needed repair materials.
- Begin by cleaning the area around the crack with a damp cloth to remove debris.
- Next, use a tile adhesive or epoxy to fill the crack, ensuring it’s slightly overfilled to account for shrinkage. Smooth the surface with a putty knife and let it cure for about 1-2 hours.
- For larger cracks, consider using a fiberglass mesh tape under the adhesive for added support. Always wear gloves when handling adhesives and avoid over-applying, which can lead to messy finishes.
- Allow at least 24 hours for the repair to fully set before regrouting or applying any sealants.
When to Call a Professional
Some situations call for expert help, especially when tile cracks show more serious structural problems that may affect the home’s stability.
Severe Cracks
Large cracks, usually wider than 1/8 inch or causing tiles to shift, need a professional to look at them right away to find out what’s causing the problem.
An expert usually checks the situation by looking at building parts and testing the soil if needed.
Scenarios that warrant a repair include significant foundation shifts after heavy rains or visible cracks forming at door frames.
Costs can vary from $500 to more than $2,500 based on how bad the damage is and where it is located.
Repairs could last from a few days to a few weeks, depending on the materials we have and how much damage needs fixing.
Structural Issues
Cracks that signal structural issues, such as those near load-bearing walls or foundations, often indicate significant and costly repairs ahead.
It’s important to notice these signs early. Look for:
- Jagged cracks wider than a quarter-inch
- Doors or windows that stick
- Unusual settling in floors
If you notice any of these signs, contact a structural engineer immediately. Their assessments typically range from $300 to $1,000, depending on the complexity and location.
Fixing the damage can take a long time, sometimes weeks or months, and can cost between $2,000 and $15,000. Identifying issues early and getting professional advice can prevent more damage and help in planning necessary repairs.
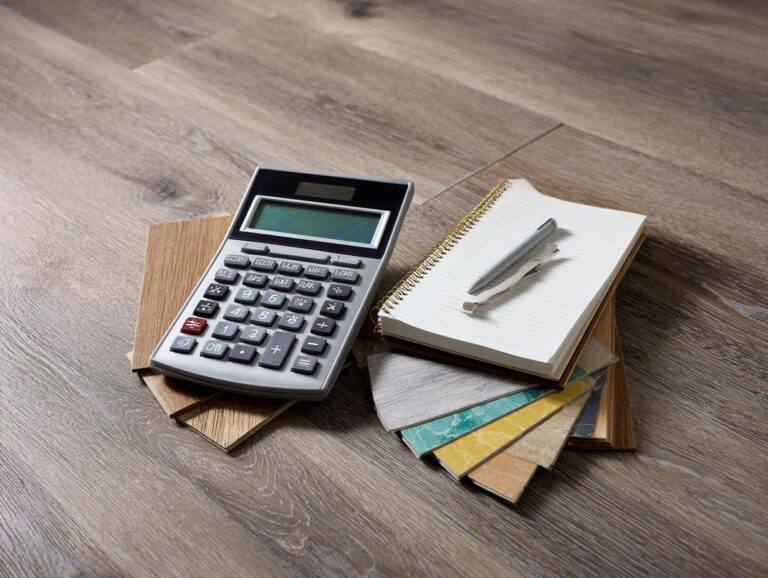
Time and Cost Considerations
Knowing how much time and money professional tile repair requires can help homeowners decide how to fix their flooring problems.
Usually, hiring someone for the job costs from $50 to $100 per hour, and most repairs need 1 to 3 days to finish. This means homeowners might spend anywhere from $400 to $2,400 depending on the extent of the damage.
In contrast, a DIY approach can range from $50 to $300 for materials, but it may take up to a week, especially for novices who might need extra time for planning and execution.
Considering these options can help you choose the best decision for your home renovation project.
Cost Comparison: DIY vs Professional Repair
Considering the expenses of doing repairs yourself versus hiring professionals is important for homeowners choosing how to handle tile crack problems.
Tile Floor Repair Cost Analysis
Tile Floor Repair Cost Analysis
Repair Costs Breakdown: Tile Repair Costs
Repair Costs Breakdown: Grout Repair Costs
Repair Costs Breakdown: Special Tile Areas
Repair Costs Breakdown: Labor Costs
The Tile Floor Repair Cost Analysis offers a detailed explanation of costs linked to tile repair, including supplies, work fees, and particular repair situations. Knowing these costs is important for homeowners and businesses planning renovations or repairs.
Repair Costs Breakdown highlights different aspects of tile repair:
- Tile Repair Costs: The average cost for tile repair per square foot, including materials and labor, is $10.00. Specific repairs such as cracked or tenting tile replacement can reach $130.00 “”, showing the detailed and accurate work needed. General floor tile repairs average around $50.00, while DIY repair kits are a budget-friendly option at $10.00, suitable for minor repairs.
- Grout Repair Costs: Repairing grout costs approximately $3.00 per square foot when considering both materials and labor. More extensive work, such as complete regrouting, can cost up to $450.00, reflecting the labor-intensive nature of the task. Shower grout repair is priced around $100.00, and routine grout resealing is a low-cost option at $0.50 per square foot, helping extend the grout’s lifespan and appearance.
- Special Tile Areas: Pool tile repairs are estimated at $25.00, due to materials and the skill required for underwater repairs. Acid wash stain removal costs about $150.00, offering a solution for stubborn stains, particularly important for maintaining aesthetic appeal.
- Labor Costs: Labor for tile repair is a significant factor, with costs reaching $7.00 per square foot. Handyman services, necessary for more complex tasks, are billed at an average hourly rate of $50.00.
Overall, the Tile Floor Repair Cost Analysis outlines essential cost components for various repair needs. By knowing these costs, property owners can better plan for upkeep and choose the right solutions, making sure the property works well and looks good.
Material Costs
Material costs for tile repairs can vary significantly based on the type of tile and the extent of the damage, with DIY repairs typically costing 50% less than hiring a professional.
For DIY tile repair, common materials include:
- Grout ($5-$15)
- Tile adhesive ($10-$20)
- Replacement tiles (often $1-$5 per tile, depending on the material)
In contrast, professional services might charge upwards of $200 just for grout removal and installation labor. To find the best prices, visit nearby home improvement stores or check online stores like Home Depot or Lowe’s.
By carefully budgeting and selecting materials, you can effectively minimize repair costs while achieving professional-looking results.
Labor Costs
Labor costs for professional tile repair can add significantly to the overall expense, often ranging from $50 to $100 per hour depending on the complexity.
For example, in urban areas like New York City, a simple repair can total around $300-$500 when labor is factored in. Conversely, a DIY approach, using tools like a tile cutter or adhesive, might only cost between $50 and $150, depending on materials needed.
DIY repairs require a time investment and some skill. Home improvement forums and YouTube tutorials offer useful advice for beginners, helping you save money while learning a new skill.
Long-term Value
Getting an expert to fix your tiles solves existing problems and prevents new ones, increasing your property’s value.
For example, hiring a professional can significantly reduce the risk of water damage, a common issue linked to cracked or loose tiles.
Studies indicate that fixing up areas of the home, particularly kitchens and bathrooms, can increase property value by as much as 15%.
Engaging services like Angie’s List or HomeAdvisor can help you find qualified professionals with verified reviews.
Repairs might seem costly at first, but they can save you money over time and raise your home’s value, making them a good decision.
Prevention Tips
To avoid tile cracks, it’s important to regularly maintain your flooring and follow correct installation methods to make it last longer.
Regular Maintenance
Regular maintenance of tile flooring, including cleaning and resealing grout, is essential for preventing cracks and prolonging the life of tiles.
To maintain your tile flooring effectively, establish a cleaning schedule. Sweep or vacuum weekly to remove dust and debris, and mop using a pH-neutral cleaner bi-weekly.
To prevent grout from staining or soaking up moisture, apply a new seal every 6-12 months. Products like AquaMix Sealer and grout cleaners from Zep can be beneficial.
Look at the grout every three months for any wear or damage and repair issues as soon as possible. This routine helps maintain appearance and durability, making it a good investment.
Proper Installation Techniques
Good installation methods are important to avoid cracks later. This involves ensuring the foundation is even and applying the correct adhesive and grout.
- Begin by selecting a quality thin-set mortar appropriate for your tile type-modified thin-set is ideal for most porcelain and stone.
- Use spacers to keep grout lines even; use 1/16-inch spacers for smaller tiles and 1/8-inch spacers for larger tiles.
- Once you have applied the glue, let it set for 24 hours before adding grout to make sure it sticks well. This waiting time is necessary for the glue to harden, lowering the chance of cracks later.
Making the Right Choice
Choosing between DIY and professional repair depends on the extent of the damage, costs, and your comfort level with home repairs.
Start by assessing the damage: minor issues like a leaky faucet or a squeaky door often lend themselves to DIY fixes, as resources like YouTube tutorials can guide you through the process.
For instance, replacing a faucet cartridge typically involves just a few tools, such as a wrench and a screwdriver, which can be found in most households.
On the other hand, major structural problems such as a broken foundation or electrical wiring problems usually need a professional’s help. Getting multiple quotes from licensed contractors can help you gauge costs versus your ability for a DIY solution.
Final Thoughts
Keeping tile floors clean and fixing them when needed helps keep your home looking good and working well for a long time.
To keep your tile floors looking their best, start with regular sweeping and mopping to prevent dirt buildup.
Use a pH-neutral cleaner specific for tiles; for instance, Bona Stone, Tile & Laminate Floor Cleaner is highly rated.
For small cracks or chips, apply a tile repair kit like the Rust-Oleum Tile Repair Kit, which blends well with existing tiles.
Put a fresh seal on grout lines every 6-12 months to prevent stains and water damage. These simple steps improve your home’s look and give you a feeling of achievement.
Frequently Asked Questions
Can I repair a cracked tile floor on my own?
Yes, you can fix a cracked tile floor yourself, depending on how bad the crack is. Minor cracks can be fixed at home, but bigger ones might need help from an expert.
How can I tell if a cracked tile floor requires professional help?
If the crack is wider than 1/8 inch, extends to multiple tiles, or has caused the tile to become loose, it is best to call a professional. They will have the right tools and skills to fix the crack correctly.
What are some DIY methods for repairing small cracks in a tile floor?
One common DIY method is to fill the crack with a color-matched grout or epoxy. You can also use a tile repair kit that includes adhesive and filler material. Be sure to follow all instructions carefully for the best results.
When should I call a professional for tile floor crack repair?
If the crack is located in a high-traffic area or is causing structural issues, it is best to call a professional. They will evaluate the situation and decide how to fix the crack correctly.
What are the benefits of hiring a professional for tile floor crack repair?
Professional tile floor repair services have the tools and skills needed to correctly evaluate and fix the crack. They can make sure the repaired area fits in perfectly with the rest of the floor, giving it a clean and professional appearance.
How can I stop cracks from forming later in my tile floor?
To avoid cracks later on, take good care of your tile floor. This includes regularly cleaning and sealing the grout, avoiding heavy impacts on the floor, and addressing any cracks or loose tiles immediately before they become larger issues.