Grout Types for Tile Flooring – Sanded, Unsanded, Epoxy
Choosing the right grout for tile flooring can make all the difference in your renovation project. In this guide, we’ll look at the main types of grout: sanded grout, unsanded grout, and epoxy grout. Each type works best for certain uses. By knowing their specific features and advantages, you’ll be ready to choose flooring that looks good and lasts a long time. Let’s look into acrylic grout and pick the right choice for your tiles!
Key Takeaways:
Contents
- Sanded Grout
- Unsanded Grout
- Epoxy Grout
- Comparative Analysis
- Tile Flooring Grout Width Statistics
- Frequently Asked Questions
- What is the difference between sanded and unsanded grout for tile flooring?
- When should I use epoxy grout for tile flooring?
- Can I use sanded grout on all types of tile flooring?
- What are the benefits of using unsanded grout for tile flooring?
- Is there a difference between sanded and unsanded grout in terms of color options?
- How do I choose the right grout type for my tile flooring project?
Importance of Choosing the Right Grout
Picking the correct grout improves adhesion and performs effectively, reducing the risk of cracks or water issues.
Using the wrong grout can lead to both structural damage and unattractive finishes, especially in high-traffic areas like commercial kitchens. For example, opting for a non-sanded grout in a wide joint can cause cracking under pressure.
A standard grout that fails to resist stains may compromise cleanliness in food preparation spaces. To avoid these issues, consider using epoxy grout for waterproofing and durability in such environments or a sanded grout for larger joints to manage shifts in the substrate. When selecting grout, understanding the Tile PEI Ratings can be crucial in determining the best option for your flooring’s durability and longevity.
In the end, the best option keeps things safe and looking good.
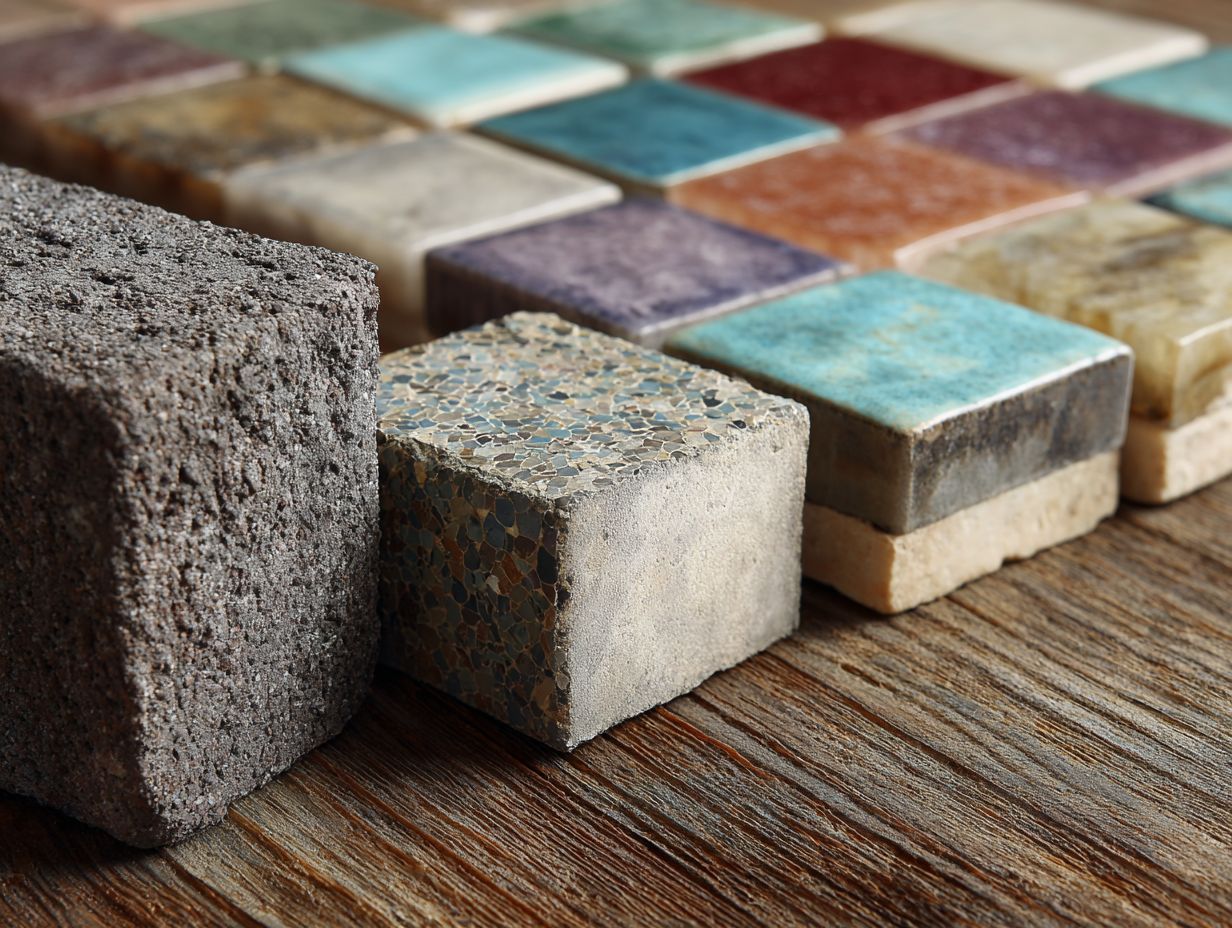
Overview of Grout Types
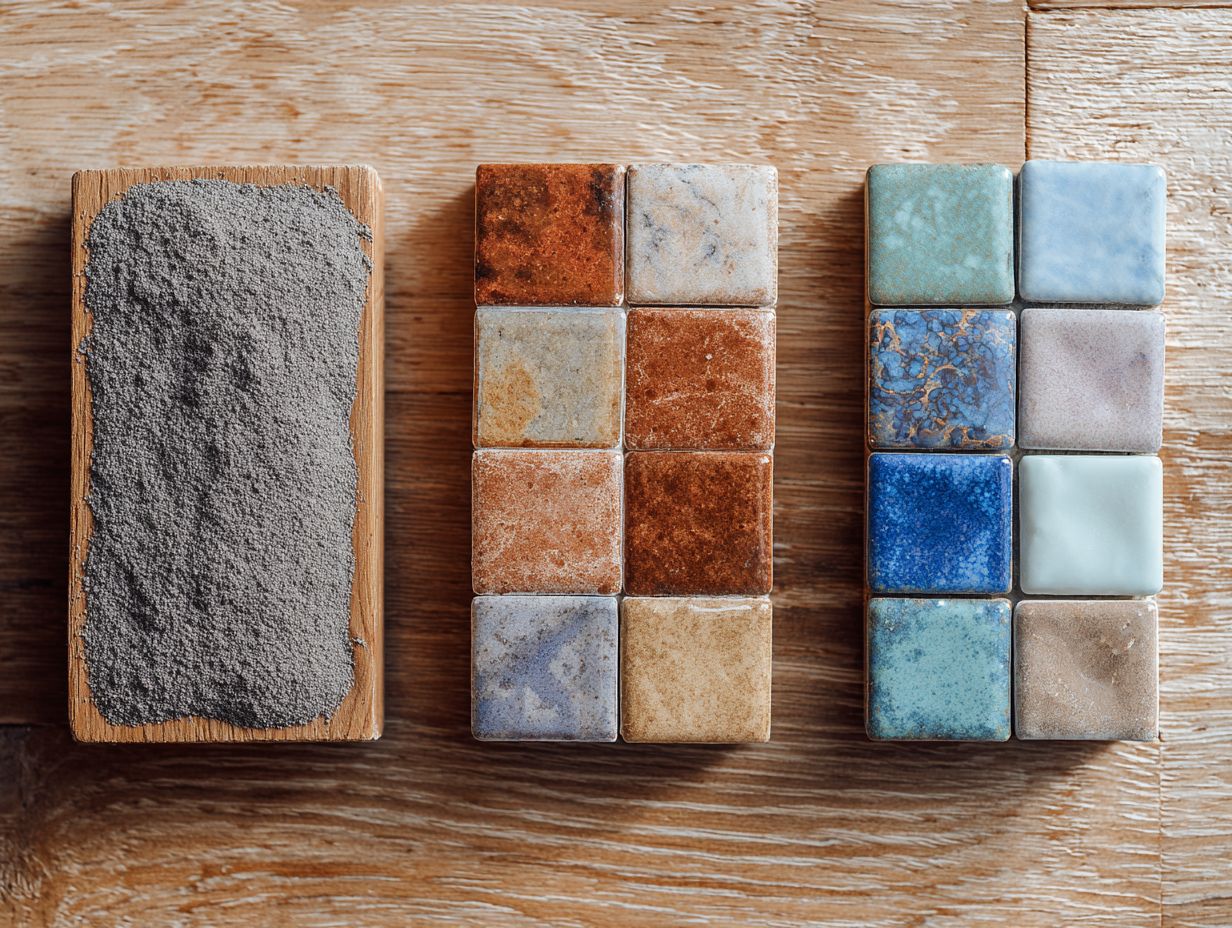
Grout is available in different types for specific uses with tiles. These include sanded, unsanded, and epoxy varieties.
Sanded grout has silica sand, which makes it strong and durable for wider joints (usually over 1/8 inch). Unsanded grout, on the other hand, is perfect for narrower joints, providing a smoother finish.
Epoxy grout offers superior stain resistance and is best for moisture-heavy areas like bathrooms and kitchens. When choosing, consider the installation environment, especially the type of tiles being used:
- Use sanded grout for high-traffic areas,
- Unsanded for delicate tiles like marble,
- Epoxy for spaces prone to spills or stains.
Each type improves how long your installation lasts and how it looks. For more insights into choosing the right materials, explore our guide on Tile PEI Ratings Explained – Choosing the Right Durability.
Sanded Grout
Sanded grout is strong and often chosen for wider grout lines and places with a lot of foot traffic.
Definition and Composition
Sanded grout is mainly composed of cement, sand, and substances that improve its ability to stick and its flexibility.
Polymer-modified sanded grout has added polymers that help it bend and stick better, making it good for wet areas like bathrooms.
For example, a product like Laticrete 1500 provides improved resistance to cracking, which is necessary for tile installations in changing temperatures. Meanwhile, Mapei’s Ultracolor Plus FA provides quick-drying benefits and reduces the risk of efflorescence.
When selecting a grout, consider the specific needs of your project-heavy traffic areas may require the superior strength of polymer-modified options, while standard jobs may suffice with traditional grout.
When to Use Sanded Grout
Sanded grout works well for spaces larger than 1/8 inch, so it’s good for different tile surfaces like floors and walls.
This type of grout provides excellent durability and is particularly beneficial for porcelain or natural stone tiles.
For instance, when installing a textured stone backsplash or a ceramic tile floor, the added sand helps prevent shrinkage and cracking. Sanded grout works well in areas exposed to moisture, such as bathrooms or kitchens, where maintaining strength is essential.
Make sure to mix it well. Using a grout mixer helps get an even texture, so it cures properly and lasts through daily use.
Advantages of Sanded Grout
Sanded grout has many advantages, such as being long-lasting, less likely to crack, and sticking well.
Plus these benefits, sanded grout is particularly effective for larger joints-typically those wider than 1/8 inch.
For DIY projects, consider brands like Custom Building Products or Mapei, which provide detailed instructions on mixing and application. When installing, use the correct mix of water and grout for the best strength.
Remember to seal the grout after it dries to prevent moisture infiltration, enhancing its lifespan. This method can considerably lower upkeep and give a strong finish suitable for inside and outside areas.
Disadvantages of Sanded Grout
Despite its strengths, sanded grout has drawbacks, including potential for scratching delicate tiles and challenges in color uniformity.
For instance, polished marble and glass tiles can be particularly susceptible to scratches, as the grout’s texture might catch on these surfaces during installation or maintenance. Achieving a consistent color with sanded grout can be problematic due to variations in the sand particles’ hues.
To address these issues, consider using unsanded grout for delicate tile types and carefully mixing compatible color powders, testing small batches beforehand. Tools like a grout color chart can guide you in selecting shades that minimize visual discrepancies.
Installation Tips for Sanded Grout
Proper installation of sanded grout requires attention to detail, including mixing consistency and timely application to avoid issues.
- Start by mixing the grout powder with clean water in a bucket, using a drill with a mixing paddle to achieve a smooth, lump-free consistency. Let it slake for about 10 minutes, then remix briefly before application.
- Spread the grout with a rubber float, holding it at a 45-degree angle, so it fills all the gaps. Work in small areas, usually 4×4 feet, and wipe off leftover grout from the tiles within 15-30 minutes to avoid issues later.
- Practice these steps to achieve a durable, visually appealing finish.
Unsanded Grout
Unsanded grout is smooth and works well for narrow grout lines, providing different advantages than sanded grout.
Definition and Composition
Comprised of cement and fine powders, unsanded grout provides a smooth finish perfect for narrow joints and delicate tile installations.
This grout formulation is particularly beneficial when working with polished or glass tiles, where a rougher grout could damage the surface.
For example, consider using unsanded grout for 1/16 to 1/8 inch joints between mosaic tiles to achieve a seamless look. It’s also useful in places like bathroom backsplashes and countertops, where appearance and cleanliness are important.
When applying, mix the grout to a creamy consistency and use a grout float to push it into the joints effectively. Allow drying as per manufacturer’s instructions for optimal results.
When to Use Unsanded Grout
Unsanded grout is best for grout joints smaller than 1/8 inch, such as in mosaic tile installations.
Mosaic tiles, which often have detailed patterns and small gaps, work well with unsanded grout because its smooth texture makes it easier to apply in narrow spaces.
Unsanded grout is preferable for delicate tile types like polished marble or glass, as it minimizes the risk of scratching during installation.
When using unsanded grout, use a grout float to properly fill the joints. Think about using a sealer after it sets to make it last longer and clean more easily.
Advantages of Unsanded Grout
The major advantages of unsanded grout include a smooth finish that minimizes scratches and ease of application in narrow joints.
Unsanded grout works well for spaces less than 1/8 inch wide, which makes it suitable for fragile surfaces such as glass mosaics.
For bathrooms, where moisture is common, use a specific type of unsanded grout with added substances to resist moisture. Brands like Custom Building Products’ Prism or Mapei’s Flexcolor CQ offer both color options and durability.
Its smooth texture enhances the appearance of tiled surfaces, making them look consistent and shiny, while stopping scratches on fragile tile materials.
Disadvantages of Unsanded Grout
Unsanded grout, while beneficial, suffers from reduced strength and may be prone to cracking in larger joints.
To mitigate these issues, consider using modified thin-set mortars specifically designed for larger joints. These products improve bonding and reduce the likelihood of cracking.
Using sanded grout for joints wider than 1/8 inch can improve durability. Be mindful, though, that improper application can lead to unsightly haze or discoloration.
Always stick to the manufacturer’s instructions, like how to mix and how long to let things dry, to get the best results and make your project last longer.
Installation Tips for Unsanded Grout
Getting a perfect result with unsanded grout requires careful mixing and applying it correctly for it to stick well.
- Start by carefully measuring the grout powder and water based on the manufacturer’s instructions, typically using 1 part water to 4 parts grout.
- Use a mixing drill with a paddle attachment for a smooth consistency, ensuring no lumps remain.
- Once mixed, allow the grout to slake for 10 minutes before re-mixing.
- When applying, use a rubber float held at a 45-degree angle to press the grout into the joints, ensuring even coverage.
- Wipe away excess with a damp sponge, working diagonally to avoid pulling grout out of the joints.
Epoxy Grout
Epoxy grout is a durable option that offers great resistance to stains and moisture, making it ideal for various environments.
Definition and Composition
Epoxy grout is made from epoxy resins and fillers, providing a strong and flexible option that resists stains and chemicals.
This special mixture offers many benefits compared to regular cement-based grouts.
For example, epoxy grout does not absorb water, so it works well in areas with a lot of moisture, like bathrooms and kitchens. Its strong bond minimizes cracking and wear, even under heavy traffic conditions.
To install, carefully mix the resin and hardener, which you can usually get in kits from brands like Mapei or LATICRETE.
To get the best outcome, use a rubber float to spread the grout evenly and smoothly for a solid and attractive finish.
When to Use Epoxy Grout
Epoxy grout is ideal for high-moisture areas such as commercial kitchens, steam rooms, and bathrooms, where durability is paramount.
For successful installations, use a high-quality epoxy grout like Spectralock Pro or Mapei Kerapoxy. These products resist stains and moisture while offering a strong bond.
Clean and seal the surface properly to stop water from getting in. Consider using epoxy grout in pool areas or areas with underfloor heating, as they withstand significant temperature variations.
For best results, apply the grout with a rubber float, working it into joints to eliminate voids. It’s important to follow product guidelines for curing times to make sure the product reaches its full strength.
Advantages of Epoxy Grout
Epoxy grout is highly resistant to stains, easy to clean, and lasts well even in tough conditions.
Epoxy grout doesn’t absorb water and stands up to chemicals, so it works well in kitchens and bathrooms.
For instance, a recent case study highlighted a commercial kitchen where traditional grout failed after a year due to stains and mold. In contrast, the facility switched to epoxy grout, resulting in zero maintenance issues over three years.
Spectralock Pro is a top-notch product that provides a durable finish. It stops microbes from growing and can handle a lot of use. This makes it an excellent choice for both residential and commercial applications.
Disadvantages of Epoxy Grout
Despite its benefits, epoxy grout presents challenges, including a higher cost and more complex installation process compared to traditional grouts.
Epoxy grout typically costs about $1 to $3 per square foot, significantly more than standard grout, which averages between $0.50 and $1.50.
The installation process involves careful preparation-make sure surfaces are completely cleaned and sometimes primed. Tools such as a notched trowel, rubber float, and grout saw are essential for proper application.
Curing time can extend up to 72 hours, delaying project completion. Homeowners may also benefit from hiring a professional, adding further costs but ensuring a quality finish in the long run.
Installation Tips for Epoxy Grout
Achieving a sound installation with epoxy grout requires careful preparation and adherence to specific application guidelines for optimal results.
- Begin by gathering essential tools: a mixing paddle, trowel, and float. Prepare the surface by cleaning all joints thoroughly; any debris can compromise adhesion.
- Mix the epoxy grout according to the manufacturer’s instructions, using a drill with a paddle attachment for a smooth consistency.
- Apply the grout diagonally across the joints using a float, ensuring it fills completely. After about 30 minutes, use a damp sponge to clean excess grout from the tiles, but avoid disturbing the filled joints.
- Allow the grout to cure as per the product specifications, typically 24-48 hours.
Comparative Analysis
Looking at the various grout options helps homeowners and professionals pick the right one based on price, strength, and upkeep requirements.
Tile Flooring Grout Width Statistics
Tile Flooring Grout Width Statistics
The Tile Flooring Grout Width Statistics report, despite not containing detailed datasets, indicates a focus on analyzing the various widths of grout lines used in tile flooring installations. The width of grout lines is important for how tile floors look and work.
Grout Width Importance:
- Structural Integrity: Grout lines help accommodate slight variations in tile size and installation, ensuring a stable and even surface. The width of the grout can affect the overall durability of the flooring, helping to prevent tiles from shifting and cracking over time.
- Aesthetic Appeal: The choice of grout width can significantly impact the visual appeal of a tiled surface. Narrow grout lines, typically 1/16 to 1/8 inch, are often preferred for a seamless and modern look. In contrast, wider grout lines, between 3/16 to 1/2 inch, can improve the look of rustic or traditionally styled tiles.
- Maintenance and Cleaning: The width of grout lines also affects the ease of maintenance. Wider grout lines may require more frequent cleaning and sealing to prevent dirt and moisture buildup, which can lead to staining and mold growth.
Factors Influencing Grout Width Choice:
- Tile Type and Size: The type and size of tiles being installed influence the choice of grout width. Bigger tiles may need wider grout lines to handle slight size differences and to achieve a consistent look.
- Design Preference: Personal style and design preferences play a significant role. Some homeowners and designers prefer the minimalistic look of narrow lines, while others opt for wider lines to create a distinct pattern or contrast.
- Installation Environment: The environment where the tiles are installed also affects grout width decisions. Areas with high moisture, such as bathrooms and kitchens, might benefit from narrower lines that are easier to seal and maintain.
While the Tile Flooring Grout Width Statistics report lacks specific datasets, the considerations outlined above highlight the importance of selecting the appropriate grout width to achieve the desired balance of aesthetics, functionality, and maintenance ease in tile flooring projects.
Cost Comparison
The cost of grout varies significantly, with sanded grout priced around $10-$20 per bag, unsanded grout at $10-$15, and epoxy grout ranging from $40 to $100 per unit.
It’s important to consider the coverage each type provides for budgeting, especially for large projects.
For instance, a 25-pound bag of sanded grout typically covers about 100-150 square feet, while unsanded grout may cover 150 square feet. Epoxy grout usually covers 50-75 square feet due to its thicker consistency.
When planning your project, figure out the total area that needs grouting. This will help you know how many bags you’ll need, which will impact your total cost and the materials you choose based on how well they work and how long they last.
Durability and Maintenance
Durability and maintenance requirements differ among grout types, with epoxy grout offering superior longevity and minimal upkeep compared to sanded and unsanded varieties.
Epoxy grout resists stains and moisture, often requiring just a simple wipe with a damp cloth to clean. In contrast, sanded grout, commonly used for larger joints, may need scrubbing with mild detergents to prevent the growth of mold, leading to more frequent maintenance.
Unsanded grout often takes in moisture easily, which can lead to cracks as time goes on, particularly in areas with a lot of use. It is suggested to seal both sanded and unsanded grout regularly to improve durability. This should be done every 6 to 12 months, based on how frequently the area is used.
Final Recommendations
In the end, select grout that meets your project’s needs, considering price, appearance, and how well it works.
To make an informed decision, consider the following factors.
- First, assess where the grout will be used: for wet areas, opt for epoxy grout for its superior water resistance.
- Second, consider the color-lighter shades can make tile details stand out, while darker grouts typically conceal stains more effectively.
- Factor in application ease; sanded grout is ideal for larger joints, while unsanded works well for thinner gaps.
- Consider the long-term maintenance-some grouts require sealing for durability, impacting both cost and labor over time.
Frequently Asked Questions
What is the difference between sanded and unsanded grout for tile flooring?
Sanded grout has sand particles, which makes it more durable and better for wider grout lines and areas where there is a lot of foot traffic. Unsanded grout is smoother and better for smaller grout lines and delicate tiles.
When should I use epoxy grout for tile flooring?
Epoxy grout is very strong and water-resistant, perfect for places with moisture and a lot of use. It is also recommended for use with natural stone and other porous tiles.
Can I use sanded grout on all types of tile flooring?
Sanded grout should not be used on polished or delicate tiles as the sand particles can scratch the surface. It is best suited for ceramic and porcelain tiles with grout lines wider than 1/8 inch.
What are the benefits of using unsanded grout for tile flooring?
Unsanded grout is easier to work with and creates a smoother finish. It is also better for preventing cracking in flexible tile installations and for use on vertical surfaces, such as backsplashes.
Is there a difference between sanded and unsanded grout in terms of color options?
Sanded grout may have a slightly different appearance due to the sand particles, but both types are available in a wide range of colors to match your tile and decor choices.
How do I choose the right grout type for my tile flooring project?
Consider the type of tile, grout lines, and location of the project to determine the best grout type. Epoxy is ideal for high traffic and moisture-prone areas, while sanded and unsanded grout have their own specific uses based on tile types and installation methods.