RV and Camper Flooring Replacement Guide
Contents
- Introduction to RV and Camper Flooring Replacement
- RV Flooring Replacement and Material Statistics
- Types of Flooring Materials
- Tools and Materials Needed
- Preparation Steps Before Replacement
- Installation Process
- Post-Installation Care and Maintenance
- Frequently Asked Questions
- What is the best type of flooring for an RV or camper?
- Can I install the flooring myself or do I need professional help?
- How long does RV and camper flooring replacement usually take?
- What should I do to prepare my RV or camper for flooring replacement?
- Will replacing my RV or camper flooring increase its value?
- Do I need to use a specific type of adhesive for the flooring installation?
Introduction to RV and Camper Flooring Replacement
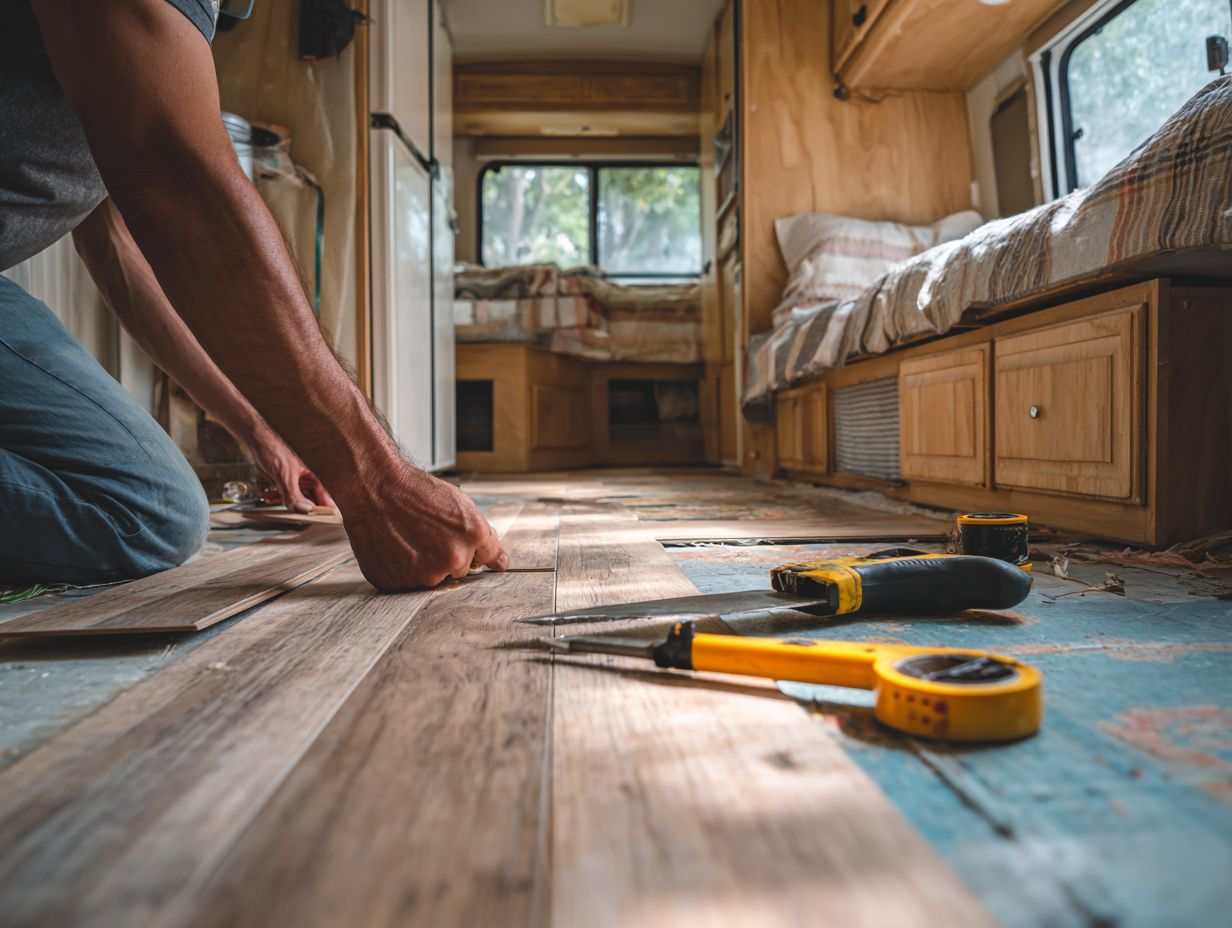 Ready to transform your RV flooring? Whether you’re dealing with aging linoleum or considering a stylish upgrade with vinyl plank flooring, this guide has you covered. We’ll look at important flooring choices for motorhomes and campers and share advice on taking out carpet and fixing subfloors. Find out how to make your RV cozy and welcoming with long-lasting, appealing surfaces that stay in good condition over time.
Key Takeaways:
Importance of Flooring in RVs and Campers
The type of flooring you select for RVs and campers greatly affects comfort, maintenance, and resale value, making it a key consideration in renovation projects.
Picking the right flooring can improve the look and use of an RV. Vinyl plank flooring is popular because it is water-resistant and easy to install, making it ideal for wet areas.
On the other hand, laminate offers a durable surface that’s resistant to scratches and wear, perfect for high-traffic areas. Consider using sound-dampening underlayment with both types to improve insulation and reduce noise.
These choices make cleaning easier and increase the value of your RV.
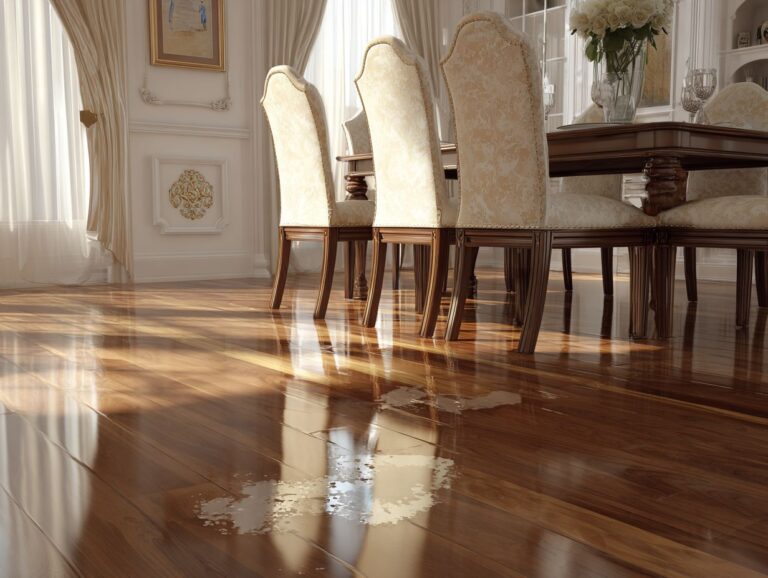
Common Reasons for Flooring Replacement
Common reasons for flooring replacement include moisture damage, wear and tear from heavy usage, and outdated aesthetic preferences.
Moisture damage can result from leaks or flooding, leading to structural issues. For example, installing moisture-resistant vinyl flooring can prevent further deterioration in damp areas like basements.
Stains and smells can get stuck in old carpets, which makes choices like laminate or tile more attractive.
If your flooring looks old or damaged, choosing modern options like engineered hardwood can increase your home’s value. Looking at these factors helps you make a good choice when investing in your property.
RV Flooring Replacement and Material Statistics
RV Flooring Replacement and Material Statistics
When considering upgrades or renovations, flooring plays a crucial role in the overall aesthetic and functionality of a space. For those living in mobile homes, choosing the right flooring is particularly important due to specific weight and flex issues inherent to these structures. Instructional insights are available in our detailed analysis on mobile home flooring options that can guide you through the selection process.
RV Flooring Replacement Overview: Labor Hours for Replacement
The RV Flooring Replacement and Material Statistics gives detailed information about the work needed to replace flooring in recreational vehicles, especially considering how slideouts affect the amount of work required. This information is important for knowing how much time is needed for RV flooring projects, which is significant for both the companies doing the work and the RV owners.
RV Flooring Replacement Insights detail labor hours required for effective flooring replacement. For units without slideouts, the standard labor requirement is 2040 hours. This represents a baseline for the time and effort needed to replace flooring in a standard RV configuration. The hard work required for this job highlights how difficult it is to install high-quality flooring that meets RV standards.
Also, having slideouts means more work is needed. For each slideout, an additional 612 hours are necessary. This extra time is required because slideouts involve detailed and careful work, affecting the design and space issues during flooring replacement. Slideouts increase the complexity of the project, needing careful handling so that the flooring fits well and the slideout works correctly.
Overall, the data highlights the substantial labor investment required for RV flooring replacement, particularly when slideouts are involved. Knowing these requirements is important for making good project schedules, planning finances, and completing tasks successfully. This helps use time and resources well. This information is useful for RV repair shops, RV owners thinking about doing their own projects, and people involved in RV upkeep and improvements.
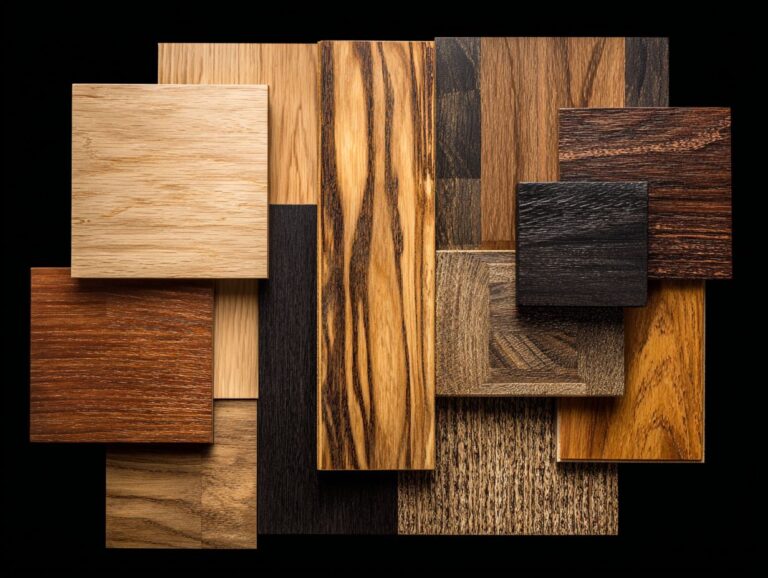
Types of Flooring Materials
Picking the best flooring for RVs and campers is important for long-lasting use, looks, and easy cleaning.
Vinyl Flooring
Vinyl flooring is strong and water-resistant, which makes it perfect for use in RVs.
When choosing vinyl flooring for your RV, consider styles like luxury vinyl planks (LVP) for a more upscale look or sheet vinyl for easy maintenance.
Installation methods vary: LVP often uses a click-lock system for a hassle-free setup, while sheet vinyl may require glue-down techniques.
Expect costs to range from $2 to $5 per square foot, depending on quality and style. Many people who own RVs recommend NuCore flooring because it is waterproof, durable, and simple to install, making it a practical choice for traveling.
Laminate Flooring
Laminate flooring is a stylish and cost-effective option, simulating hardwood while providing moisture resistance for RVs.
When installing laminate flooring in your RV, consider floating installation for easier removal in case of repairs. This method typically involves a cost of $1-$3 per square foot, depending on the brand.
Select a durable, water-resistant product suitable for travel. To keep it looking good, just sweep it regularly and sometimes use a damp cloth to mop.
A notable case is an RV owner who upgraded to laminate, enhancing aesthetics and increasing overall resale value by showcasing a modern, clean interior.
Carpet Options
Carpet remains a popular choice for RV interiors due to its comfort, but it requires careful selection to avoid moisture issues.
When choosing carpet for your RV, consider options like nylon or polypropylene, which naturally resist moisture and are durable.
Average costs range from $3 to $7 per square foot, depending on the material quality. Incorporating a moisture barrier beneath the carpet can further protect against dampness.
Carpet tiles are a good option for easy care because you can simply replace them if they get damaged. This flexibility keeps things looking good and helps control expenses in the long run.
Tile Flooring
Tile flooring provides a highly durable option for RVs, especially in areas prone to moisture, such as kitchens and bathrooms.
Ceramic tiles, priced from $5 to $10 for each square foot, resist water and are simple to clean, which makes them perfect for RVs.
Porcelain tiles are denser and offer greater durability, with similar pricing but often requiring professional installation due to their weight.
If you like doing projects yourself, try using a wet saw for accurate cuts.
An RV owner shared their experience of putting ceramic tiles in their kitchen. This upgrade improved the look of the space and made cleaning easier after traveling, showing it to be both useful and nice-looking.
Tools and Materials Needed
Having the right tools and supplies is important for finishing a flooring replacement project successfully in RVs and campers. If you’re interested in exploring suitable materials, you might find insights in our discussion about mobile home flooring options, including considerations for weight and flex issues.
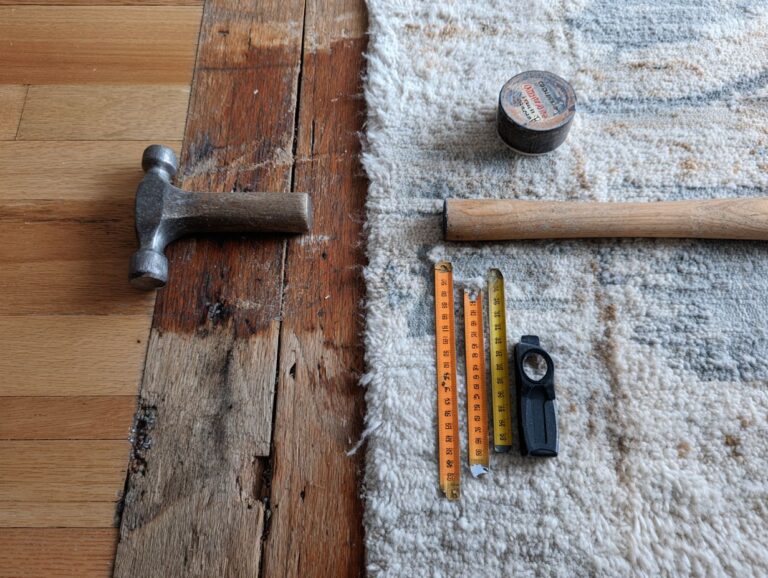
Essential Tools for Flooring Replacement
Key tools for flooring replacement include a utility knife, measuring tape, and a flooring roller for proper installation.
Safety gear is important; buy knee pads ($15) and goggles ($10) to keep yourself safe while you install things.
For maintenance, keep a wood floor cleaner and microfiber mop handy to preserve your new flooring.
error 400- bad request
Once the flooring is laid, use the flooring roller ($30) to secure it and remove air bubbles, resulting in a smooth finish.
This set of tools will make your flooring project easier and more efficient.
Choosing the Right Adhesives and Sealants
Choosing the right adhesives and sealants is important to make sure your RV flooring lasts long and works well.
For RV flooring, consider these adhesive options:
- Liquid Nails ($10-$20) is ideal for lightweight materials, while epoxy resin ($20-$50) offers superior strength for heavier surfaces.
- Both have moisture-resistant properties, but epoxy generally takes longer to cure.
Apply Liquid Nails in a well-ventilated area for quick bonding, usually drying in about 30 minutes. For epoxy, combine the resin and hardener as per instructions and allow 24 hours for full curing.
Remember to mask areas to keep the worksite clean and prevent adhesive overspill.
Estimating Material Costs
Estimating material costs effectively can help in budgeting your RV flooring renovation project without overspending.
For a 200 sq ft area, here’s a breakdown of costs for various flooring types:
- vinyl plank ($2-$4 per sq ft)
- laminate ($1-$3 per sq ft)
- carpet ($1.50-$5 per sq ft)
You’ll also need tools like a utility knife ($10), a measuring tape ($15), and adhesives for a seamless finish, generally costing around $50.
Altogether, expect your budget to range between $800 and $1,200, depending on choices made. Be mindful of installation costs if hiring professionals, as this can add significantly to your total expenditure.
Preparation Steps Before Replacement
Careful planning is necessary for a seamless flooring change in RVs and campers.
Assessing the Current Flooring Condition
Assessing the current flooring condition involves checking for damage, moisture levels, and overall wear to determine the best course of action.
- Begin by using a moisture meter, which costs around $50, to measure moisture content in various sections of the floor. Aim for readings below 12% for wood and 4% for concrete.
- Concurrently, perform a visual inspection, looking for signs such as warping, cracking, or separation at seams. Pay attention to high-traffic areas where wear is common.
- Document your findings to guide decisions on repairs or replacements, ensuring you prioritize sections showing both moisture and physical damage.
Removing Old Flooring
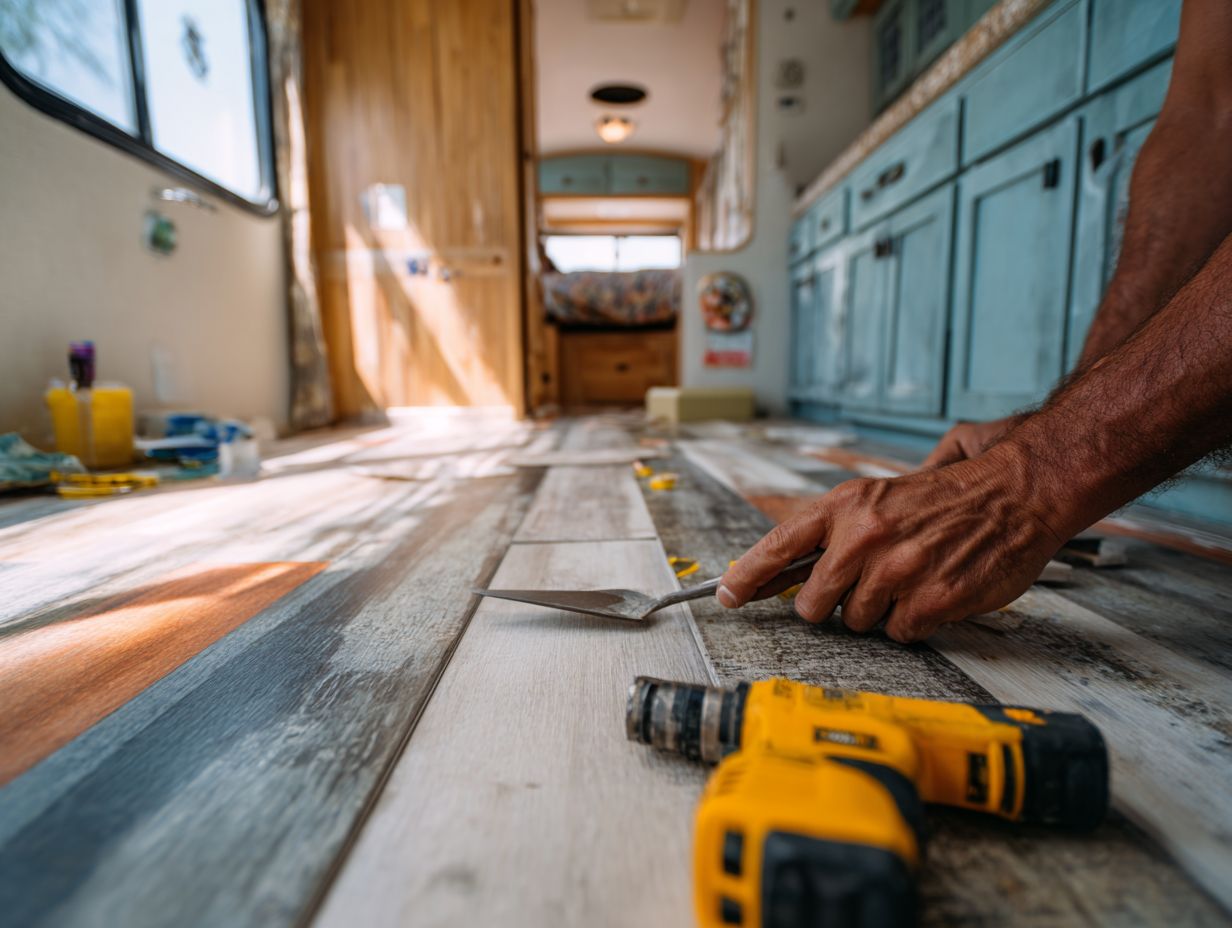
Removing old flooring may involve special tools and techniques, depending on the material and its condition.
For carpet removal, start by gathering essential tools such as a utility knife, pliers, and a floor scraper.
Cut the carpet into manageable strips, pulling up the corners first.
Vinyl flooring may require a different approach; use a heat gun to soften adhesive, then pry it up with a scraper.
Always wear safety gear like gloves and goggles.
Expect the process to take 2-4 hours, depending on the size and complexity of the area.
Make sure there is enough airflow to deal with dust and fumes, especially when using glue.
Cleaning and Preparing the Subfloor
Cleaning and preparing the subfloor is essential to create a strong base for your new flooring.
Start by thoroughly cleaning the area with a vacuum to remove dust and debris. If you find any signs of moisture damage, apply a mold killer like Concrobium Mold Control for at least 24 hours to eliminate potential mold growth.
Next, check for any decay, particularly around the edges. If you find any, replace those areas with plywood sheets. This cleaning and repair process can typically take 3-5 hours, depending on the extent of damage and size of the area.
Following these steps creates a strong and long-lasting foundation for your flooring.
Installation Process
Replacing RV flooring needs thorough preparation and exact effort to get an even result.
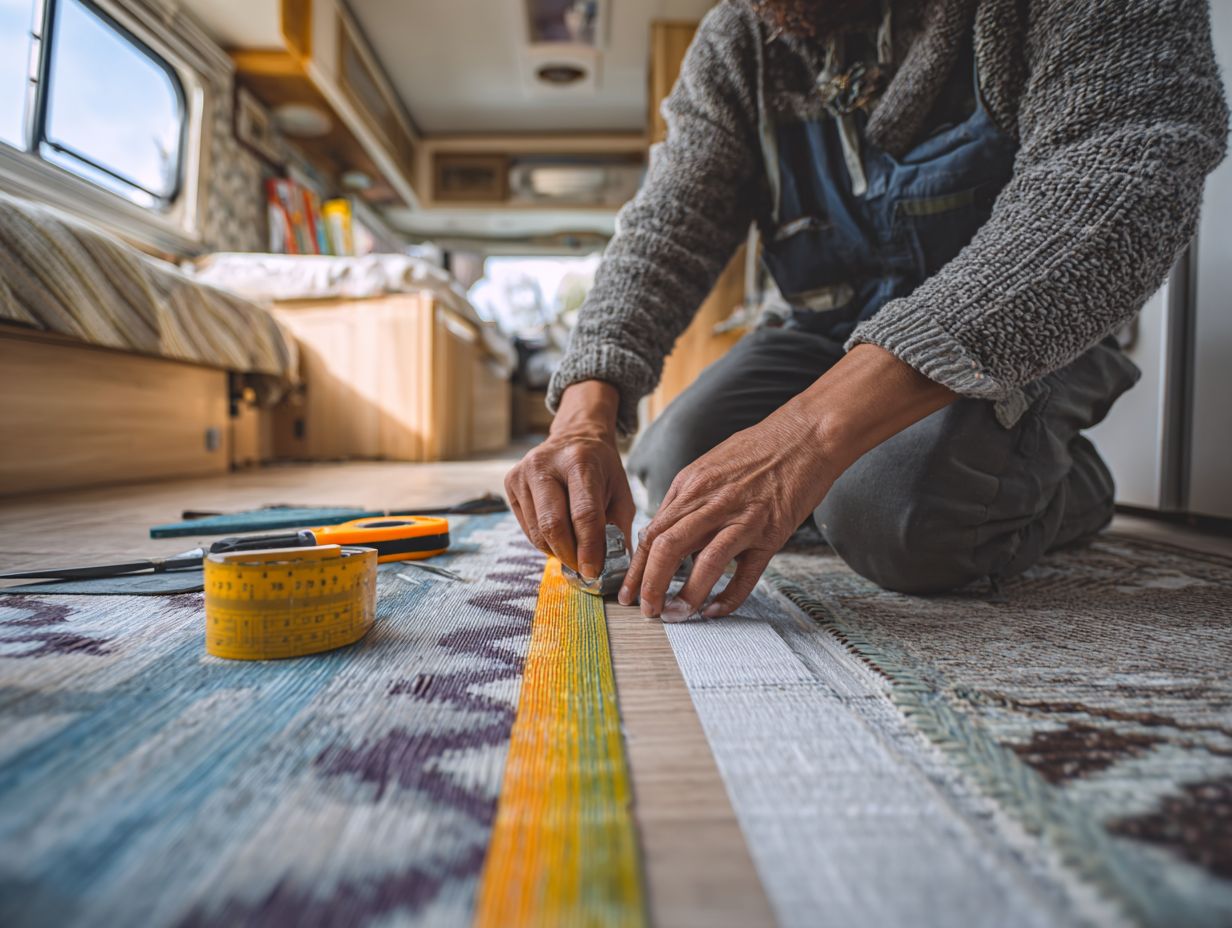
Measuring and Cutting New Flooring
Accurate measuring and cutting of new flooring materials are necessary to make sure they fit properly during installation.
- Start by using a tape measure to determine the length and width of the room.
- For irregular spaces, sketch a floor plan, marking all dimensions.
- When cutting, employ a jigsaw for a cleaner finish, which typically costs around $50.
- Always add a few extra inches to each measurement for mistakes or adjustments.
- Hold your material steady with a ruler and mark the spot to cut for accuracy.
- Double-check your measurements before cutting to avoid wasting materials and make sure everything fits correctly.
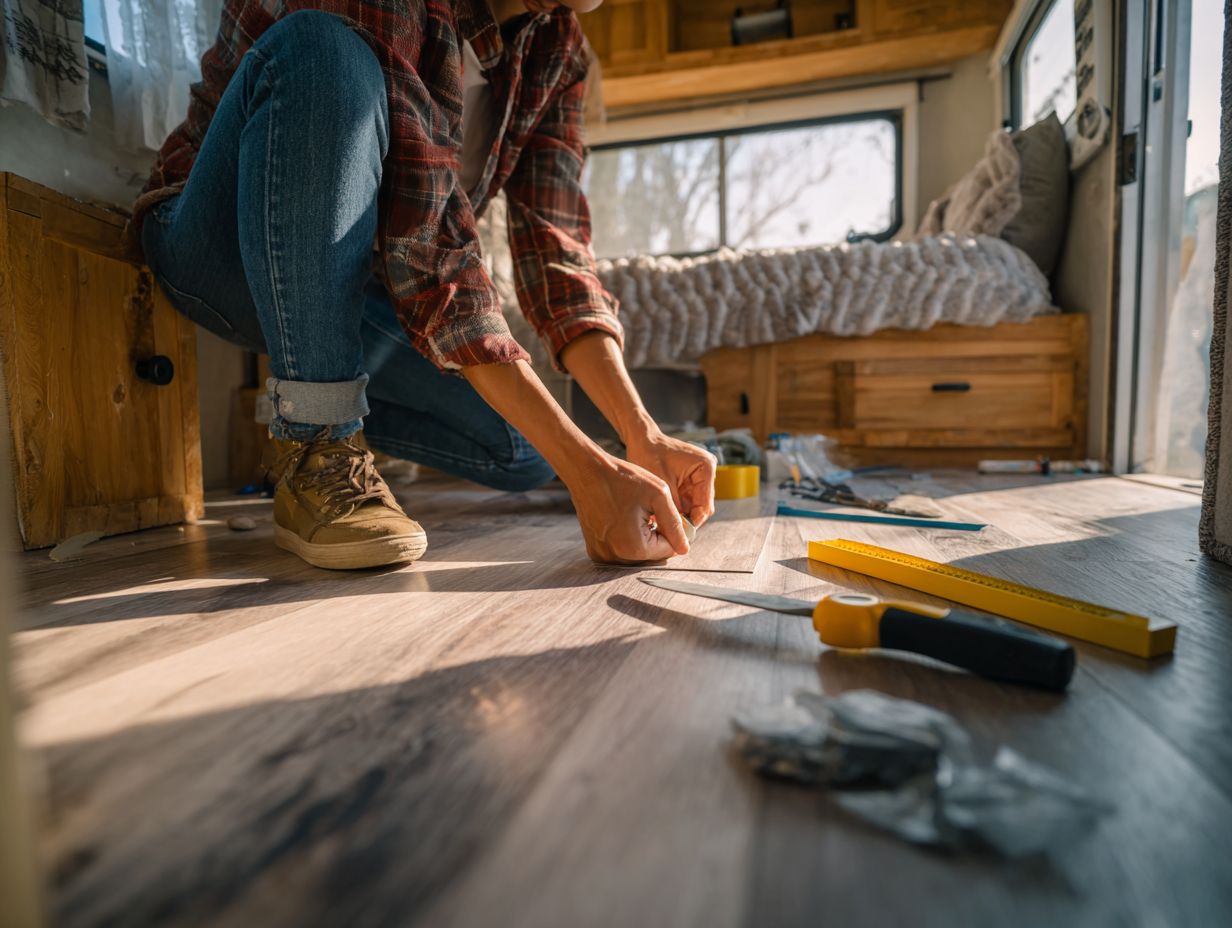
Installing Vinyl Flooring
Vinyl flooring can be installed in different ways, such as with glue or without, and each method has its own advantages.
For a glue-down installation, start by ensuring your subfloor is clean and level; use a floor roller to apply the adhesive evenly. This method usually takes about 4-6 hours for a small room.
In contrast, a floating installation requires no glue; simply lay the planks side by side, ensuring to stagger the seams for stability. This approach generally takes around 3-5 hours and is easier for DIY novices.
To smooth out bubbles, use a heavy roller after installing and consider acclimating the planks before installation.
Installing Laminate Flooring
Installing laminate flooring can be easy and fast, particularly with a click-lock system.
- Start by gathering essential tools: a laminate cutter, spacers, and a tapping block.
- Begin by laying down a moisture barrier over your subfloor. Next, place spacers along the walls to allow for expansion.
- As you click the boards together, use the tapping block to snug them without damaging the edges. Watch the changes between rooms; use transition strips to allow easy passage.
- Common pitfalls include failing to leave enough expansion space, which can lead to buckling, so double-check your clearances before finishing.
Installing Carpet
Putting carpet in an RV needs careful measuring and proper tools to make sure it fits well.
Begin by measuring the dimensions of your RV’s interior, including any curves or tight spots. A carpet knife is needed for exact cuts, and a measuring tape ensures correct measurements.
To achieve a professional look, use a carpet stretcher to remove wrinkles-an important step in tight areas. After laying the carpet, trim any excess material along the edges for a clean look. Don’t forget to secure the carpet with adhesive or double-sided tape to prevent shifting during travel.
Installing Tile Flooring
Installing tile flooring requires detailed preparation to make sure the tiles are evenly spaced and firmly attached in an RV setting.
Begin by gathering essential tools such as tile spacers, a tile cutter, thin-set mortar, and a grouting float. Allocate approximately three to four hours for the installation process.
Begin by checking the size of the space to decide how the tiles will be arranged and to keep the pattern even. Use tile spacers to maintain consistent gaps between tiles during placement.
Once tiles are set and mortar has cured (typically 24 hours), apply grout using the float, ensuring to press it into all gaps. Seal the grout after it dries to protect against moisture.
Post-Installation Care and Maintenance
Maintaining your new RV flooring will make it last longer and stay in good condition.
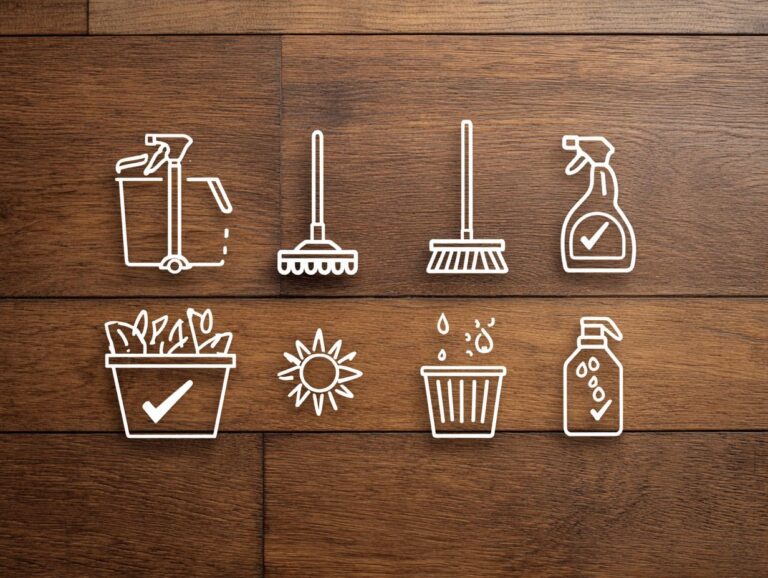
Cleaning and Maintaining Your New Floor
Regular cleaning and maintenance can significantly extend the life of your RV flooring, regardless of material.
To maintain your RV flooring effectively, start by vacuuming weekly to remove dirt and debris, particularly for carpets and vinyl surfaces.
For laminated floors, use a damp mop with a gentle cleaner like Bona Hardwood Floor Cleaner to avoid buildup. If you have rubber flooring, a simple mixture of vinegar and water can effectively clean without causing damage.
It’s important to address stains right away; for carpets, try a stain remover like Resolve. Avoid abrasive cleaners, which can scratch or dull surfaces.
Common Issues and Troubleshooting
After installation, some typical problems can occur with RV flooring that need fast troubleshooting and fixes.
Common problems include seams coming apart, water damage, and uneven surfaces.
-
To address seams, use a strong adhesive like Titebond III, ideally applied in a warm environment for better adherence.
-
For water damage, inspect for moisture; a dehumidifier can help reduce humidity, preventing further issues.
-
If you encounter uneven surfaces, consider using floor leveling compound to create a smoother base.
Regular maintenance, such as checking seals and avoiding excessive moisture buildup, can also help prevent these problems from escalating.
Frequently Asked Questions
What is the best type of flooring for an RV or camper?
The best type of flooring for an RV or camper is vinyl plank or laminate flooring. These materials are durable, easy to clean, and can withstand the weight and movement of an RV or camper.
Can I install the flooring myself or do I need professional help?
You can put in the flooring on your own, but getting help from a professional is advised. Replacing the flooring in an RV or camper can be difficult and might need specific tools, so hiring an expert can help make sure the job is done well and quickly.
How long does RV and camper flooring replacement usually take?
The length of time it takes to replace flooring in an RV or camper can vary depending on the size of the space and the type of flooring being installed. On average, it can take anywhere from 2-3 days to complete the project.
What should I do to prepare my RV or camper for flooring replacement?
Before starting the replacement process, it is important to clear out all furniture and belongings from the RV or camper. This helps professionals handle the job without harming your belongings.
Will replacing my RV or camper flooring increase its value?
Replacing old, worn-out flooring with new and modern materials can increase the value of your RV or camper. A well-maintained and updated interior can make a big difference in the overall value and appeal of your vehicle.
Do I need to use a specific type of adhesive for the flooring installation?
It is important to use an adhesive that is specifically designed for RV and camper flooring. This will create a strong and secure connection and protect the flooring from water damage or movement during travel.