Click-Lock Installation Systems – Tips and Tricks
Want to upgrade your home with long-lasting and attractive vinyl click flooring? This water-repellent and non-slip choice is ideal for DIY homeowners who want to improve their living areas. This guide provides important tips and advice for learning click-lock installation systems, making the process smooth and rewarding. Find out how to get a polished finish with vinyl planks or laminate flooring easily. Let’s begin changing your floors!
Key Takeaways:
Contents
- Preparation for Installation
- Vinyl Flooring Market Data Insights
- Installation Process Overview
- Tips for Successful Installation
- Common Mistakes to Avoid
- Post-Installation Care
- Troubleshooting Common Issues
- Frequently Asked Questions
- What are click-lock installation systems and how do they work?
- What are some tips for a successful click-lock installation?
- Can click-lock installation systems be used on any type of subfloor?
- Are there any tricks to make click-lock installation easier?
- Can click-lock flooring be installed over existing flooring?
- Are there any maintenance tips for click-lock flooring?
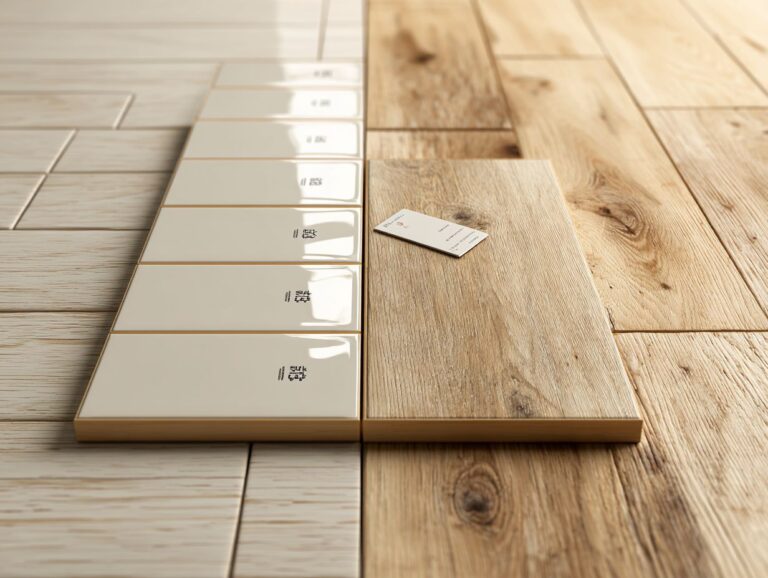
What is a Click-Lock System?
A click-lock system is an innovative flooring installation method that allows planks to snap together seamlessly, eliminating the need for glue or nails.
This system is commonly used in various flooring types, especially vinyl plank and laminate flooring.
Vinyl plank flooring is built with a strong base, which makes it long-lasting and resistant to water, so it’s a good choice for kitchens and bathrooms. For those interested in the advantages of rigid core vinyl options, exploring the benefits and installation techniques could offer valuable insights. Laminate flooring is usually more cost-effective and provides a wide variety of designs, resembling hardwood or stone.
To install, start by ensuring your subfloor is clean and level, then simply align the planks at an angle and press down until they click into place. This method speeds up installation and makes repairs simple.
Benefits of Click-Lock Installation
The click-lock installation method has benefits, like being easy to set up, which helps homeowners save time and money on hiring professionals.
With click-lock flooring, you can change the look of a room in just a few hours, which is great for DIY fans.
For high-traffic areas, consider options like Armstrong’s Luxe Plank, known for its durability and water resistance. This approach works well for homes and businesses, providing a fashionable appearance with little effort.
Homeowners often share their satisfaction: one user praised how they completed their living room in just two hours, while another highlighted the ease of modification when relocating furniture or changing layouts.
Preparation for Installation
Preparation is important for correctly installing click-lock flooring. You need to select the appropriate tools and measure the space, and for a comprehensive understanding, consider exploring our complete step-by-step guide on floating floor installation.
Tools Needed
To successfully install click-lock flooring, homeowners need a few key tools:
- a flooring mallet
- measuring tape
- possibly rubber underlayment for added comfort
The flooring mallet, priced around $20, is essential for gently tapping the planks together without damaging them.
A measuring tape, usually costing around $10, helps make sure that the flooring is cut and placed correctly.
If homeowners opt for rubber underlayment, which costs around $0.50 per square foot, it provides extra cushioning and noise reduction, enhancing the overall comfort of the flooring.
These tools make the installation easy and fast.
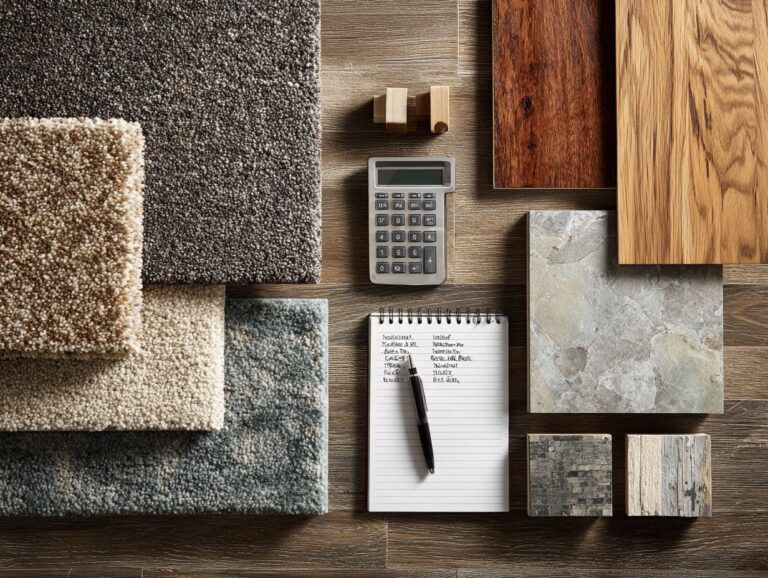
Choosing the Right Flooring Material
Choosing the right flooring material is important. Each option, such as vinyl click flooring, engineered hardwood, and laminate flooring, has its own advantages.
- Vinyl click flooring is resistant to water and long-lasting, which makes it a good choice for busy areas or homes with pets; it usually costs about $2 to $5 per square foot.
- Engineered hardwood boasts aesthetic appeal, adding warmth and value to living spaces, generally priced at $3 to $10 per square foot.
- Laminate flooring, the most budget-friendly option, offers a cost-effective solution at $1 to $3 per square foot, suitable for rental properties or temporary setups.
Each option serves distinct needs, ensuring there’s a perfect fit for any project.
Vinyl Flooring Market Data Insights
Vinyl Flooring Market Data Insights
Market Growth and Segmentation: Global Market Value
Market Growth and Segmentation: Luxury Vinyl Tiles (LVT) Market
The Vinyl Flooring Market Data Insights looks closely at the current growth and future growth of the vinyl flooring market, focusing on the whole industry and the specific area of Luxury Vinyl Tiles (LVT). This data provides important information about market changes and upcoming patterns that impact everyone involved, from producers to buyers.
Market Growth and Segmentation data reveals that the global market value of vinyl flooring is substantial, with a 2023 market size of $36.63 billion. This figure is projected to grow significantly, reaching $66.94 billion by 2032, with a robust compound annual growth rate (CAGR) of 6.8% from 2024 to 2032. This growth can be attributed to factors such as increased demand for durable and aesthetically pleasing flooring options, advancements in vinyl flooring technology, and rising construction activities globally.
- Luxury Vinyl Tiles (LVT) Market: Focusing on a popular segment within vinyl flooring, the LVT market is projected to reach a size of $17.74 billion by 2025 and further expand to $21.12 billion by 2030. This segment’s growth, with a CAGR of 3.56% from 2025 to 2030, highlights the growing demand among consumers for premium, flexible, and simple-to-install flooring options. LVT’s popularity is driven by its ability to mimic natural materials like wood and stone at a lower cost and with greater durability.
Predictions show a significant increase in demand for vinyl flooring, highlighting its popularity as an affordable and long-lasting option for both homeowners and businesses. As new ideas improve products, the market will probably see more people using them, strengthening its place in the wider flooring industry.
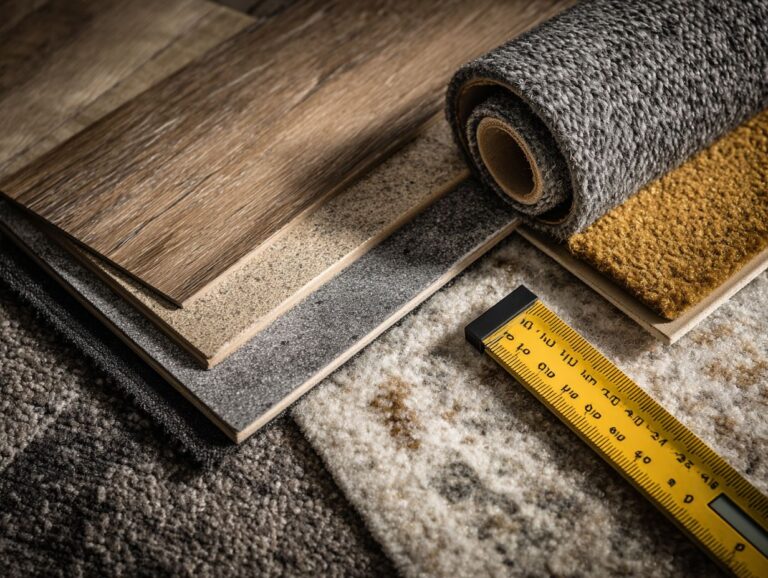
Measuring Your Space
Correct measurements are important to make sure your flooring fits well and to allow space for expansion gaps, which are important for click-lock installations.
- First, remove any furniture or items blocking the area to measure properly.
- Next, use a tape measure to determine the length and width of the room; multiply these two figures to find the total square footage.
For rooms with irregular shapes, break them into rectangles or squares, calculate each section separately, and then sum the areas.
Don’t forget to add an extra 10% for waste and adjustments, particularly for cuts or expansion gaps around the edges.
Installation Process Overview
Installing click-lock flooring involves a few easy-to-follow steps that result in a smooth finish.
Acclimating the Flooring
Acclimating vinyl planks before installation is essential, allowing them to adjust to the room’s temperature and humidity for optimal performance.
To properly acclimate the vinyl planks, start by removing them from their packaging and laying them flat in the installation room for at least 48 hours. Keep the temperature between 65 degreesF and 85 degreesF during this period.
This step is important; missing it can cause bending or spaces after installation due to material changes. If humidity levels are high, consider using a dehumidifier. Proper acclimation sets the stage for a long-lasting, visually appealing flooring solution.
Preparing the Subfloor
Getting the subfloor ready is an important part that makes sure your new flooring will last and stay firm. This process needs a careful check and a moisture barrier if needed.
- Start by inspecting the subfloor for any signs of damage, such as rot or sagging, particularly in materials like plywood or OSB.
- Clean the surface to remove dirt and debris, which can prevent adhesion.
- If moisture is a concern-in basements, for example-install a moisture barrier made of polyethylene sheeting, which typically costs around $0.25 per square foot.
- For concrete subfloors, check for cracks and consider leveling compound to create a smooth surface, ensuring the best foundation for your new flooring.
Starting the Installation
Starting the installation requires careful planning of flooring layout, especially in floating floor options, which can affect overall aesthetics.
- First, draw the layout on paper, considering the room size and where the light comes from to make the space look better.
- Once satisfied, snap the first row of planks together, ensuring the tongue-and-groove edges are aligned.
- Use spacers to keep a uniform gap along walls, which is important for allowing room for temperature changes.
- For a seamless appearance, double-check alignment as you progress, adjusting planks if necessary.
- Following these steps will make your floor look great and last longer.
Tips for Successful Installation
For a successful click-lock flooring installation, here are some practical tips to handle common problems and get better results.
Working with Uneven Floors
When facing uneven floors, using underlayment materials can help create a smooth foundation for your click-lock flooring.
Consider integrating rubber underlayment to absorb minor irregularities. It generally costs around $0.50 per square foot and offers excellent soundproofing benefits.
If you encounter significant low spots, using a self-leveling compound can effectively raise those areas, ensuring an even surface; this may require a bit more investment but is essential for larger discrepancies.
It’s advisable to avoid installing flooring on very sloped surfaces, as this might lead to long-term issues like warping or damage. Always measure and verify your floor’s level before proceeding.
Dealing with Door Frames and Thresholds
Getting door frames and thresholds right during installation can be challenging, but some methods can make it easier.
To achieve a seamless fit while installing flooring, consider these essential techniques.
- First, under-cut door frames with a reciprocating saw to avoid the need for baseboard removal.
- Next, use transition strips at thresholds to create a clean junction between different flooring types.
- Carefully measure and trim planks to fit around door frames, allowing for small expansions.
By using these techniques, you can make sure your flooring installation looks high-quality and lasts a long time.
Maintaining Proper Expansion Gaps
Having the right space for expansion is key to stopping floor damage, especially in busy areas where temperature and humidity levels change.
Without adequate expansion gaps, flooring can warp, buckle, or create unsightly cracks, leading to costly repairs.
When installing laminate or hardwood floors, leave a gap of at least 1/4 inch between the flooring and walls. Use spacers when installing to keep the space consistent.
Regularly check these gaps, particularly in areas with high humidity, to mitigate any risks. Skipping this step could damage the flooring and cancel manufacturer warranties.
Common Mistakes to Avoid
Preventing usual errors when installing click-lock flooring can save you time and money and result in a top-notch finish.
Skipping Acclimation
One of the most common mistakes is skipping the acclimation process, which can lead to long-term issues like warping or buckling.
Getting used to the environment is important for materials like wood, particularly when used in flooring or furniture. For example, if hardwood is installed without adjusting to the room’s humidity and temperature, it may expand or contract, causing visible gaps or warping.
To help you get used to the new environment, use this checklist:
- Allow materials to sit in the installation environment for at least 48 hours.
- Monitor indoor climate, keeping humidity between 30-50%.
- Use moisture meters to test the wood’s moisture content before installation.
This preparation can save you from costly repairs down the line.
Incorrect Measurements
Incorrect measurements often result in a lack of materials and uneven flooring.
To get accurate measurements and prevent problems, follow these important steps.
- First, double-check all your dimensions using a retractable tape measure-this helps catch any errors.
- Next, use a laser level to draw straight lines, ensuring your layout is correct.
- Create a detailed layout plan on graph paper to visualize placements before cutting materials.
- To clarify, include pictures in your planning materials that demonstrate correct and incorrect measurements. These pictures can help you with your project.
Neglecting Subfloor Preparation
If you don’t prepare the subfloor properly, you might face issues like water damage and bumpy surfaces, which can ruin your flooring installation.
To build a strong base, begin by checking for moisture problems with a moisture meter. Look for readings above 15% which can indicate potential problems.
Next, clean and level the subfloor; this may involve filling in low spots or removing high areas.
If you continue to have moisture problems, you can install a moisture barrier to prevent damage later on. Common options are polyethylene sheeting or foam underlayment.
Addressing these issues early prevents costly repairs and ensures the flooring is installed without problems.
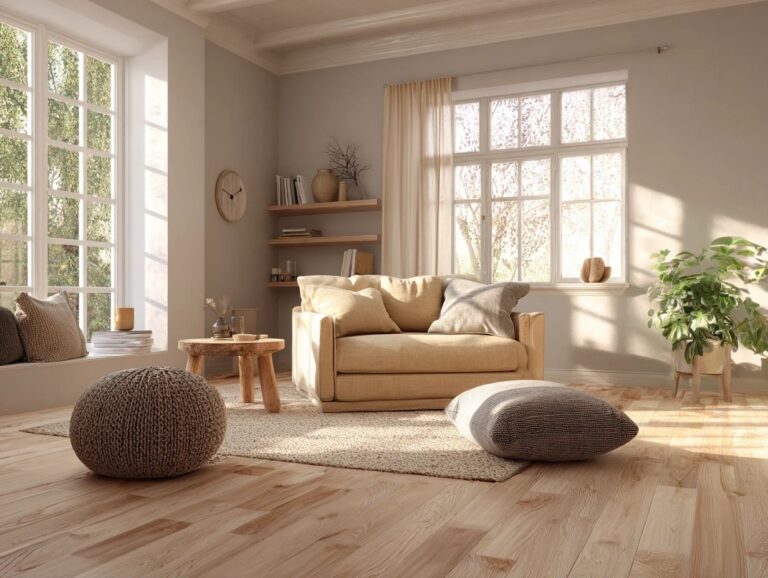
Post-Installation Care
Looking after your new flooring once it’s installed will help it stay attractive and function properly for many years.
Cleaning Your New Floor
Cleaning your new click-lock floor is simple but requires the right products to avoid damage and maintain its appearance.
To keep your floor looking pristine, start with a microfiber mop to capture dirt without scratching the surface. Avoid harsh chemicals; instead, opt for pH-neutral cleaners specifically designed for laminate floors.
For routine maintenance, clean spills immediately with a damp cloth to prevent stains or water damage. Mop your floors every two weeks, but clean more frequently in areas with a lot of foot traffic to maintain their appearance.
Recommended products include:
- Bona Hardwood Floor Cleaner
- Method Squirt + Mop
for effective and safe results.
Regular Maintenance Tips
Regular maintenance is key for maximizing the lifespan and performance of your click-lock flooring, ensuring it remains in top condition.
To effectively care for your flooring, start with regular sweeping and vacuuming to prevent dirt buildup. Use area rugs in busy areas to reduce damage.
Look at your floors every few months to spot any spaces or loose boards, as these could indicate movement or moisture problems. Consider applying a specialized floor cleaner designed for click-lock materials, as this can help restore shine and protect the surface.
By following these proactive maintenance steps, you can keep your floors looking new for years to come.
Troubleshooting Common Issues
Fixing typical problems with click-lock flooring allows homeowners to solve issues fast and keep their flooring in good condition.
Loose Planks
Loose planks can affect the look and use of your flooring, but fixing them can be simple.
-
Start by gently re-locking any loose planks with a rubber mallet, tapping at their edges to secure them in place.
-
Next, check for any gaps around the edges; these should be filled to keep the structure stable and avoid problems later.
-
If you see any planks that are badly damaged, it’s important to replace them. To find matching materials, visit local home improvement stores or consult with a flooring specialist.
These steps can restore your floor’s appearance and extend its lifespan, keeping your space looking polished.
Gaps Between Planks
Gaps between planks are another common issue that can occur after installation, often due to improper expansion gap management.
To remedy these gaps, start by identifying their cause. If humidity is the culprit, consider using a dehumidifier to stabilize moisture levels.
Next, adjust the spacing by carefully realigning the planks, ensuring the recommended expansion gap is maintained. It may also be worthwhile to add transition strips between rooms to create a buffer against further gap formation.
Videos or visual guides can help a lot during installation, showing step-by-step instructions on what to change and how to do it properly.
Frequently Asked Questions
What are click-lock installation systems and how do they work?
Click-lock installation systems are a type of flooring installation method where the planks or tiles are locked together using a tongue-and-groove design. This allows for easy and quick installation without the need for adhesives or nails.
What are some tips for a successful click-lock installation?
Before beginning the installation, make sure to acclimate the flooring to the temperature and humidity of the room it will be installed in. Also, make sure the subfloor is clean, dry, and even. It is also important to carefully read and follow the manufacturer’s instructions for the specific click-lock system being used.
Can click-lock installation systems be used on any type of subfloor?
Click-lock systems can work with various subfloors, but always check with the manufacturer to confirm if your subfloor is right for the flooring you plan to use. Some click-lock systems may require an underlayment or specific type of subfloor for optimal performance.
Are there any tricks to make click-lock installation easier?
A helpful tip is to arrange the planks or tiles on the floor before starting to make sure they fit correctly and there are no unexpected issues during installation. It is also helpful to have a rubber mallet on hand to gently tap the planks or tiles into place for a secure fit. Using spacers between the planks or tiles and the wall can also help to maintain a straight and even installation.
Can click-lock flooring be installed over existing flooring?
In most cases, click-lock flooring can be installed over existing flooring as long as it is in good condition and properly prepared. However, you should contact the manufacturer to get specific instructions and advice for the kind of flooring you want to cover.
Are there any maintenance tips for click-lock flooring?
To keep click-lock flooring looking its best, it is recommended to regularly sweep or vacuum to remove any dirt or debris. Clean up spills quickly to avoid harming the floor. It’s a good idea to regularly inspect for any loose or broken planks or tiles and replace them if needed.