Nail-Down Hardwood Installation – Tools and Techniques
Nail-down hardwood installation is a popular choice for achieving a timeless look with oak flooring. This method is easier and more flexible than the glue-down approach, which makes it popular with both DIY fans and professionals. In this guide, we will look at important tools and methods needed to properly install hardwood floors, making sure the installation is done well and is durable. Get ready to improve your space with Mr Sander(r) approved tips for perfect results!
Key Takeaways:
Contents
- Hardwood Flooring Installation Statistics
- Essential Tools for Nail-Down Installation
- Preparation Before Installation
- Installation Techniques for Nail-Down Hardwood
- Post-Installation Steps
- Common Issues and Troubleshooting
- Frequently Asked Questions
- What are the essential tools needed for nail-down hardwood installation?
- What type of nailer should I use for nail-down hardwood installation?
- What is the best technique for nail-down hardwood installation?
- Do I need to use a moisture barrier when installing hardwood with nails?
- Can I use a hammer instead of a nailer for nail-down hardwood installation?
- What is the proper maintenance for hardwood floors installed with nails?
Overview of Nail-Down Installation
Nail-down installation involves securing solid hardwood planks directly to a wooden subfloor using nails, ensuring stability and longevity.
Begin by selecting 16d finish nails, as they provide the best hold. Professionals typically start at one corner of the room, laying the first board parallel to the longest wall.
Use a pneumatic nail gun to drive nails every 6-8 inches along the plank to keep it firmly secured. Use a saw to trim boards so they match corners and edges closely.
Regularly check for evenness to prevent problems later on. This classic technique makes the floor stable and improves how it looks.
For those considering various flooring options beyond traditional hardwood, I recently came across this fascinating guide on flooring ideas for loft and studio apartments that could offer some inspiration.
Hardwood Flooring Installation Statistics
Hardwood Flooring Installation Statistics
Consumer Trends: Preferred Flooring Attributes
Consumer Trends: Installation Return on Investment
Import Trends: Imports by Region
The Hardwood Flooring Installation Statistics provide information about how the market works, what consumers like, and economic patterns in 2022. Despite challenges, hardwood flooring remains a popular choice due to its aesthetic appeal and long-term value.
Market Share and Volume data show a notable shift. The industry experienced a 9.8% revenue drop and an 11.2% volume decrease in 2022, reflecting potential market saturation, economic factors, or shifts toward alternative flooring. Furthermore, hardwood holds an 8.6% share of flooring sales, with a 14.1% share in hard surface sales, underlining its valued position in the market.
- In Consumer Trends, durability (67%) and ease of cleaning (58%) are top priorities, indicating that practicality drives consumer decisions alongside beauty (52%). Hardwood’s high 118% ROI and 91% cost recovery at sale highlight its financial appeal, promising long-term benefits despite upfront costs.
- In Hardwood Flooring Types, White Oak dominates with a 50% market share. Its popularity is likely due to its versatility and aesthetic appeal. Hickory, with an 8% share, offers a distinctive look that caters to niche preferences.
- Import Trends reveal that 43% of imports come from Southeast Asia, surpassing China’s 29% share. This shift suggests a diversification in sourcing, potentially driven by cost, quality, or geopolitical factors.
Overall, the Hardwood Flooring Installation Statistics highlight the industry’s resilience amidst economic shifts, driven by consumer preferences for durability, aesthetics, and long-term value. The data show that wise buying and adjusting to market changes are key to continuing growth in a challenging market.
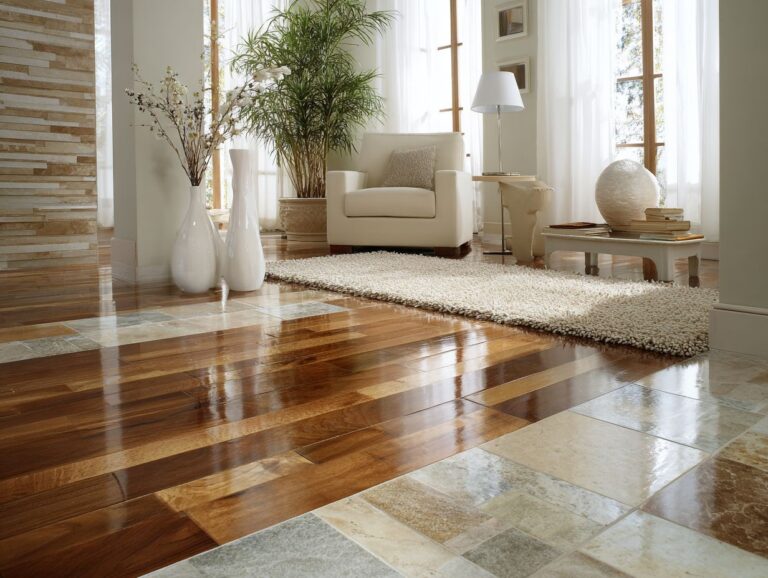
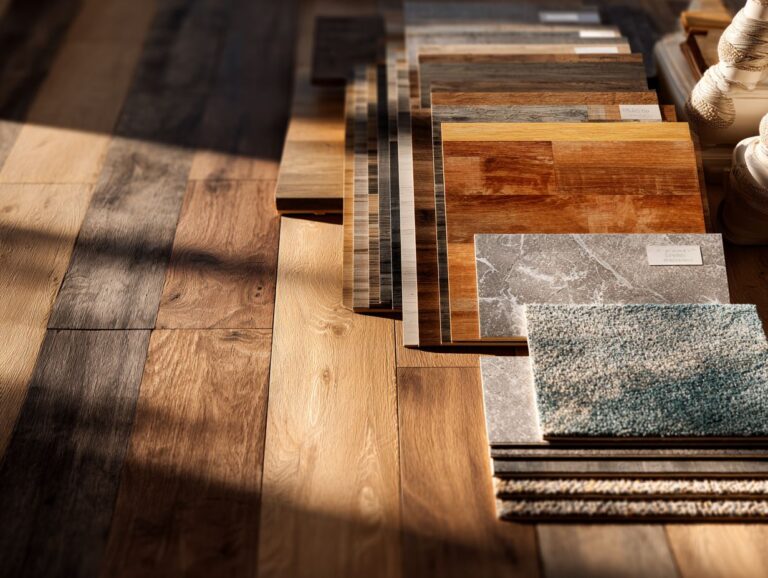
Benefits of Nail-Down Hardwood Floors
Choosing nail-down hardwood floors can improve the look and usefulness of your home, significantly raising its worth.
To maximize your investment, consider installing high-grade options like oak or maple, known for their durability and timeless appeal.
Local suppliers often offer features such as FSC certification, ensuring sustainability.
For maintenance, use a pH-neutral cleaner to preserve the wood’s finish and invest in felt pads to protect against scratches from furniture.
Look into flooring warranties that can last from 25 years up to a lifetime, offering assurance to homeowners planning to stay for many years. For those considering expansive home projects, matching flooring with existing designs might be challenging. Learn more about flooring for additions and extensions to ensure a seamless and cohesive look.
When you make careful choices, you improve both the appearance and lasting worth.
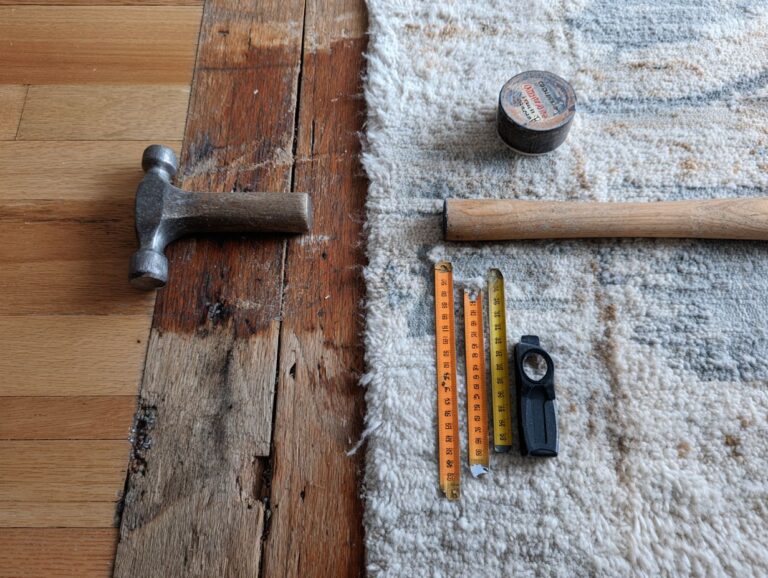
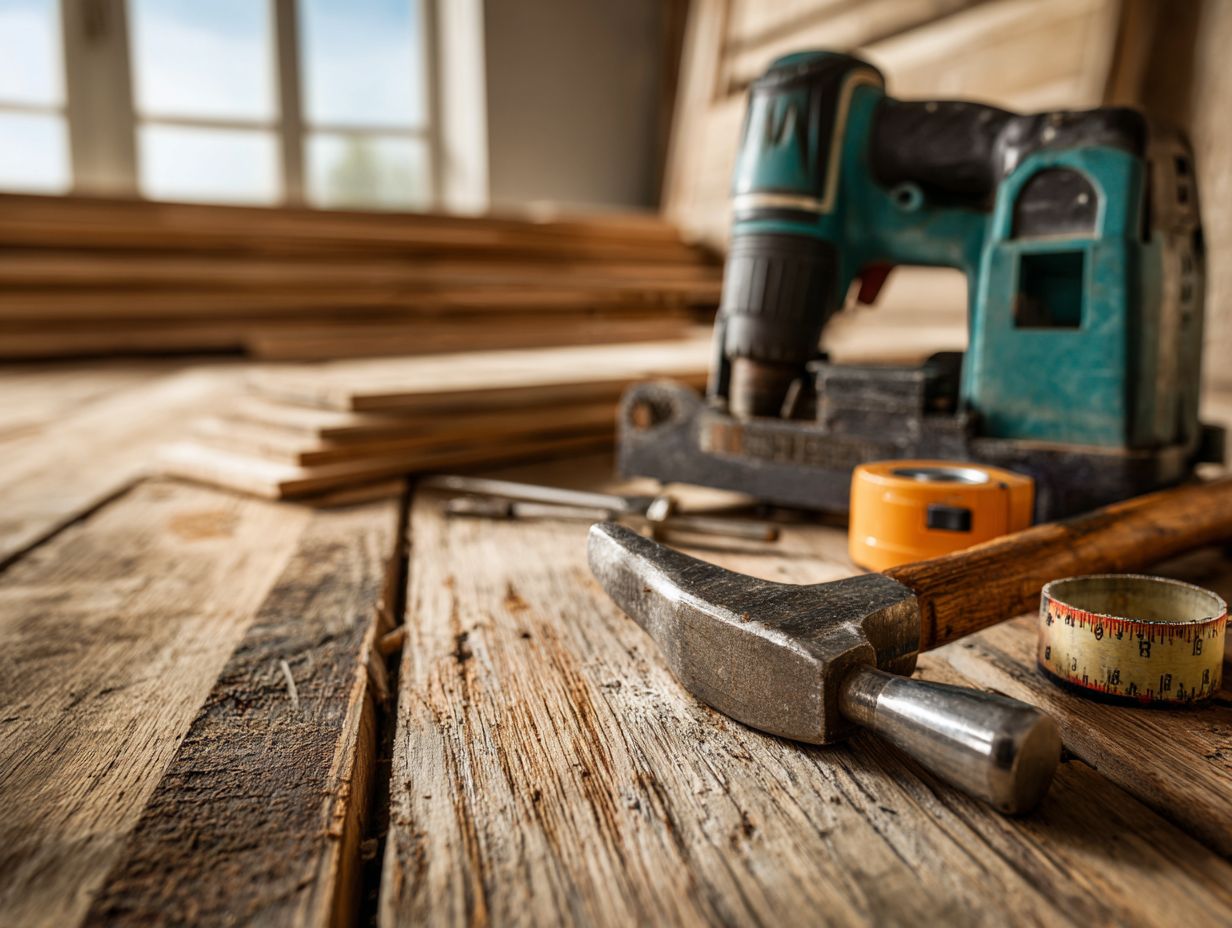
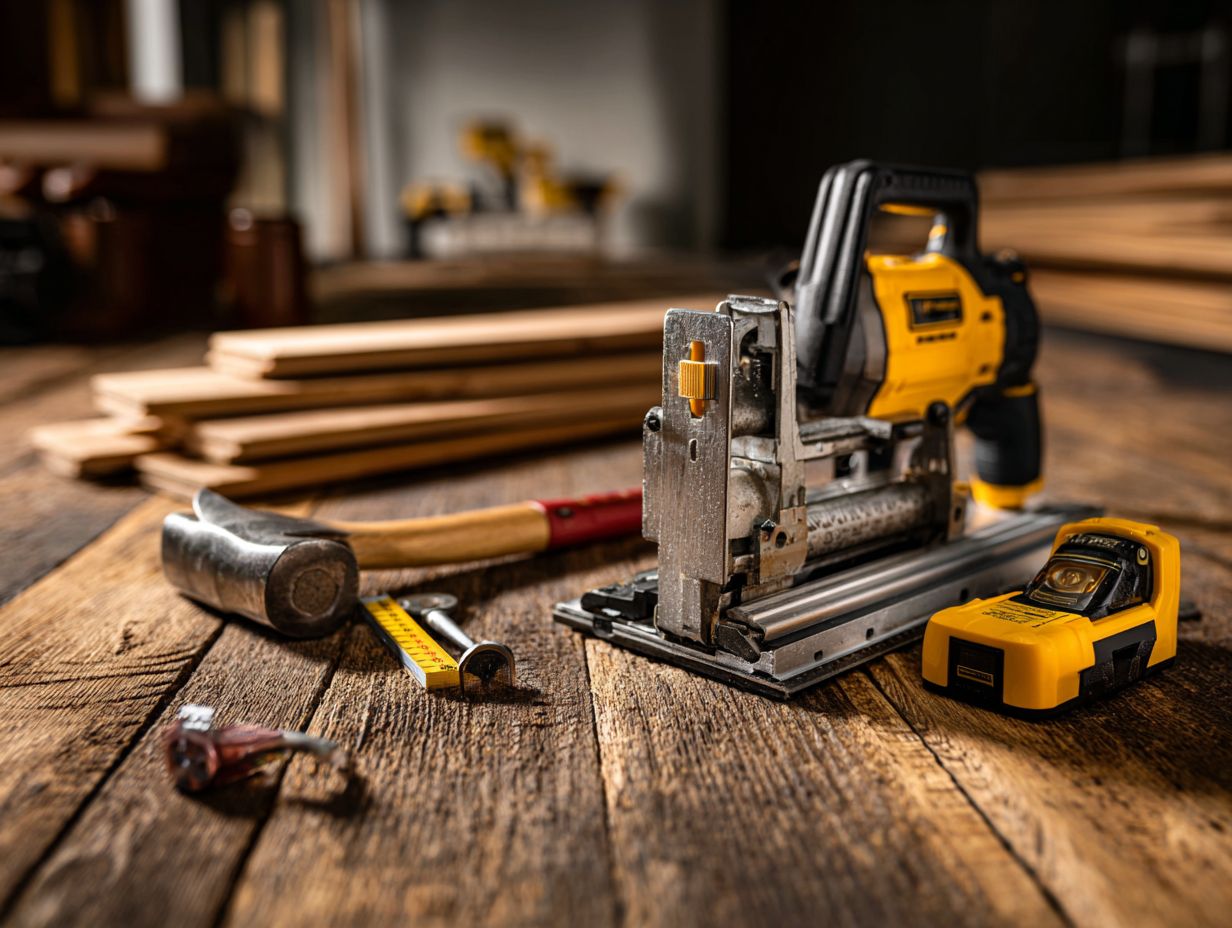
Essential Tools for Nail-Down Installation
Installing nail-down hardwood properly needs certain tools that help make the job smooth and prevent usual errors.
Nail Gun Types and Their Uses
Picking the right nail gun is important. There are two main types: pneumatic and manual. Each type has its benefits depending on your experience level.
Pneumatic nail guns, with prices ranging from $150 to $400, operate using compressed air, making them ideal for large jobs such as framing or roofing. They deliver consistent power and speed, but require an air compressor.
For instance, a pneumatic nail gun is perfect when building decks or installing plywood.
Manual nail guns cost between $20 and $150. They work well for small tasks such as creating art projects or assembling furniture. They are easy for beginners and do not require extra equipment, making them ideal for small DIY projects.
Hammer vs. Nail Gun
Using a nail gun instead of a hammer can make the job much faster, cutting down labor time from hours to just a few minutes.
A nail gun generally puts nails in place 60% faster than a hammer, making it ideal for large projects like constructing frames or decks.
Nail guns can cost between $100 and $500, but they can save time and effort by finishing tasks quickly. They require an air compressor or batteries, adding to upfront costs.
A hammer is affordable and works well for small nails and minor repairs. The decision largely depends on how big the project is and how much money is available.
Other Necessary Tools
Other than a nail gun, you need a few more tools for a proper nail-down hardwood installation, like a moisture meter and a flooring pull bar.
A moisture meter, priced at about $30, checks if the subfloor is dry to stop any warping later.
A flooring pull bar, costing about $15, helps snugly fit boards together without damaging edges.
A pry bar (approximately $10) is useful for removing old flooring or adjusting any improperly set boards.
Having a tapping block, which can be found for about $10, protects your flooring during installation by allowing you to tap boards together without direct contact.
These tools work together to improve the quality and toughness of your hardwood floor installation.
Preparation Before Installation
Getting ready correctly is key to a successful nail-down hardwood installation, as it creates a strong foundation for results that last.
Acclimating Hardwood Flooring
Acclimating your hardwood flooring for at least 48 hours in the room where it will be installed is critical to prevent expansion or contraction post-installation.
To keep the best conditions, check the room’s temperature and humidity often. Ideal temperatures range between 60 degreesF and 80 degreesF, while humidity levels should be maintained between 30%-50%.
Use a hygrometer to track humidity, and adjust it using a humidifier or dehumidifier as needed. Avoid placing the wood near heating vents or direct sunlight, which can cause uneven acclimation.
This preparation step is essential for preserving the integrity and appearance of your floors long-term.
Subfloor Assessment and Preparation
Checking the subfloor is important; it must be clean, dry, and even, with moisture content no higher than 12%, for a successful nail-down installation.
- Start by clearing the subfloor of debris and dust, ensuring a smooth surface for installation.
- Use a moisture meter to check moisture levels in various spots; aim for readings below 12%. If moisture exceeds this level, employ dehumidifiers or fans for better ventilation.
- For leveling, fill low spots with concrete leveling compound, while high spots may require sanding or grinding.
- Always allow materials to sit for 24 hours before installation so they can match the room’s conditions.
These steps will give you a strong start for your flooring project.
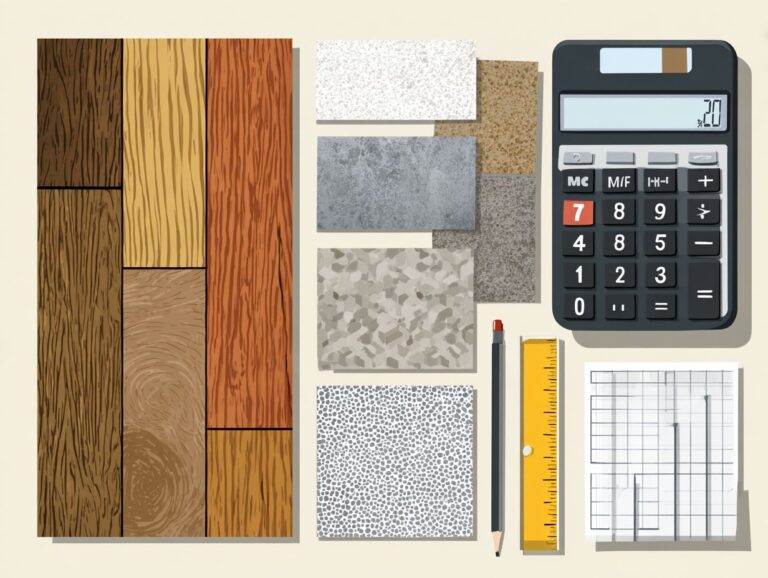
Gathering Installation Materials
Having the right installation materials on hand-including flooring adhesive, nails, and underlayment-can help avoid delays during the project.
For a successful flooring installation, consider using high-quality flooring adhesive priced between $25 and $50. Look for products like Titebond III, which is waterproof and offers strong bonding.
You’ll also need nails, with 1-1/4 inch finishing nails being a popular choice at around $10 for a box of 1,000. Underlayment choices such as foam or cork are important for reducing noise and guarding against moisture, costing between $0.30 and $0.80 per square foot.
Look at local hardware stores or online shops for good prices and fast delivery.
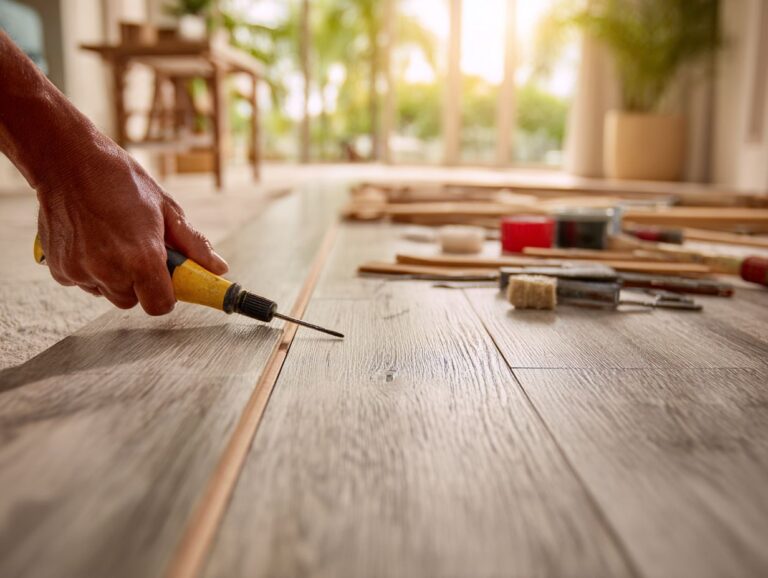
Installation Techniques for Nail-Down Hardwood
Learning the correct installation methods is essential for getting a high-quality result in your nail-down hardwood project.
Starting the Installation Process
- Begin by laying the first row of planks along the longest wall, ensuring it is straight to establish a solid foundation for the subsequent rows.
-
Use a level and chalk line to mark the starting point, allowing for consistent alignment.
-
Measure and cut the planks as needed, leaving a small gap at the wall for expansion.
-
For added stability, apply adhesive beneath each plank before securing them into place with nails or a flooring stapler.
-
Check periodically with a level to maintain evenness across rows.
-
Focusing on the details during installation lowers the chance of the floor moving or bending later, resulting in a durable floor.
Nailing Patterns and Techniques
Using the right nail placement is important; keeping nails 6 inches apart will keep things secure and looking good.
For flooring aesthetics and durability, consider using staggered or straight nailing patterns.
Placing nails in different positions in each row makes the structure more stable and reduces the likelihood of boards creaking. In contrast, straight nailing provides a more uniform look but may require additional structural support.
Utilizing pneumatic nailers can expedite the process, allowing for consistent placement and reduced labor time. Pick flooring that is both strong and good-looking.
Dealing with Obstacles (e.g., vents, doorways)
Getting around obstacles such as vents and doorways needs thoughtful planning; use cutouts and transition strips to keep the installation neat.
When setting up your layout, accurately measure the dimensions of any obstacles. For vents, create a cutout by tracing the vent size on the plank, then use a jigsaw to cut it out smoothly.
For doorways, adding transition strips is important to connect different types of flooring. A T-molding transition strip is useful for joining laminate and carpet; fix it in place with glue for long-lasting results.
This method improves the look and guarantees your flooring lasts longer in busy areas.
Post-Installation Steps
Completing the final tasks after installing your new hardwood floors is important for achieving a neat appearance and ensuring they remain durable.
Finishing Touches and Trimming
Putting on baseboards and transitions improves the appearance and allows for important gaps for expansion.
To set up trim and transition pieces, first gather the tools you need: a miter saw for cutting angles, a nail gun for fast installation, and a measuring tape for exact sizing.
Begin by measuring the length of the wall where the baseboard will be attached, cutting your pieces at a 45-degree angle for corners. Leave at least a 1/4-inch space between the fastener and the floor for expansion.
For transitions, place them on a level surface and use adhesive if necessary, ensuring they fit snugly without cramped edges.
Cleaning and Maintenance After Installation
Post-installation, a proper cleaning routine is essential; use a vacuum or soft broom followed by a damp mop to maintain the beauty of your hardwood floors.
To make your hardwood last longer, use a cleaner with a neutral pH made for wood floors. Products like Bona Hardwood Floor Cleaner or Murphy Oil Soap are great choices.
Avoid excess water, as it can damage the wood; instead, wring your mop thoroughly before use. Regularly check for scratches or dents, and use a wood floor repair kit for any minor damage.
Place rugs at entryways to catch dirt and prevent scratches from shoes, ensuring your floors stay pristine for years.
Common Issues and Troubleshooting
Knowing about typical problems that might happen during or after installation can help you fix issues, keeping your hardwood flooring in good condition.
Identifying and Fixing Gaps
Finding spaces between planks is important; these can occur due to changes in temperature and can be fixed by repositioning the flooring or using filler strips.
To remedy these gaps effectively, start by measuring the width and length of each gap. A simple wood filler or caulk can work for smaller gaps, while larger ones may require hardwood filler strips.
Tools needed include:
- a putty knife for application
- sandpaper to smooth the surface
- a measuring tape for precise cuts
Before installing your flooring, let it adjust to the room’s temperature. Keep humidity levels steady to reduce the chance of the floor expanding or shrinking later. Regular maintenance checks can also help catch gaps early.
Dealing with Creaking Floors
You can repair creaking floors by applying wood glue between the boards or securing any loose nails. This usually solves the problem without needing major repairs.
If these methods don’t eliminate the noise, consider using shims to fill gaps between the joists and floorboards.
Insert wooden shims gently into loose areas, securing them with glue for stability. Applying a lubricant like powdered graphite can reduce friction in tight spots.
To keep the floorboards firmly in place and reduce any shifting or noise, you can use deck screws to connect them securely to the joists. Regularly inspect your floors to catch and address issues early.
Final Thoughts on Nail-Down Hardwood Installation
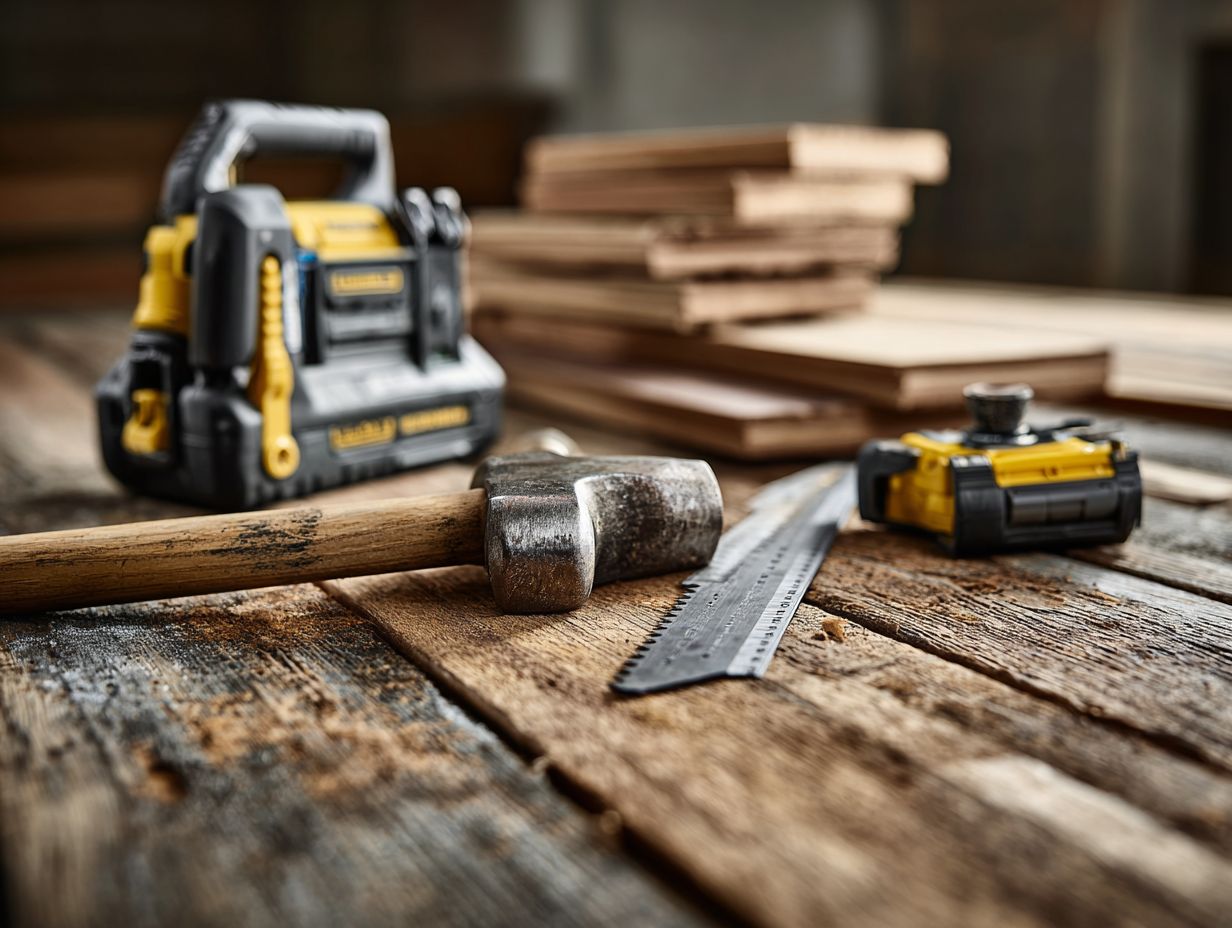
For a successful nail-down hardwood installation, you need the proper tools, preparation, and knowledge of the methods used.
Begin by gathering essential tools such as a flooring nailer, hammer, and measuring tape.
Measure your room to figure out the amount of hardwood needed, and add 10% extra to cover any waste.
Next, acclimate your wood planks in the installation area for at least 48 hours to prevent warping.
When laying the planks, start from the longest wall, securing each board with nails spaced approximately 8-10 inches apart. This method provides a steady and good-looking floor.
Proper preparation and technique lead to a successful installation.
Resources for Further Learning
For those wanting to learn more, there are many resources available, such as online classes and professional workshops led by flooring specialists.
Consider exploring the ‘Hardwood Flooring Installation’ course on platforms like Udemy, which offers step-by-step tutorials for about $19.
Alternatively, the ‘National Wood Flooring Association’ provides a certification program for professionals, enhancing credibility in the industry.
Local home improvement stores often host free workshops, like Home Depot’s `Flooring 101,’ allowing hands-on experience.
For ongoing learning, books like ‘Installing Hardwood Floors’ by Thomas Feigenbaum offer detailed information on methods and upkeep tips.
Frequently Asked Questions
Common questions about nail-down hardwood installation often involve materials, methods, and maintenance, reflecting the concerns of both DIY enthusiasts and professionals.
A few key inquiries arise frequently. Many ask, “What type of wood should I use?” A common choice is oak for its durability, while maple offers a lighter aesthetic.
Some people ask about needed tools; having a nail gun, measuring tape, and a moisture meter helps you work quickly. Installation techniques vary too. You can opt for the traditional staggered pattern or a more contemporary herringbone design, depending on your space.
Maintenance questions often include how to keep the finish looking new-regular cleaning with a pH-neutral solution is recommended.
Frequently Asked Questions
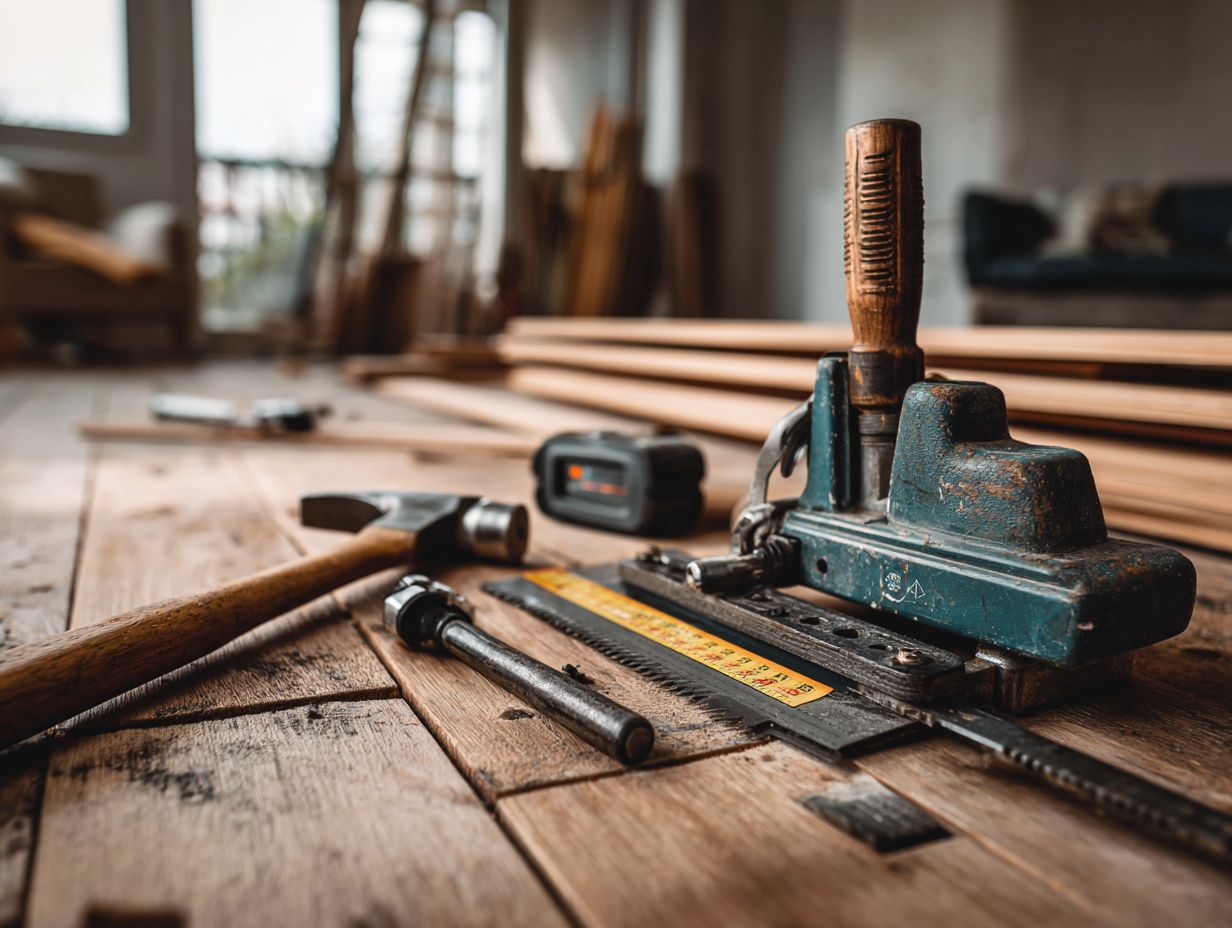
What are the essential tools needed for nail-down hardwood installation?
The essential tools for nail-down hardwood installation include a power nailer, hammer, measuring tape, chalk line, pry bar, drill, and level.
What type of nailer should I use for nail-down hardwood installation?
The most commonly used nailer for hardwood installation is a pneumatic flooring nailer, which uses compressed air to drive the nails into the hardwood.
What is the best technique for nail-down hardwood installation?
The best technique for nail-down hardwood installation is to start at one end of the room and work your way towards the other end, nailing each board down as you go. It is important to stagger the boards and leave a small gap for expansion.
Do I need to use a moisture barrier when installing hardwood with nails?
Yes, it is recommended to use a moisture barrier, such as tar paper or roofing felt, to protect the hardwood from any moisture that may seep up from the subfloor.
Can I use a hammer instead of a nailer for nail-down hardwood installation?
While it is possible to use a hammer and nail set for hardwood installation, it can be time-consuming and difficult. A nailer is a more efficient and effective tool for this type of installation.
What is the proper maintenance for hardwood floors installed with nails?
To maintain hardwood floors installed with nails, it is important to regularly sweep or vacuum to remove any dirt and debris. It is also recommended to use a hardwood floor cleaner and avoid using harsh chemicals or excessive water when cleaning.