Subfloor Preparation – Leveling and Repair Guide
Contents
- Introduction to Subfloor Preparation
- Subfloor Preparation Statistics
- Tools and Materials Needed
- Assessing the Current Condition of the Subfloor
- Identifying Types of Subfloor Damage
- Leveling Techniques
- Repairing Subfloor Damage
- Finishing Touches After Preparation
- Frequently Asked Questions
- What is subfloor preparation and why is it important?
- What are some common methods for leveling a subfloor?
- How do I know if my subfloor needs to be repaired?
- Is it possible to repair a damaged subfloor or does it need to be completely replaced?
- How long does subfloor preparation typically take?
- Can I do subfloor preparation myself or do I need to hire a professional?
Introduction to Subfloor Preparation
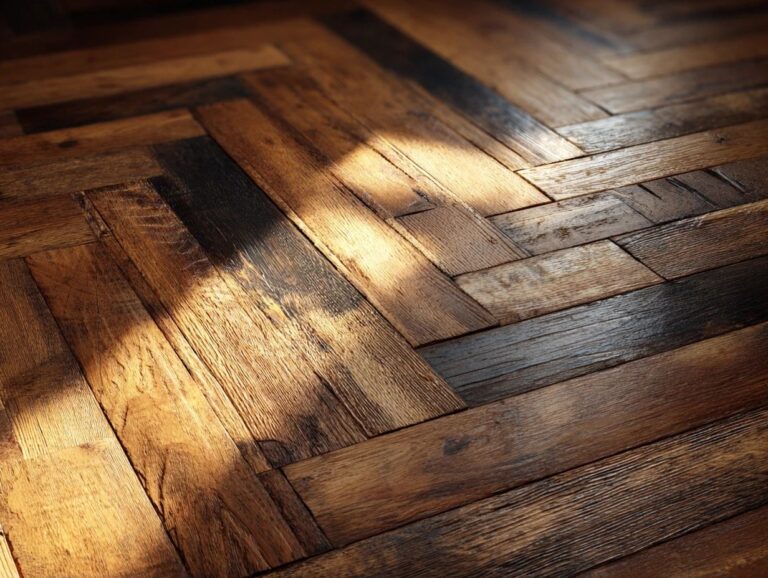
Proper subfloor preparation is essential for a flawless flooring installation, whether you’re laying down wood, laminate, or carpet. Ensuring a clean subfloor that’s structurally sound sets the stage for durability. In this guide, Wood and Beyond will show you how to fix and even out your subfloor, giving you helpful information to make sure your new flooring is well-supported.
Key Takeaways:
Importance of Subfloor Preparation
Getting the subfloor ready properly can improve how the flooring works and stop problems like uneven areas and water damage.
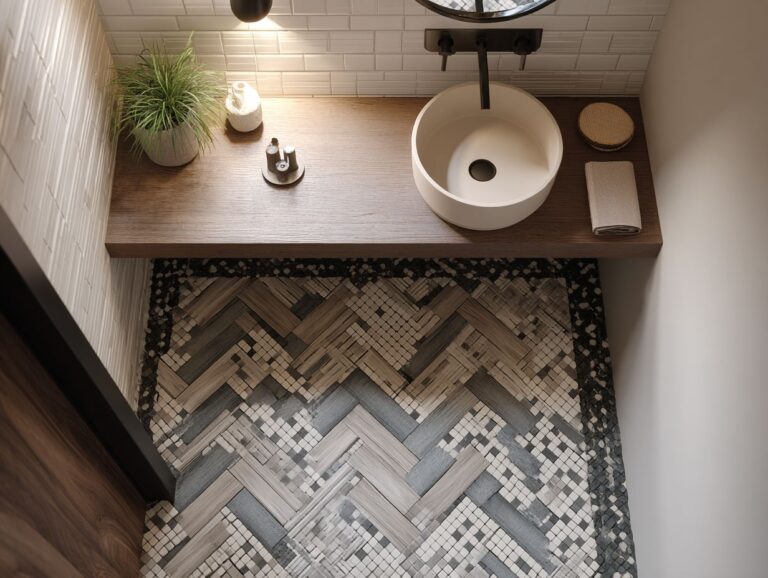
A properly prepared subfloor is essential for different kinds of flooring. Carpet needs an even, clean surface to stop it from folding, and laminate requires a flat base to prevent spaces and noise.
Vinyl flooring, on the other hand, is sensitive to moisture; improper preparation can lead to mold growth. Statistics show that 30% of flooring failures are linked to poor subfloor conditions. For a more in-depth understanding, our comprehensive guide on flooring underlayment installation explores various types and methods that can enhance subfloor readiness.
Buy leveling compounds and moisture barriers if needed for a long-lasting installation. These preventative measures can save time and costly repairs in the long run.
Subfloor Preparation Statistics
Subfloor Preparation Statistics
The Subfloor Preparation Statistics dataset, though currently unspecified, implies a focus on an essential aspect of the flooring industry that can influence the quality and durability of finished floors. Subfloor preparation is a critical step in floor installation, serving as the foundation that supports flooring materials such as hardwood, laminate, tile, or carpet. Getting ready the right way makes sure the final floor is even, smooth, and without flaws that could change how it looks or how long it lasts.
Key Aspects of Subfloor Preparation:
- Leveling: Making sure the subfloor is level is important to avoid problems like noises, spaces, or uneven wear in the flooring. Self-leveling compounds or grinding techniques are commonly used to achieve a flat surface.
- Moisture Control: Moisture can lead to problems like mold growth or material warping. Moisture barriers or vapor retarders are often used to guard against humidity and water leaks, especially in basements or areas with damp conditions.
- Subfloor Repair: Addressing cracks, holes, or loose sections of the subfloor is necessary to provide a stable base. This may involve patching materials, adhesives, or securing loose floorboards.
- Cleanliness: A clean subfloor doesn’t have dust or dirt so that flooring materials like tiles or vinyl stick well. Vacuuming and sweeping are standard practices before installation begins.
Although exact data isn’t given, measurements in this field usually concentrate on time and money saved by preparing subfloors correctly, instances of installation failures caused by poor preparation, and new preparation technologies that improve efficiency and effectiveness.
Overall, the emphasis on subfloor preparation highlights its importance in the flooring industry. It highlights the importance of careful attention to detail and using the right methods and materials to achieve a successful and durable flooring installation.
Common Issues with Subfloors
Spotting typical problems with subfloors, such as moisture levels and structural issues, is important for a successful flooring installation.
Moisture problems can lead to mold growth and deterioration, manifesting as warping or discoloration.
Structural problems can change how weight is spread, creating weak areas or noisy floors.
Pest infestations can compromise the integrity of the subfloor, evidenced by visible damage or droppings.
Improper installation of previous flooring can create uneven surfaces, impacting the overall aesthetics and functionality.
Fixing these problems before installation makes the structure last longer and keeps it safe to live in.
Tools and Materials Needed
Having the right tools and supplies is essential for effectively preparing and repairing subfloors.
Essential Tools for Leveling
Essential tools for making your subfloor even include a spirit level, floor leveling compound, and a utility knife for accurate cutting.
Some useful tools include a tape measure (around $10) for accurate measurements and a straightedge (about $20) to spot uneven surfaces. A power sander, typically $60, can smooth out uneven areas effectively.
Purchase these items at local hardware stores like Home Depot or online at Amazon. Begin by measuring your space, then use the spirit level to identify uneven sections.
Apply the floor leveller compound according to manufacturer instructions to create a flat surface, ensuring stability for your flooring.
Materials for Repairing Subfloors
Choosing the correct materials, like underlayment, moisture barriers, and adhesives, leads to a long-lasting and successful flooring installation.
For underlayment, consider cork for its sound-dampening qualities, which is priced around $0.80 per square foot, or foam for a budget-friendly option at approximately $0.30 per square foot.
Moisture barriers can range from polyethylene sheeting ($0.10/sq ft) for basic protection to more advanced membranes like rubber, which may cost up to $1.50 per square foot but offer superior longevity.
For laminate floors, a water-based adhesive is usually the best choice. It typically costs about $50 per gallon.
Comparing these materials with your exact needs will greatly improve installation quality.
Assessing the Current Condition of the Subfloor
Checking the subfloor carefully is necessary to fix any hidden problems before installation.
Visual Inspection Techniques
Visual inspection techniques can quickly identify surface imperfections, such as cracks and debris accumulation, affecting subfloor quality.
Start by providing enough light; a strong flashlight can help see difficult areas. Check for visible damage like cracks and uneven surfaces.
Use a moisture meter to assess any water damage that could compromise subfloor integrity. Write down your observations carefully-include the place, seriousness, and any needed fixes.
If you find significant issues, consider using a level to measure flatness across the floor. This detailed method makes sure you address important issues and helps plan the right repairs.
Measuring Levels and Flatness
Checking the heights and evenness of a subfloor can prevent problems with flooring later and make sure it sticks correctly.
For exact measurements, use a spirit level or a laser level. Place the spirit level on various points of the subfloor; it should bubble within the two lines, indicating levelness.
For laser levels, project a horizontal line across the area, and measure the distance from the line to the floor. Ideally, for hardwood, a flatness tolerance of 1/8 inch over 10 feet is acceptable. For tile, stricter standards may dictate no more than 1/16 inch.
Mark any deviations for adjustments before flooring installation.
Identifying Types of Subfloor Damage
Knowing the different types of subfloor damage helps to make specific repairs and avoid problems later. For detailed information on various subfloor systems, check out our comprehensive guide on basement subfloor systems.
Water Damage
Water damage is a serious problem and can cause mold or mildew if not dealt with quickly.
To identify water damage, start by looking for visual signs like discoloration on walls, peeling paint, or buckled flooring. These can indicate underlying moisture issues.
To check for dampness, use a moisture meter to measure moisture in walls and wood; readings above 20% usually mean there is moisture present.
Once identified, dry affected areas using fans and dehumidifiers to reduce humidity levels. If the damage is bad, think about hiring professional restoration services to make sure everything is dried and repaired completely to stop mold growth.
Structural Damage
Structural damage can compromise the integrity of the entire flooring system, requiring immediate repair.
To evaluate structural damage, use simple tools: a hammer to test for loose or weak spots, and a pry bar to inspect joints and beams for separation or movement.
If the damage is localized, consider sistering joists by attaching a new joist alongside the damaged one for reinforcement.
For extensive damage, you may need to replace the compromised sections entirely, which can involve cutting out and replacing panels or beams.
Always follow local building codes during repairs to keep things safe and legal.
Surface Imperfections
Surface imperfections, like high and low spots, can hinder proper flooring installation and aesthetic appeal.
To correct these issues, begin by identifying the specific imperfections: high spots can be addressed using a floor levelling compound, while low spots may require the application of additional material.
Start by sanding down high spots using an abrasive tool until they are flush with the surrounding surface.
For low spots, mix and apply the levelling compound, ensuring it’s spread evenly according to the manufacturer’s instructions. Allow it to cure fully before proceeding with the flooring installation.
Tools such as a ruler for measuring and a spatula for applying will be very useful in this process.
Leveling Techniques
Using proper methods for leveling is important to create an even and firm surface for installing flooring.
Using Self-Leveling Compound
Self-leveling compounds are a quick way to create a smooth and level subfloor, ideal for various flooring types.
- Begin by preparing the subfloor by cleaning it thoroughly and repairing any major cracks.
- Use a product like Henry 555, mixing it according to the manufacturer’s instructions-generally, you’ll need about 1.5 gallons of water for a 50 lb bag.
- Pour the mixed compound onto the subfloor, starting at the furthest corner from the exit to allow for easy access as you work.
- Use a long trowel or roller to spread it evenly and make sure it fills any low areas.
- Allow it to cure fully before installing your chosen flooring.
Shimming and Blocking Methods
Shimming and blocking methods can effectively address uneven subfloors, ensuring structural integrity and proper support.
To shim an uneven subfloor, you’ll need wooden shims or plastic spacers, a level, and a hammer.
Start by locating the low spots with the level. Insert shims beneath the subfloor until it is even, applying gentle pressure to avoid cracking.
For blocking, use 2×4 lumber cut to fit between joists, ensuring they are nailed securely to provide support. Make sure to regularly check if the surface is even during installation.
This process strengthens the flooring and stops sagging, giving long-lasting results.
Using Plywood for Leveling
Using plywood sheets can be an effective method for leveling subfloors, particularly in areas with significant damage.
-
First, measure the damaged section carefully with a tape measure to find out how big the plywood sheets should be.
-
Cut the sheets to fit using a circular saw, ensuring straight edges for a snug fit.
-
Before installing, look for any dampness in the subfloor and make sure it’s tidy.
-
Secure the plywood with construction adhesive and screws spaced approximately 12 inches apart.
-
Use a level to check if the surface is even, and adjust as necessary before finishing the floor.
This process improves stability, creating a strong base for additional flooring installation.
Repairing Subfloor Damage
Fixing subfloor damage quickly stops bigger problems and keeps the base solid for laying flooring. If you’re planning on installing new floors, understanding different flooring transitions between rooms can be crucial for a seamless finish.
Replacing Damaged Sections
Fixing broken parts of a subfloor is important for keeping it strong and working well.
Begin by gathering essential tools like a circular saw, pry bar, and measuring tape.
Measure the damaged area and carefully cut out the affected section using the circular saw. Make sure to leave a few inches of undamaged material to attach the new piece.
Next, measure and cut a new plywood section to fit snugly in the gap. Use wood glue and screws to secure it in place, ensuring a tight bond.
Seal the seams with caulk for added protection against moisture, which can lead to further damage.
Patch Repair Techniques
Patch repair techniques offer a practical solution for small areas of damage, restoring the subfloor’s functionality without full replacement.
To effectively patch subfloor damage, begin by gathering your materials:
- epoxy-based primer
- wood filler
- sandpaper
- a leveling compound
Start by cleaning the damaged area and applying the epoxy primer, which promotes adhesion. Once cured, fill deeper holes with wood filler, smoothing it out with a putty knife. After it hardens, sand the surface to level it with the surrounding area.
Apply a leveling compound if necessary, ensuring a flat finish before reinstalling flooring. This method provides a lasting and smooth repair.
Dealing with Mold and Mildew
Addressing mold and mildew in subfloors is essential to prevent health risks and further damage to the flooring structure.
Begin by identifying moisture levels using a moisture meter, which can be found at hardware stores for as little as $20. If readings exceed 20%, you may have a moisture issue.
Clean affected areas with a mixture of white vinegar and water or commercial mold removers like Concrobium. To prevent moisture problems, use dehumidifiers and exhaust fans to improve air circulation in areas with high humidity.
Regularly inspect plumbing for leaks and maintain indoor humidity below 60% to hinder mold growth.
Finishing Touches After Preparation
Final adjustments after preparing the subfloor create a smooth and proper base for installing the floor.
Cleaning the Subfloor
Cleaning the subfloor well is essential for the floor covering to stick properly and last a long time.
- Start by cleaning up any dirt, dust, and staples with a vacuum cleaner that has a flexible attachment.
- For stubborn adhesive residues, apply an adhesive remover like Goo Gone, allowing it to sit for a few minutes before scraping with a plastic putty knife.
- After that, mop the subfloor with a mixture of warm water and a few drops of dish soap to eliminate any remaining grime.
- Make sure the floor is dry before you start installing it, because wet surfaces can prevent it from sticking properly.
Final Inspection Before Flooring Installation
Double-checking everything before installing the floor is important to identify and correct any issues that could affect the project.
-
Start by ensuring the subfloor is level; use a level tool to check for any uneven spots.
-
Next, inspect for cleanliness; a broom or vacuum should remove debris.
-
Use a moisture meter to check the moisture levels precisely. Make sure readings stay below the limit set by the manufacturer.
-
Confirm that expansion gaps are set according to flooring specifications to allow for natural expansion and contraction.
Following these steps will help you achieve a smooth, durable flooring installation.
Frequently Asked Questions
What is subfloor preparation and why is it important?
Subfloor preparation is the process of leveling and repairing the subfloor before installing flooring. A properly prepared subfloor is important because it gives a stable foundation for the flooring, helping to prevent problems or damage over time.
What are some common methods for leveling a subfloor?
The two most common methods for leveling a subfloor are using self-leveling compound or sanding. Self-leveling compound is a liquid that is poured onto the subfloor and dries to create an even surface, while sanding involves using a sander to remove any high spots on the subfloor.
How do I know if my subfloor needs to be repaired?
If you notice any sagging or uneven areas in your subfloor, it may need to be repaired. Other signs include floors making squeaky or creaky noises when walked on, or if your flooring has noticeable wear or damage in specific spots.
Is it possible to repair a damaged subfloor or does it need to be completely replaced?
In most cases, a damaged subfloor can be repaired rather than replaced. How severe the damage is will decide what to do next. Talk to a professional for a correct evaluation and advice.
How long does subfloor preparation typically take?
The time it takes to prepare a subfloor will vary depending on the size and condition of the subfloor, as well as the method used for leveling and repairing. In general, it can take anywhere from a few hours to a few days to complete the process.
Can I do subfloor preparation myself or do I need to hire a professional?
If you have experience in home renovation and the necessary tools, you may be able to do subfloor preparation yourself. For the best results in leveling and repairing your subfloor, hire a professional in this field.