Fixing Squeaky Floors – Causes and Solutions
Squeaky floors can make your comfortable Nashville home annoying, particularly during family gatherings like Easter at Grandma’s house. Knowing the causes, such as loose floor joists or problems in the crawl space, is the first step to fixing the issue. This article will guide you through common reasons for those creaky floors and offer effective solutions, ensuring your hardwood flooring remains a source of comfort rather than a distraction.
Key Takeaways:
1. Squeaky floors are more than just a nuisance, they can indicate underlying issues with the flooring. 2. Common causes include age, humidity, installation, loose floorboards, and subfloor problems. 3. DIY solutions such as using talcum powder, fixing loose boards, or adding support with shims can help alleviate squeaks.
Contents
Understanding the Problem
Squeaky floors can signal significant problems, such as weakened floor joists or moisture issues in the crawl space, leading to costly structural repairs if left unresolved.
To fix squeaky floors quickly, start by checking the crawl space for any dampness. Use a moisture meter to check levels; if they exceed 20%, consider installing a dehumidifier or improving ventilation.
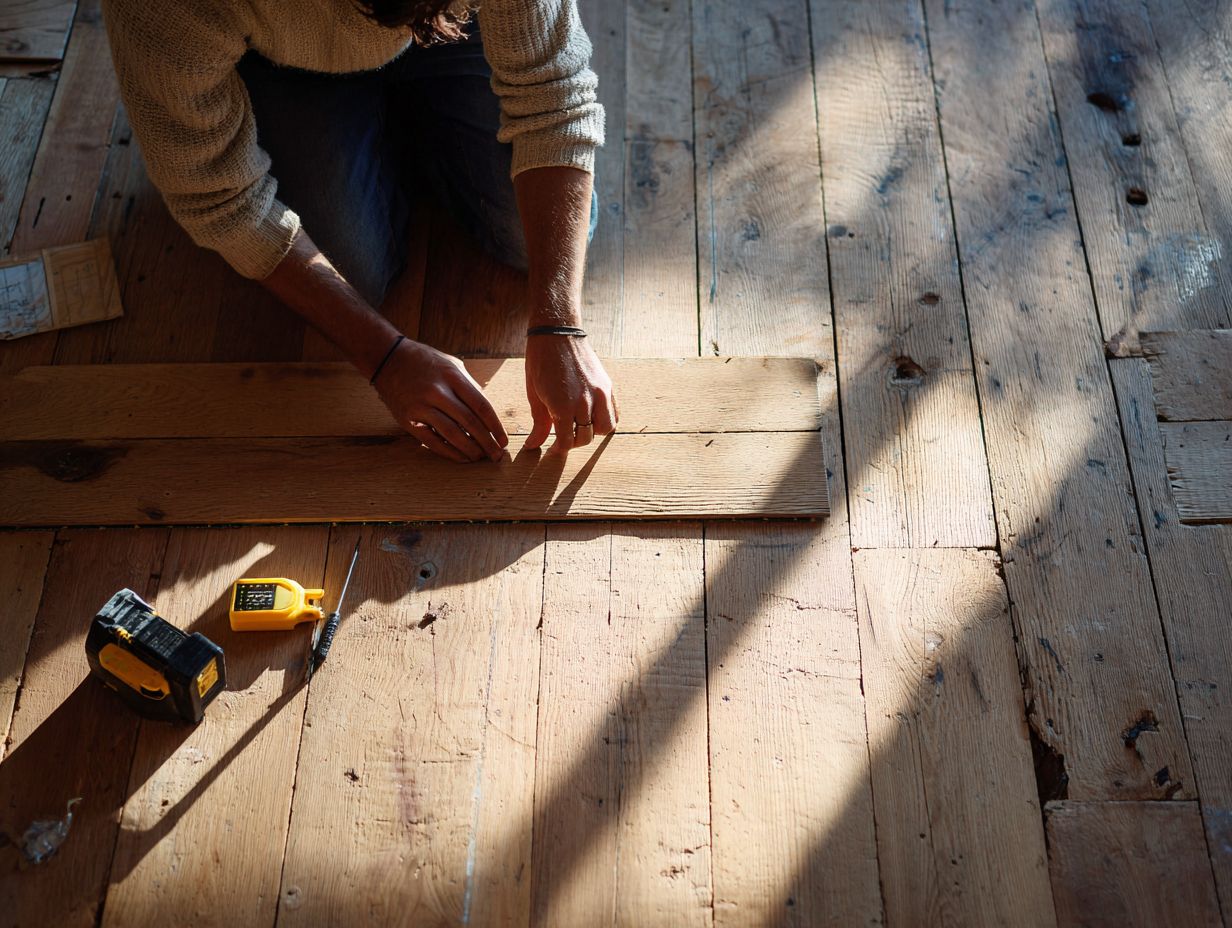
Next, identify if the noises are from loose floorboards by driving screws into the joists to secure them. If squeaks persist, apply a lubricant like talcum powder between the boards to minimize friction.
Regularly checking these areas can prevent costly repairs later and keep your home in good condition.
Why Squeaky Floors Matter
Fixing squeaky floors makes your home more comfortable and can increase its value since buyers pay attention to how well a house is maintained.
To tackle squeaky floors effectively, start by identifying the source of the noise, usually caused by loose floorboards or gaps.
You can apply a powdered graphite lubricant between the boards, which reduces friction, or for a more permanent solution, secure loose boards with screws instead of nails.
Using felt pads can dampen noise while providing a protective layer between the floor and heavy furniture.
Prospective buyers typically inspect flooring quality, and eliminating squeaks can positively influence their perception, signaling a well-maintained home.
Common Causes of Squeaky Floors
Knowing the usual reasons for squeaky floors is important for diagnosing and fixing them, helping homeowners address problems early.
Squeaky Floor Repair and Moisture Control Statistics
Squeaky Floor Repair and Moisture Control Statistics
Squeaky Floor Causes and Solutions: Moisture Content Control
Squeaky Floor Causes and Solutions: Squeak Prevention Methods
Squeaky Floor Causes and Solutions: Common Solutions Applied
The Squeaky Floor Repair and Moisture Control Statistics provides detailed information on the reasons, ways to prevent, and typical fixes for fixing squeaky floors and controlling moisture levels. Each metric is rated at 100%, emphasizing the importance and effectiveness of these strategies in maintaining floor integrity and preventing squeaks.
Squeaky Floor Causes and Solutions data highlights that seasonal moisture content fluctuations and achieving ideal wood equilibrium moisture content (EMC) are pivotal. Variations in humidity levels can cause wood to expand or contract, leading to squeaks. Keeping the floor evenly moist is important for keeping it stable.
- Squeak Prevention Methods: Consistent humidity maintenance is essential to prevent changes in wood moisture levels, which contribute to squeaks. Employing construction adhesive during installation effectively secures floor components, minimizing movement that causes noise.
- Common Solutions Applied: Techniques such as pilot hole pre-drilling for nails secure the wood tightly without causing cracks This method creates stronger bonds between layers of the floor. Additionally, shim utilization helps fill subfloor gaps, stabilizing the floor structure and reducing movement.
By addressing these factors, homeowners and builders can effectively prevent and remedy squeaky floors. The emphatic 100% effectiveness across all strategies shows their reliability in keeping floors in good condition and lowering sound. Keeping the right humidity, using glue, and following practical building methods are important for preventing squeaky floors.
Age of the Flooring
As hardwood flooring ages, it can experience seasonal movement, leading to gaps between floorboards that cause squeaks, particularly in homes over 20 years old.
To address squeaks, homeowners should inspect their flooring at least twice a year-once in spring and once in fall.
Look for signs of movement, such as gaps or uneven boards. Using a humidifier can help maintain consistent moisture levels, reducing drastic seasonal shifts. If squeaks persist, consider applying a specialized lubricant between the boards or tightening any loose fasteners.
Hiring a qualified inspector regularly can identify problems early before they become larger issues.
Humidity and Temperature Changes

Humidity fluctuations can cause wood to expand and contract, resulting in squeaky floors, especially in climates with significant seasonal changes.
It’s important to keep indoor humidity between 30% and 50% to avoid these problems. Use a hygrometer to monitor moisture levels and consider investing in a dehumidifier if they exceed this range.
For example, the hOmeLabs 4,500 Sq. Ft Dehumidifier can control humidity in big areas. Make sure the area is well-ventilated and, if needed, put a silicone-based lubricant between the floorboards to lessen squeaks. If you’re curious about the importance of proper spacing during installation, it’s worth exploring our flooring expansion gaps guide as well.
Regular upkeep improves comfort and extends the life of your wood flooring.
Improper Installation
Improper installation techniques can lead to uneven floors and squeaks, often arising from inadequate fastening methods during the initial setup.
To avoid these problems, make sure the subfloor is installed correctly by following some important steps.
- First, verify that your joists are level and adequately spaced-typically 16 inches on center.
- Use screws instead of nails for a stronger hold. Attach 2.5-inch screws at intervals of 8 inches along the sides and 12 inches in the center.
- Consider using construction adhesive between sheets for added stability.
- Regularly check for any gaps or movement during the installation process, as addressing them early can save you from post-installation headaches.
Loose Floorboards
Loose floorboards are a primary culprit of squeaky floors, often requiring simple DIY fixes using construction adhesive or nails to secure them.
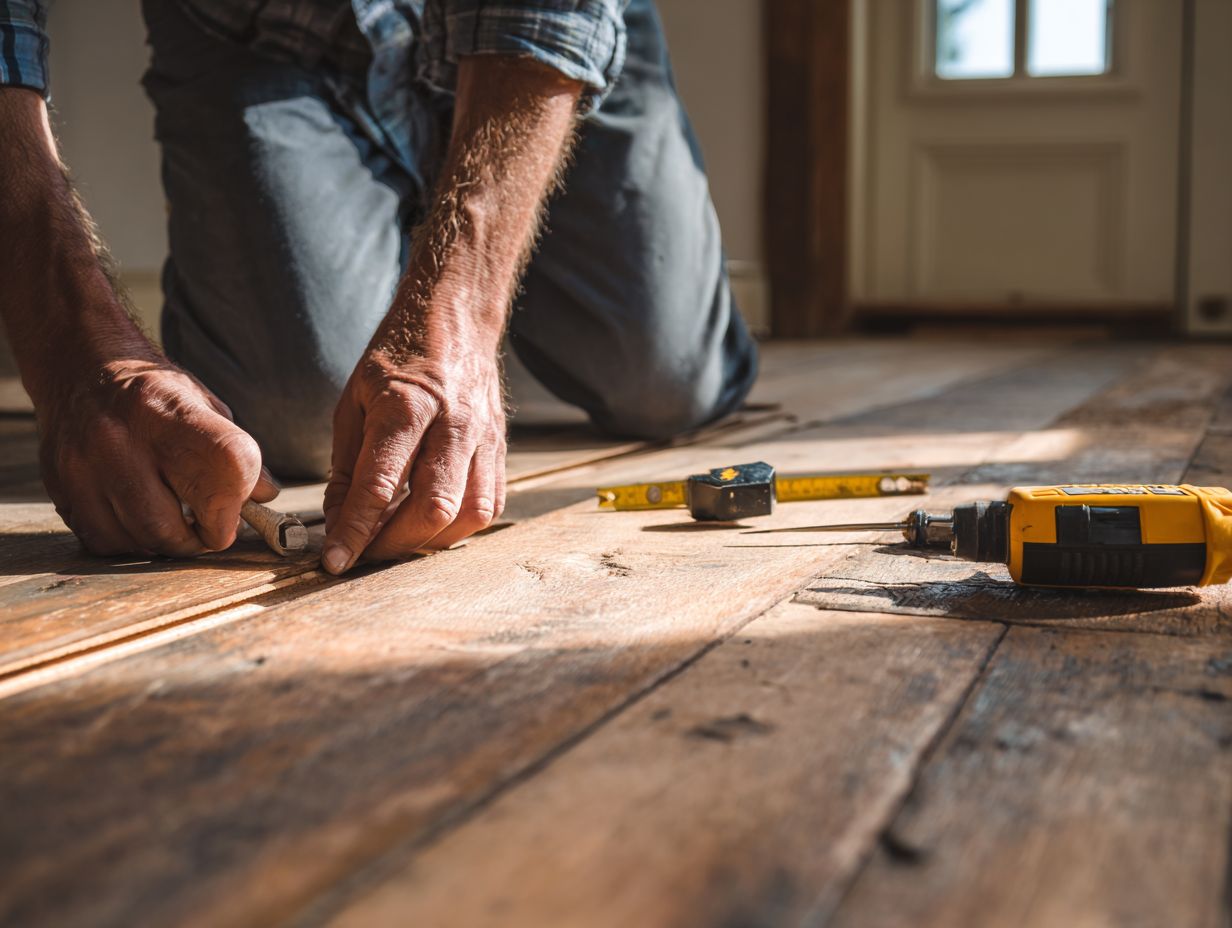
To fix a loose floorboard, start by identifying the problematic area.
Then, using a pry bar, gently lift the board to expose the gap.
If using construction adhesive, apply a generous amount between the board and the subfloor before pressing it back down.
For added strength, consider securing it with screws; choose screws that are about 1.5 inches long.
- Place them 12 to 16 inches apart along the seam.
Allow the adhesive to cure for the recommended time, typically 24 hours, before walking on the floor.
Subfloor Issues
Problems with the subfloor, like damage or weak support, can make floors squeak more. Fixing or replacing the subfloor may be needed to make the floors stable.
To find subfloor issues, carefully check for any spots that are sagging or not level. If you find significant damage, consider reinforcing the structure using adjustable steel supports to add necessary stability.
For minor imperfections, applying self-levelling cement can create an even surface, ensuring proper load distribution. Always keep the crawl space well-ventilated to stop moisture from accumulating, as this can make subfloor problems worse.
Looking at your flooring every few months can help spot problems early and extend its lifespan.
Diagnosing the Source of the Squeak
Identifying where squeaks are coming from helps you figure out how to fix them properly, making sure the repairs last for people living in the house.
Identifying the Location
- Locating the specific areas where squeaks occur is the first step in diagnosing the issue, often requiring careful listening and observation.
-
Begin by walking across the floor at different speeds and angles to identify the loudest squeaks. Pay attention to which boards are the most problematic.
-
Next, use a flashlight to inspect beneath the floorboards, looking for gaps or loose nails. If you find a squeaky board, apply a powder like talcum or graphite to reduce friction.
-
To fix ongoing problems, use wood screws to tighten loose boards. Make sure the screws are sunk below the surface to prevent more noise.
-
Document your findings to track your progress on repairs.
Types of Squeaks
Different types of squeaks can indicate varying issues: ‘creaks’ often signal loose boards, while ‘pops’ may suggest subfloor problems.
‘Squeaks’ when walking might mean the fasteners are loose or there isn’t enough glue between the subfloor and joists. To diagnose, start by walking on the affected area while listening intently.
If the noise seems to come from a specific spot, inspect it for loose nails or screws. If your door or furniture squeaks, applying powdered graphite can help lessen the noise temporarily.
If structural issues are suspected, consult a professional to evaluate the integrity of your flooring system.
Tools for Diagnosis
Utilizing the right tools, such as moisture meters and inspection cameras, can significantly aid in diagnosing the cause of squeaks in your flooring.
-
Start with a moisture meter, which typically ranges from $30 to $150, to assess humidity levels in the area. High moisture can cause wood to expand, leading to squeaks.
-
Next, employ an inspection camera priced around $100 to examine hidden spaces beneath the flooring. This will help identify any structural issues, such as loose boards or subfloor damage.
Combining these tools allows for a thorough assessment, enabling targeted repairs and enhancing the flooring’s longevity.
DIY Solutions for Squeaky Floors
DIY solutions can fix squeaky floors, allowing homeowners to solve problems without spending a lot on repairs. Understanding the cost implications between DIY and professional methods can help in making informed decisions (our cost analysis of flooring installation provides detailed insights).
Using Talcum Powder or Graphite
Putting talcum powder or graphite between floorboards can stop squeaks by decreasing friction, offering a fast and cheap fix.
To apply either substance effectively, start by lifting any loose floorboards.
For talcum powder, use about a tablespoon per gap; for graphite, a few strikes from a pencil can suffice.
Once applied, lightly tap the floorboards to make sure the material spreads out evenly. If squeaks return, repeat the process as needed, focusing on high-traffic areas where friction is greatest.
For ongoing issues, think about using a wood lubricant or asking an expert to find any serious structural problems that could be causing the noise.
Fixing Loose Floorboards
Securing loose floorboards with screws or construction adhesive can provide a permanent fix for squeaky floors, ensuring a stable surface.
To effectively secure the boards, start by gathering your tools: a drill, wood screws (preferably 1.5 to 2 inches), a construction adhesive like Liquid Nails, and a pry bar for adjustments.
First, identify the loose boards and gently lift them with the pry bar. Pre-drill holes into the joists beneath to avoid splitting the wood. Then, drive the screws through the boards into the joists.
For additional strength, apply construction adhesive between the boards and joists. This method will significantly reduce movement and noise.
Applying Wood Glue
Applying wood glue to the edges of loose floorboards can significantly reduce squeaking, providing a simple and effective DIY solution.
To effectively apply wood glue, start with SikaBond L125, known for its strong bond and flexibility, available for $10-$15.
Clean the seam of dust and debris, then apply a thin, even layer of glue into the gap. Press the floorboards together firmly and secure with clamps if necessary.
Allow the glue to dry for at least 24 hours for optimal strength. Optionally, consider using a wood filler after drying to smooth out any excess glue for a neat finish.
Using Screws or Nails
Fixing loose floorboards with screws or nails can quickly stop creaking and make your floor more secure.
To start, you’ll need a screwdriver and suitable screws, such as #8 or #10 wood screws for hardwood floors, which provide better grip. For softer floors like plywood, consider using #6 screws.
Begin by locating the squeaky areas and gently lifting the floorboard. Install a screw about every 12 inches along the joist to secure the board firmly.
If you have a squeak that won’t go away, applying wood glue between the board and the joist before nailing can greatly increase stability.
Adding Support with Shims
Adding shims between floor joists and the subfloor can provide necessary support and minimize squeaks caused by uneven floors.
There are two primary types of shims to consider:
- wood shims
- plastic shims
Wood shims have been used for a long time. They can be easily cut to fit different spaces. Plastic shims are ideal for wet areas because they do not take in water and will not rot like other materials.
To install, simply slide the shim into the gap until snug, ensuring it’s level. After installation, check the floor’s stability by walking over the area. A well-installed shim will eliminate squeaks and improve overall support.
Professional Solutions for Squeaky Floors
Sometimes, you need to hire experts to fix squeaky floors, particularly when there’s a need for structural repairs.
When to Call a Professional
If your own repairs don’t work or you think the damage might affect the building’s structure, you should contact an expert to check it out before it gets worse.
Look for specific signs that indicate professional help is needed.
If you hear a lot of squeaking, the floorboards or the area underneath them might be loose. Visible gaps between the floorboards may suggest shifting foundation issues, while uneven floors can threaten safety, indicating serious structural problems.
Observe if doors and windows are sticking, as this can also hint at settling issues. If you notice one or more of these signs, do not hesitate to contact a qualified flooring or structural expert to evaluate the situation.
Methods Used by Professionals
Professional carpenters use advanced methods, including installing adjustable steel supports and addressing moisture issues, to effectively resolve squeaky floors.
To fix squeaky floors, carpenters often begin by identifying the source of the noise, which is typically a result of loose floorboards.
Adjustable steel supports can be installed under the floor joists to provide extra stability. Each of these supports typically costs about $20. They should be placed several feet apart for optimal performance.
Self-levelling cement is applied in areas where moisture has compromised the integrity of the flooring. This cement creates a level surface and guards against water harm, making it a solid option for long-lasting durability.
Preventing Future Squeaks
Preparing in advance can help homeowners prevent floor squeaks and extend the lifespan of their hardwood floors. For an extensive analysis of common pitfalls, our deep dive into flooring installation mistakes explores strategies to avoid these issues from the start.
Regular Maintenance Tips
Regular maintenance, including seasonal checks and humidity control, can significantly reduce the incidence of squeaky floors in your home.
- Start by inspecting your flooring during the spring and fall. Look for loose boards or gaps; fixing these quickly can stop more problems.
- In winter, maintain indoor humidity levels around 30-50% to prevent wood from contracting and creating creaks. Use a humidifier if necessary.
- Each year, use a suitable wood floor cleaner and then apply a protective layer to maintain the floor’s appearance.
- Get an expert to check your floors every few years to find issues early and keep them in good condition.
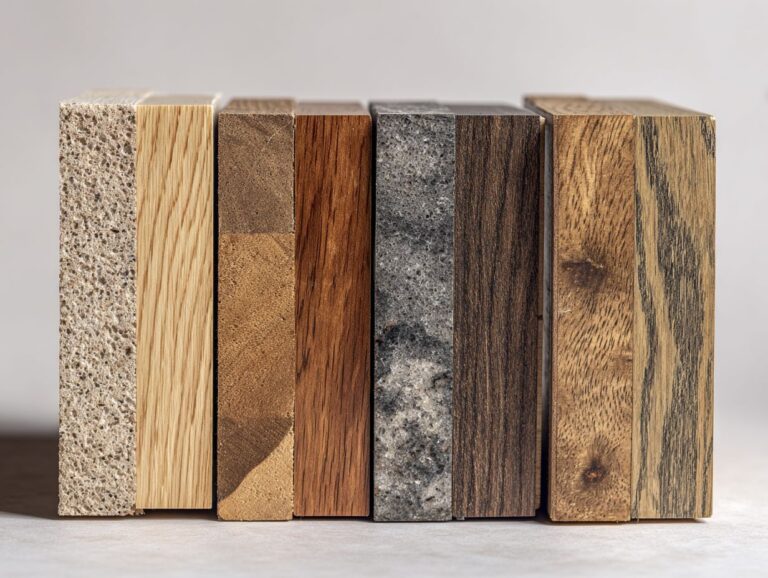
Choosing the Right Flooring Materials
Selecting high-quality flooring materials and proper installation techniques can greatly reduce the risk of squeaky floors over time.
To make sure your flooring lasts and stands up to weather, think about using materials such as engineered hardwood or bamboo. Engineered hardwood, made of a plywood base topped with a hardwood veneer, withstands humidity better than solid wood.
For reliable suppliers, look into companies like Mohawk, Shaw, or Bruce Hardwood, known for their quality and range of options. Before purchasing, inquire about warranties and reviews to confirm longevity.
Make sure the subfloor is ready before installing to reduce movement that can lead to squeaks later.
Frequently Asked Questions
What are the main causes of squeaky floors?
Squeaky floors are usually caused by either loose floorboards, gaps between subfloor and joists, or friction between wood and nails or other fasteners.
How can I determine the cause of the squeak in my floor?
You can try walking on different areas of your floor to see where the squeak is coming from. If the squeak changes or goes away when you shift your weight, it is likely caused by loose floorboards. If the squeak remains consistent, it may be due to gaps or friction.
What are some DIY solutions for fixing squeaky floors?
If the squeak is caused by loose floorboards, you can try driving screws through the subfloor into the joists to secure them. For gaps, you can fill them with wood shims or a flexible adhesive. To reduce friction, you can sprinkle baby powder or graphite powder between the floorboards.
When should I get an expert to fix squeaky floors?
If fixing it yourself doesn’t solve the problem or if the noise is due to building issues, it’s a good idea to hire an expert. A contractor or handyman has the right tools and knowledge to solve the issue without making your floor worse.
Can squeaky floors be prevented?
Yes, squeaky floors can be prevented by using adhesive between the subfloor and joists during installation, using screws instead of nails, and avoiding thin or weak subfloor materials. Regular maintenance and tightening of loose floorboards can also prevent squeaky floors.
Are there any long-term solutions for fixing squeaky floors?
Sure, there are a few ways to permanently fix squeaky floors. These include using specialized squeak-reducing screws, reinforcing the subfloor with additional plywood, or using a product that fills gaps and reduces friction between wood and fasteners.