Subfloor Damage Assessment and Repair Guide
Contents
Introduction to Subfloor Damage
 Subfloor damage can silently undermine your home’s integrity, often hidden beneath your flooring. Learning how to check and fix problems, like water damage to your CDX plywood, helps keep your floor joists strong. This guide provides practical steps on identifying signs of damage, effective subfloor repair techniques, and when to replace subfloor sections. Learn how to keep your home secure and stable.
Key Takeaways:
Understanding Subfloors
Subfloors serve as the foundation for your flooring, typically made from materials like CDX plywood, designed to support the weight of the floor covering above.
Commonly, 3/4 inch thick plywood is used due to its strength and resistance to bending. Moisture levels significantly affect durability; high humidity can lead to warping or mold growth.
To mitigate these risks, consider using treated plywood or adding a moisture barrier during installation. It’s important to make sure the subfloor has good ventilation and sealing to guard against moisture getting in.
Regularly maintaining and inspecting your subflooring can extend its lifespan and provide strong support for your floors.
Common Causes of Damage
Common causes of subfloor damage include water intrusion from leaks, moisture accumulation from high humidity, and physical wear from heavy loads.
Water damage often arises from burst pipes or leaky roofs, leading to mold growth and weakened flooring.
Moisture damage is frequently due to foundation settlement, which can create gaps that allow dampness to seep into the subfloor.
Squeaky floors happen when the wooden beams below are loose, which can be due to heavy use or poor installation. This issue can make it uncomfortable and might cause further structural problems in the building.
Identifying these problems early through routine inspections can help homeowners maintain the integrity of their floors.
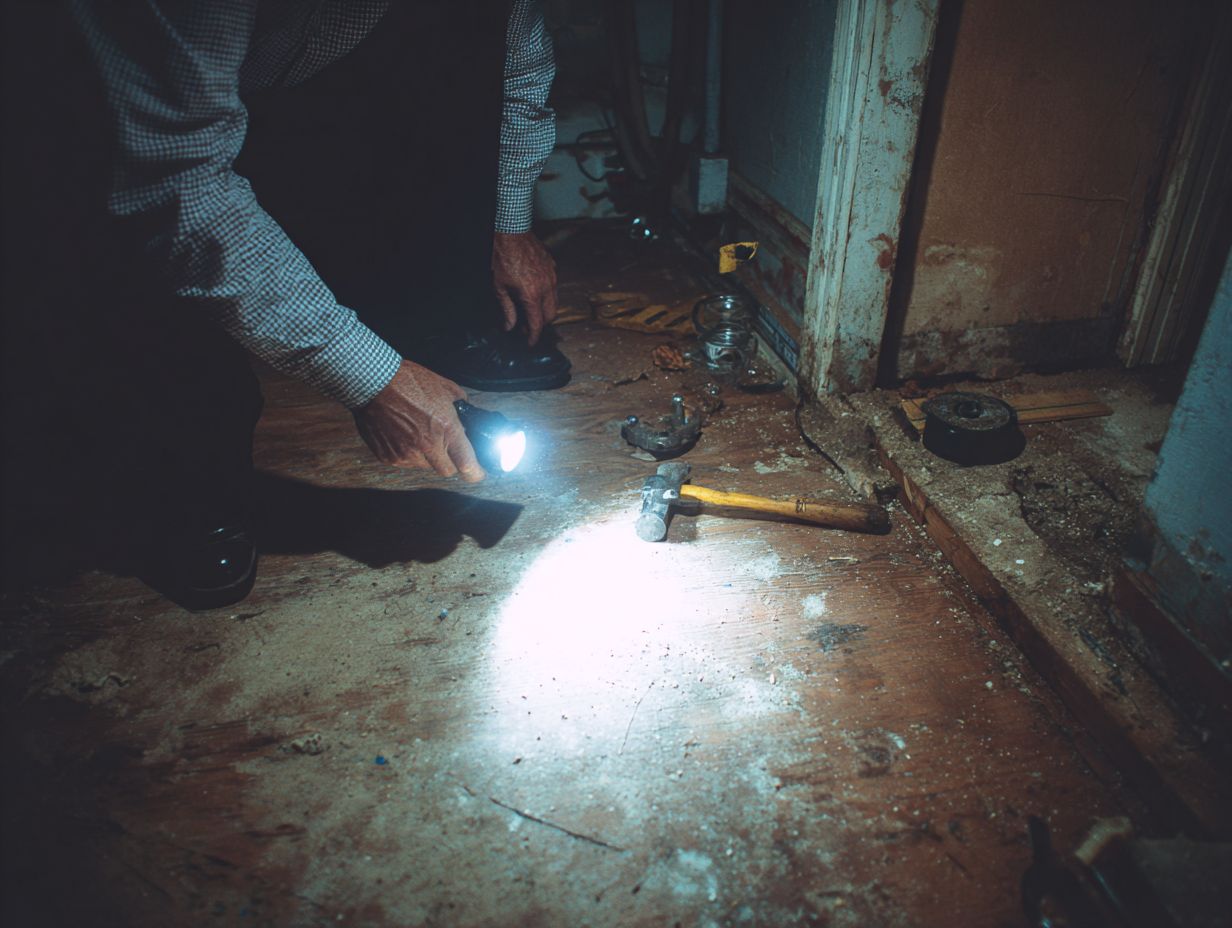
Identifying Subfloor Damage
Finding subfloor damage early is important for making repairs on time, which helps homeowners avoid expensive fixes.
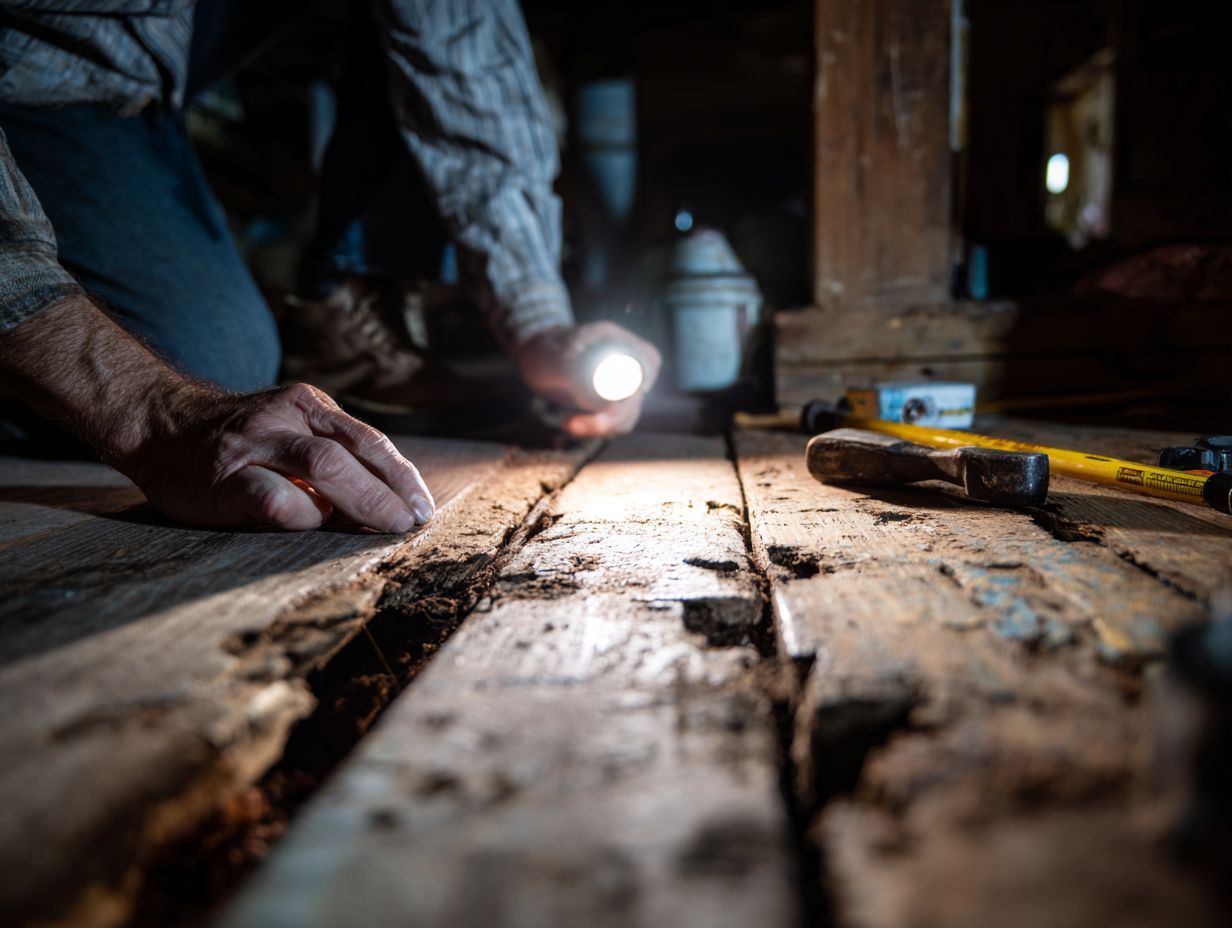
Visual Inspection Techniques
Looking closely at the floor is the first thing to do to find damage underneath. Homeowners can notice problems without any special tools.
Begin your inspection with a checklist:
- Check for warping in the floor covering, which may indicate underlying issues.
- Look for discoloration or stains that suggest moisture has penetrated the subfloor.
- Inspect around walls and fixtures for any signs of mold growth, as this can signal excess moisture.
- Tap around the edges of the flooring to listen for hollow sounds that may indicate damage.
This method will help homeowners find possible issues and act quickly.
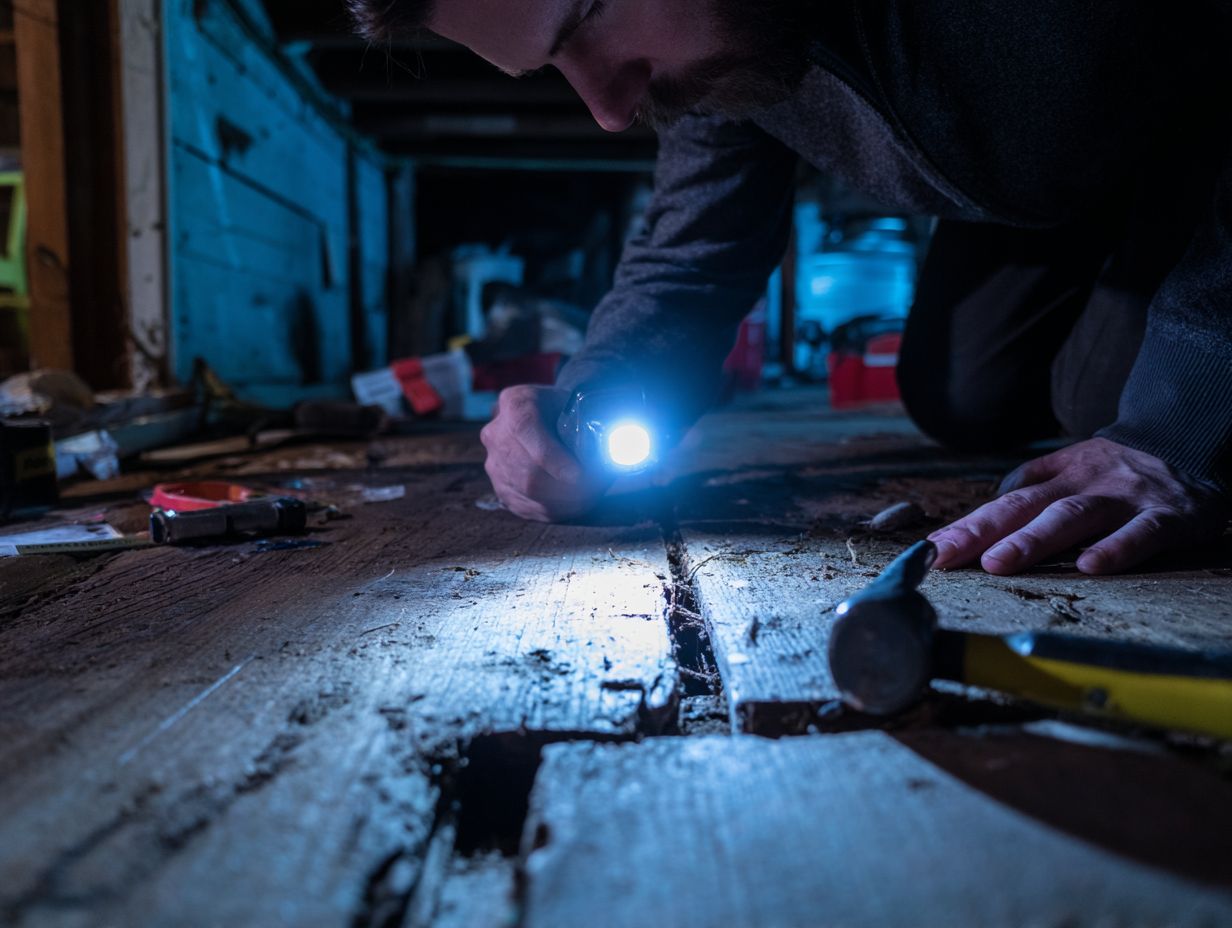
Signs of Water Damage
Water damage can manifest in various ways, including visible stains, soft spots, or an increase in mold growth on or around the subfloor.
Other indicators include peeling paint, which suggests prolonged moisture exposure, and warped baseboards, hinting at water accumulation.
To accurately measure the damage, use a moisture meter like the AccuMASTER. This tool can help quantify moisture levels in walls and flooring, guiding necessary repairs.
Inspect areas around windows and pipes for leaks, as these are common problem spots. Quickly finding and fixing problems is important to stop more damage and avoid expensive repairs.
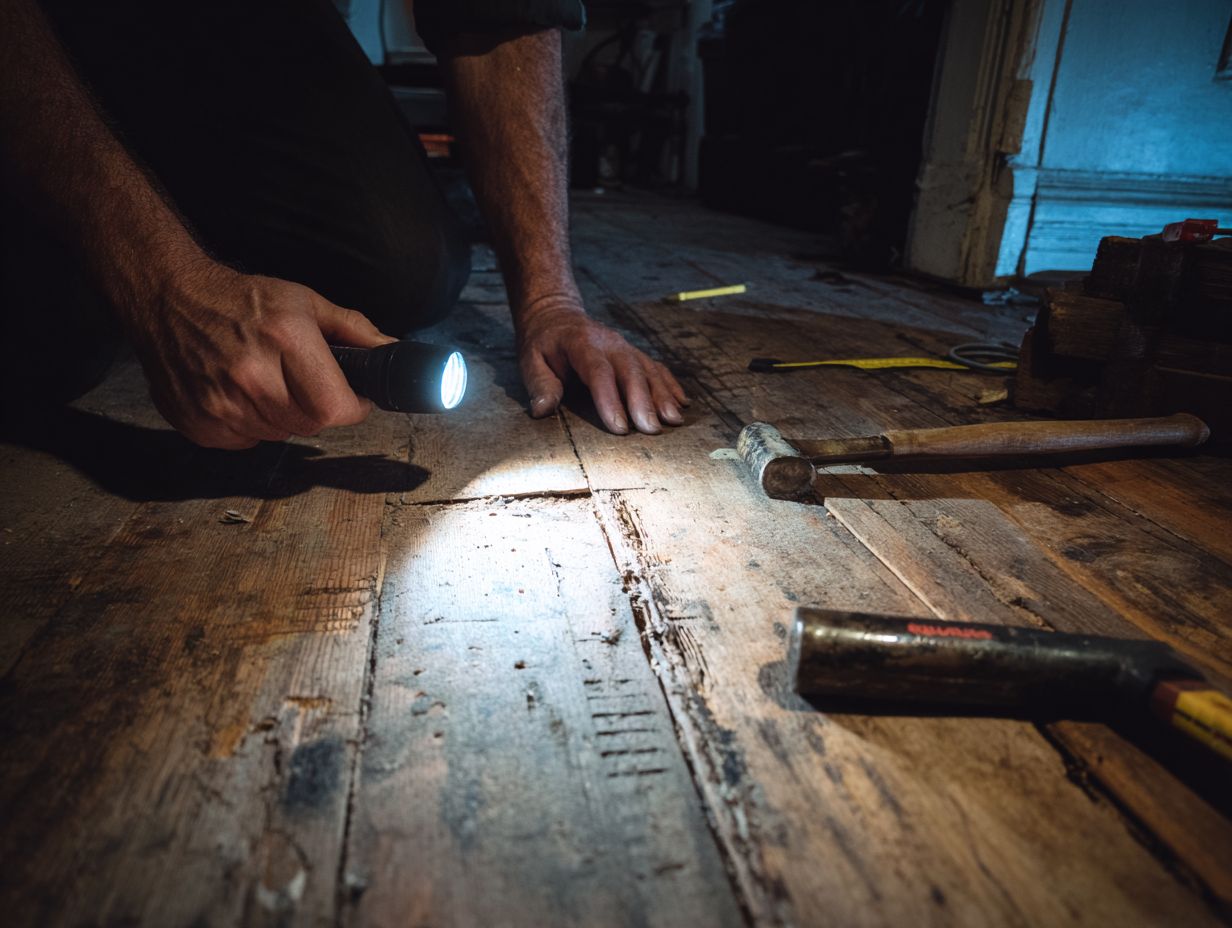
Structural Integrity Checks
To assess structural integrity, check subfloor joists for sagging or damage, which can indicate serious underlying issues.
Begin your inspection by visually examining each joist for any obvious cracks or signs of pest damage, such as wood holes or discoloration.
Next, use a level to measure any sagging; ideally, it should be no more than 1/4 inch.
Check how strong the floor is by slowly adding weight to see if it can support daily use.
If you spot major issues during these checks, it’s a good idea to contact a structural engineer to prevent more problems and keep your home safe. For those interested in sustainable and stylish options, reclaimed wood flooring offers unique benefits worth exploring: Sourcing, Costs & Installation.
Tools and Materials Needed
It is important to have the correct tools and materials to properly check and fix damage to the subfloor, which contributes to successful home improvement projects.
Essential Tools for Assessment
Key tools for assessing subfloor damage include a moisture meter, level, and pry bar, each serving a specific purpose in identifying issues.
The moisture meter, such as the General Tools MMD4E, detects moisture levels and can help you pinpoint areas at risk for rot or mold.
The Stabila level is important for keeping the subfloor flat and preventing sagging, which can cause structural problems.
A pry bar is essential for safely removing damaged sections without causing additional harm to adjacent materials.
These tools collaborate to quickly detect and repair damage to the subfloor.
Repair Materials Overview
Choosing the correct repair materials, like CDX plywood and construction adhesive, is important for fixing the strength of the subfloor.
CDX plywood, typically sold at around $15 per sheet, is ideal for subfloor replacements due to its durability.
Applying a reliable construction adhesive like Liquid Nails (approximately $4 per tube) helps securely bond the plywood to existing structures, preventing movement and squeaks.
Consider using an underlayment such as foam or cork, available for about $0.50 per square foot, which provides a moisture barrier and adds cushioning.
These materials work together to provide a stable and durable repair for the subfloor, but understanding the full scope of subfloor preparation and repair techniques can further enhance the project’s success.
Assessment Process
Careful assessment is necessary to correctly check subfloor damage and plan repairs that work well.
Step-by-Step Damage Evaluation
- Look for visible damage,
- Measure moisture content,
- Test the strength of joists.
Start your evaluation by visually inspecting for obvious signs of damage, such as cracks or discoloration. This should take around 10-15 minutes.
Next, measure moisture levels using a moisture meter; this quick 5-minute task helps identify hidden dampness. Check the structural integrity of joists for warping or weakness-allocate about 10 minutes for this step.
In total, expect to spend around 30 minutes on the assessment. Take your time during the visual inspection to make sure you don’t miss any important problems.
Documenting Findings
Documenting your findings using photographs and notes is essential for tracking issues and communicating with contractors or insurance agents.
- Start by taking clear pictures of the damage from multiple angles, ensuring you include key details.
- Next, write a detailed report that includes your observations, specific measurements, and moisture readings using a moisture meter. This data offers important background for contractors or adjusters.
- To stay organized, consider utilizing a home management app like HomeZada, where you can store documents, photos, and notes in one place. This organized method is useful for repairs and can make insurance claims easier.
Repairing Subfloor Damage
Fixing subfloor damage can involve patching small spots or replacing whole sections, depending on how bad the damage is.
Subfloor Damage Repair Statistics
Subfloor Damage Repair Statistics
Subfloor Damage Causes and Repairs: Causes of Water Damage
Subfloor Damage Causes and Repairs: Repair Needs and Costs
The Subfloor Damage Repair Statistics give important information about frequent reasons for subfloor damage and the related repair requirements and expenses. Knowing these statistics is important for homeowners, insurance companies, and repair professionals to properly handle and reduce risks of subfloor damage.
Subfloor Damage Causes and Repairs focuses on water damage as a primary concern. Notably, 50% of water damage claims stem from failed appliances, such as washing machines and dishwashers. This statistic shows the importance of regular maintenance and timely replacement of appliances to prevent unexpected water leaks that can severely harm subfloor structures.
- A significant 70% of homeowners remain unaware of leaks until visible damage appears, highlighting the often-hidden nature of water damage. This result shows that regular checks and using home tools like water leak detectors can help prevent issues.
In terms of repair needs and costs, the average cost to repair 100 square feet of subfloor is approximately $2,000. This figure indicates the potentially high expenses associated with subfloor damage repair, emphasizing the need for preventive measures to minimize such costs.
Additionally, 30% of cases require floor joist reinforcement during replacement. Fixing water damage quickly is important because delaying can lead to more complex and expensive repairs to the structure.
The Subfloor Damage Repair Statistics reveal significant factors contributing to subfloor damage and the potential financial implications of repairs. By focusing on preventive maintenance and early detection of leaks, homeowners can significantly reduce the risk and cost of subfloor damage.
Minor Repairs: Patching Techniques
For small subfloor damage, you can fix it with wood filler and glue to get a smooth surface without much hassle.
Start by thoroughly cleaning the damaged area to remove any debris or loose material. Next, apply a wood filler, such as Elmer’s Wood Filler ($6), directly into the gaps, ensuring it’s slightly overfilled to allow for sanding later.
Once the filler dries-usually within 2-4 hours-sand it down smoothly with fine-grit sandpaper for an even finish.
To match the overall texture of the subfloor, consider using a textured roller on a fresh coat of paint or sealant to camouflage the patch seamlessly.
Replacing Damaged Sections
Fixing badly damaged parts of the subfloor means removing the broken pieces and putting in new CDX plywood to make it stable.
First, locate the damaged area and measure it accurately. Using a jigsaw, carefully cut out the damaged subfloor, ensuring you don’t disturb surrounding sections.
Next, cut a piece of CDX plywood to match the size of the removed section-this typically costs around $15 per sheet.
When placing the new plywood, apply a layer of construction adhesive to the edges and secure it with screws, ideally using a power drill.
Always wear safety gear such as gloves and goggles to stay safe while working.
Water Damage Restoration
Restoring water-damaged subfloors may require specialized techniques such as installing a waterproof membrane and addressing mold issues.
- Begin by removing standing water using a wet/dry vacuum, which typically costs around $100.
- Afterwards, use mold removal products such as Concrobium, which costs around $15, to stop mold from growing again.
- After cleaning and drying the area, put in a waterproof layer to stop leaks later before you put the flooring back.
- It’s important to completely dry the subfloor with fans or dehumidifiers for at least 48 hours to prevent more damage during repairs.
Preventative Measures
By fixing issues beforehand, you can significantly reduce the risk of damage to the subfloor, protecting your home’s structure and making it more durable.
Moisture Control Strategies
To control moisture levels and prevent subfloor damage, homeowners should implement effective moisture barrier strategies around their foundation.
- Start by installing a moisture barrier like vapor barrier film, which costs around $0.25 per square foot. This film acts as a shield against soil moisture infiltrating your home.
- Next, make sure the ground slopes away from the foundation to help water drain and avoid water buildup.
- Check your plumbing often for leaks and fix any problems quickly. These measures significantly reduce the risk of moisture-related damage and promote a healthier home environment.
Regular Maintenance Tips
Regular maintenance can greatly extend the life of your subfloor by addressing minor issues before they escalate into major repairs.
To keep your subfloor in good shape, follow these five practical maintenance tips.
- Inspect for leaks quarterly, as early detection can prevent water damage.
- Maintain indoor humidity levels between 30-50% to prevent mold growth.
- Use area rugs in high-traffic zones to protect surfaces.
- Clean gutters regularly to prevent overflow and water backing into your home.
- Schedule annual inspections with a flooring expert to catch and address potential problems early.
A consistent maintenance routine, including these steps, can save you from costly repairs down the line.
When to Call a Professional
It’s important to know when to get help from an expert for fixing serious subfloor problems safely.
Signs You Need Expert Help
Signs that you need professional help include continuous moisture problems, noticeable sagging, or visible mold on the subfloor.
Other critical indicators involve continuous mold growth despite remediation attempts, which signals an underlying issue, and visibly compromised joists that may threaten structural integrity.
If you need to use your homeowners’ insurance, it usually means the issue is serious.
Don’t wait to get help from a professional; addressing these issues early can stop bigger, more expensive repairs later, keeping your home secure.
Choosing the Right Contractor
Selecting the right contractor for subfloor repairs requires careful consideration of credentials, experience, and previous client reviews.
-
First, check the contractor’s licenses and insurance to confirm they comply with local rules.
-
Next, check websites like Yelp and Angie’s List to see what customers say; high ratings usually mean the service is dependable.
-
Ask for references from past clients to gauge satisfaction levels.
-
Obtain multiple quotes to compare costs and services.
-
Local businesses, such as Seattle Flooring Pros, understand the needs of the area and can offer personalized options, making them a dependable choice for your project.
Summary of Key Points
Important points are regular checks, using the right materials, and knowing when to call in experts.
-
Every six months, check key areas like roofs, plumbing, and electrical systems to find issues early.
-
Use top-notch materials, like moisture-proof paint for bathrooms and strong sealants for windows, to make them last longer.
-
If issues arise, such as recurring leaks or structural concerns, don’t hesitate to consult professionals. Services like Angie’s List or HomeAdvisor can help you find trustworthy local contractors, ensuring repairs are completed properly and fast.
Acting fast safeguards your property and saves money in the long run.
Frequently Asked Questions
What is a subfloor damage assessment and repair guide?
A subfloor damage assessment and repair guide is a set of instructions and recommendations for evaluating and fixing any damage to the subfloor of a building. It provides step-by-step instructions for identifying the type and extent of damage, determining the cause, and choosing the appropriate repair method.
What are the common causes of subfloor damage?
Subfloor damage can be caused by a variety of factors, including water leaks, termite infestations, excessive moisture, poor construction, and natural wear and tear. Finding out what caused the damage helps fix it and stop it from happening again.
How can I assess the extent of subfloor damage?
The first step in assessing subfloor damage is to visually inspect the area for any visible signs, such as discoloration, warping, or sagging. You may also use a moisture meter to check for any excess moisture. If the damage is extensive, it may be necessary to remove a section of the subfloor to fully assess the damage.
Can I repair subfloor damage on my own?
Minor subfloor damage, such as small water stains, can often be repaired with DIY methods. However, for larger damage, it is best to hire a contractor who knows how to fix subfloors. They will have the necessary tools and knowledge to properly assess and fix the damage.
What are the steps for repairing subfloor damage?
The steps for repairing subfloor damage may vary depending on the type and extent of the damage. Some common steps may involve taking out damaged parts of the subfloor, replacing any rotten or broken wood, treating for termites or mold if necessary, and strengthening the subfloor with extra support if needed.
How can I stop subfloor damage from happening again?
To prevent subfloor damage, it is important to regularly inspect and maintain your subfloor. This means repairing any leaks or plumbing problems, making sure there is good airflow, and dealing quickly with termites or pests. It is also important to properly seal and protect the subfloor from moisture and humidity.