Transition Strip Problems – Common Issues and Fixes
Struggling with transition strip problems? Problems like loose connections and bad sticking can mess up your floor and how it looks. Whether you’re using an adhesive strip or need guidance from brands like Loctite or tips from Home Depot, we’ve got you covered. In this article, we’ll go over usual flooring issues and simple solutions, helping you easily bring back your flooring’s strength and appearance.
Key Takeaways:
Contents
Definition and Purpose
A transition strip serves as a connector between different types of flooring, ensuring safety and visual appeal in areas such as entryways and kitchens.
These strips come in various materials, including wood, metal, and vinyl, catering to different aesthetic and functional needs.
For instance, using a wood transition strip can seamlessly blend hardwood and carpet, enhancing warmth and continuity in design. Metal strips, on the other hand, are durable and great for high-traffic areas, while vinyl options can easily accommodate uneven surfaces.
Installing these strips involves:
- Measuring the gap between flooring types, (our guide on flooring expansion gaps provides detailed insights),
- Cutting the strip to size, and
- Securing it with adhesive or fasteners, effectively preventing gaps and potential flooring damage.
Flooring Transition Statistics
Flooring Transition Statistics
Transition Strips and Flooring Types: Types of Transition Strips Usage
Transition Strips and Flooring Types: Carpet to Flooring Transitions
The Flooring Transition Statistics provide a detailed look at the use of various transition strips and flooring types, highlighting preferences and practices in flooring transitions. Transition strips are important for making sure the change between different flooring types or heights is smooth, safe, and looks good.
Transition Strips and Flooring Types data illustrates that Reducer Strips50% of usage. This indicates their moderate prevalence when differing floor heights or materials require a seamless connection without abrupt changes.
- T-molding: Used for floors of similar height, it sees a complete usage rate of 100%, reflecting its effectiveness in bridging gaps without creating height discrepancies. It is the preferred choice in spaces where the transition between two similar floors is needed.
- End Cap Moldings: Similarly, with a 100% usage rate, these moldings are essential for finishing the edges of flooring where it meets external elements like sliding doors, indicating their necessity in completing flooring installations.
Regarding Carpet to Flooring Transitions, we observe a universal usage of 100% across all specified transitions: Carpet to Laminate, Carpet to Tile/T-molding, and Carpet to LVP/Reducer. This indicates a standard practice in the industry, highlighting the importance of using the correct transition strip to accommodate different flooring types and heights while maintaining a clean finish.
These statistics emphasize the role of transition strips in flooring projects. When done correctly, they provide safety, improve visual harmony, and meet the changing needs of different flooring types. Research shows that industry workers always make sure changes are smooth and look good, which is important in homes and businesses.
Types of Transition Strips
There are different transition strips such as T-strips for uneven heights, and strips made from rubber or aluminum for different types of flooring.
T-strips are particularly useful when transitioning between carpet and hard surfaces, providing a smooth elevation change.
Meanwhile, rubber transition strips work well in areas like bathrooms where moisture is prevalent, as they resist water damage.
Aluminum strips, on the other hand, are ideal for high-traffic zones like hallways or commercial spaces due to their durability.
When choosing a transition strip, look at the types of floors and expected foot traffic to make sure it works well and lasts a long time.
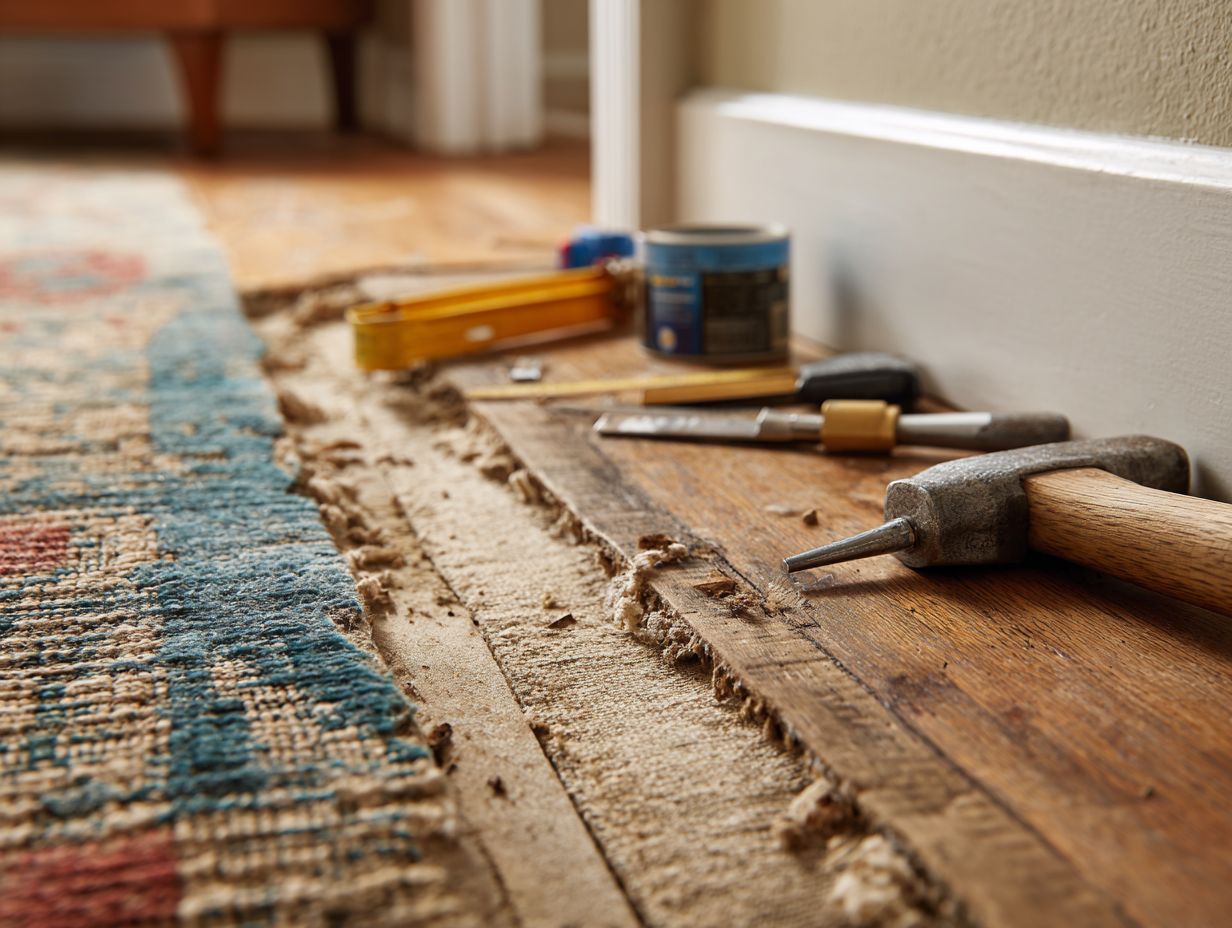
Common Problems with Transition Strips
Even though they are useful, transition strips may face some usual issues that impact how well they work and look as time passes.
Improper Installation
Improper installation of transition strips can lead to significant issues, including poor adhesion and separation from flooring, which may risk safety.
Common mistakes during installation include using the wrong adhesive or misaligning the strips. To prevent problems, make sure to use a reliable adhesive such as Loctite PL PREMIUM MAX, which is recognized for its strong bonding ability.
Before applying, dry-fit the transition strips to confirm proper alignment. When adhesive is applied, press down firmly and hold for a few moments-this helps achieve maximum adhesion.
Leave a small gap for expansion without sacrificing aesthetic appeal, as this prevents warping over time.
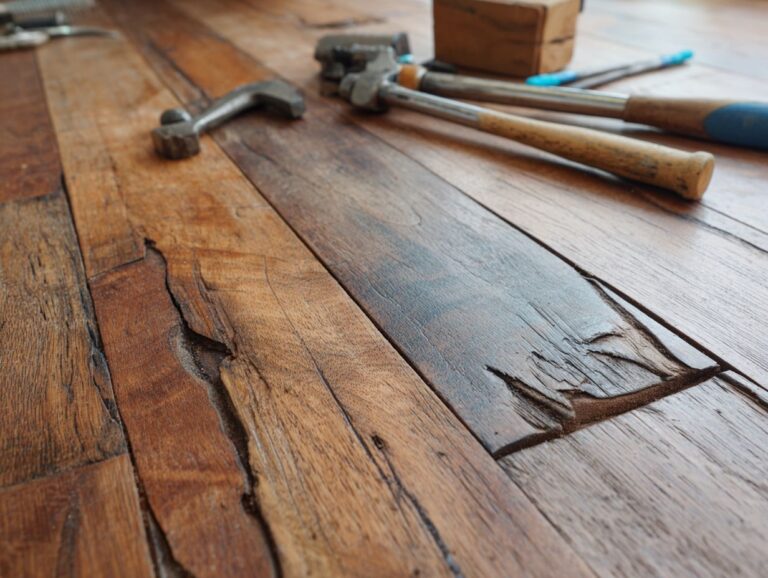
Wear and Tear
Over time, transition strips may show signs of wear and tear, which can detract from their functionality and visual appeal.
This wear is caused by many things, such as lots of people walking, changes in temperature, and exposure to the environment.
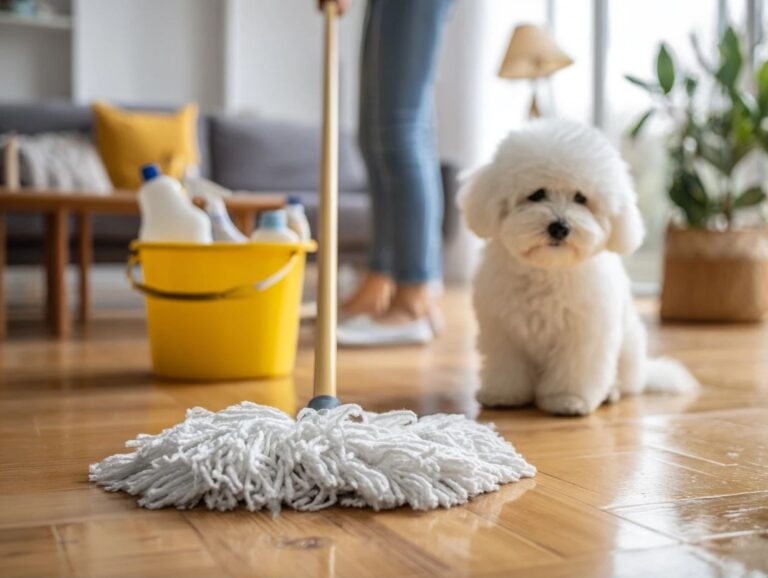
To prolong the life of your transition strips, perform regular maintenance by cleaning them with a damp cloth and mild detergent to remove dirt.
Consider applying a protective sealant annually to shield against moisture and UV damage. If the strips are loose, reattach them using construction adhesive or screws.
For outdoor environments, opt for durable materials like aluminum or vinyl, which withstand harsher conditions.
Moisture Damage
Moisture damage is a critical issue for transition strips, especially in areas like kitchens and bathrooms where humidity levels fluctuate.
To mitigate moisture risks, use moisture-resistant materials like vinyl or aluminum instead of wood.
Applying a sealant around the edges of the transition strip can also create a barrier against humidity intrusion.
Use exhaust fans to keep air circulating in humid areas.
Regular maintenance, such as checking for gaps or wear, will help identify potential issues before they escalate.
Implementing these preventative measures will prolong the life of your transition strips and maintain a seamless look in your home.
Color Fading
Color fading of transition strips can significantly impact the overall aesthetic of a room, causing mismatches with surrounding flooring.
To combat fading due to UV exposure, consider employing UV-blocking window treatments to minimize sunlight.
For restoration, using color-matching paint can effectively re-establish the original hue of faded strips. Alternatively, you might opt for replacement strips that match your current flooring, ensuring a seamless look.
For a practical approach, remove the faded strips and take them to your local hardware store to find the best match in either pre-painted options or paint for touch-ups. This method improves appearance and makes your flooring last longer.
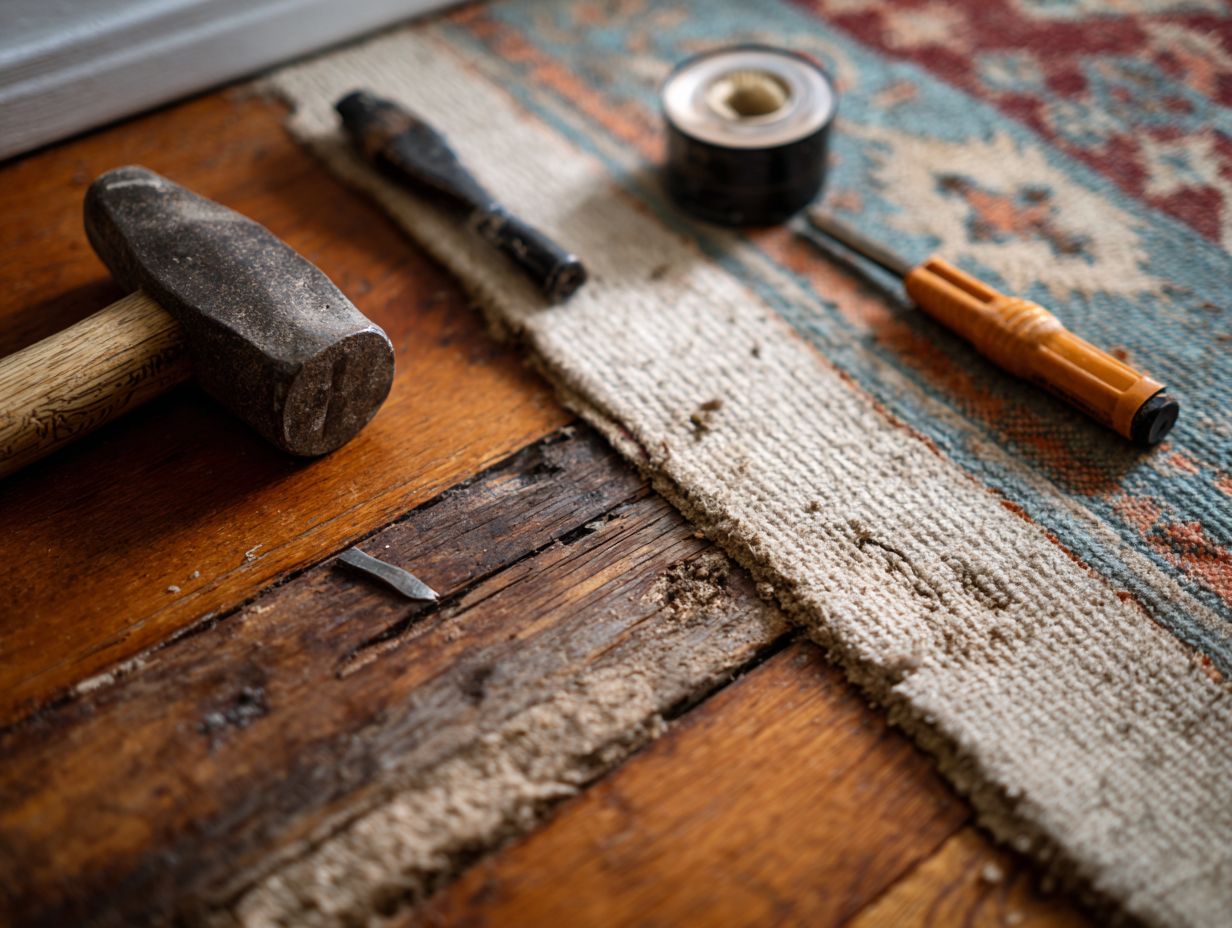
Separation from Flooring
Separation of transition strips from the flooring surface is a common issue that can lead to tripping hazards and further damage.
To address this problem, start by cleaning the area underneath the strip with a putty knife to remove debris.
- Next, reapply a strong adhesive like construction glue specifically designed for flooring.
- After applying the adhesive, press the strip back into place and secure it with screws if needed for additional strength.
Allow the adhesive to cure for at least 24 hours before walking on it. Regular checks of your flooring can help stop separation later on, keeping it safe and long-lasting.
Identifying Transition Strip Issues
Spotting problems with transition strips early is important to keep your flooring intact and avoid more damage.
Visual Inspection Techniques
Looking closely at transition strips can help spot early signs of damage before they turn into major issues.
Begin by examining the transition strips for any noticeable gaps between the strips and the flooring, as these can indicate shifting or movement.
Look for discoloration, which might suggest water damage or excessive wear. It’s essential to check for signs of moisture, like swelling or peeling, especially in high-humidity areas.
Plan these checks twice a year, or right after any large spill or leak. By routinely performing these steps, you can prolong the life of your flooring and catch issues before they escalate.
Common Signs of Damage
Being aware of common signs of damage in transition strips can help homeowners take corrective action quickly to maintain their flooring.
Common indicators of damage include cracks, warping, and loose edges. Cracks can occur due to temperature fluctuations or heavy foot traffic, while warping typically results from moisture exposure. Loose edges might indicate improper installation or underlying issues with the flooring.
To address these problems, inspect your transition strips regularly and consider using a leveling compound for uneven surfaces.
For minor cracks, a specialized wood filler can provide a quick fix, while more significant repairs might require complete replacement. Regular upkeep keeps your flooring and transition strips lasting longer.
Fixing Transition Strip Problems
Fixing problems with transition strips usually involves simple solutions that can make them functional and look good again.
Reinstallation Techniques
Reinstallation of transition strips can often resolve issues of separation and improper fitting, ensuring a secure and safe installation.
To properly reinstall transition strips, start by preparing the surface: clean the area thoroughly, removing any dust or debris.
Next, choose an appropriate adhesive, such as construction adhesive for larger strips or double-sided tape for smaller ones. Apply the adhesive evenly along the edge where the strip will be placed.
Position the transition strip carefully, ensuring it aligns with adjoining surfaces. Push down hard and let it set according to the adhesive’s directions, typically for 24 hours, to make sure it sticks well.
Repairing Wear and Tear
Repairing wear and tear in transition strips can often be accomplished with simple tools and materials, restoring both function and appearance.
To address worn edges, start by sanding them down with 120-grit sandpaper for a smooth finish.
For deeper scratches, a wood filler like Minwax Fillable Wood Filler works wonders; apply it with a putty knife, let it cure, and then sand it flush.
If your transition strip has faded, consider using a wood stain that matches the original color. Applying a clear polyurethane finish to the strip makes it more durable and improves its appearance.
This method can refresh your transition strips in just a few hours.
Addressing Moisture Issues
Fixing moisture issues in transition strips is important to avoid lasting damage and help your flooring last longer.
To control moisture in large areas, think about buying a dehumidifier like the hOmeLabs 4,500 Sq. Ft. Dehumidifier, which lowers humidity levels effectively.
Employing moisture barriers like the Toto Foam Moisture Barrier can prevent water from seeping through transition areas.
Make sure there is good airflow in basements and crawl spaces-install vents to keep air moving.
Check and maintain these solutions often to keep them working well, dealing with any new moisture problems as they come up.
Restoring Color
Restoring the color of old transition strips can make your flooring look fresh and new.
- To effectively restore color, start by cleaning the strips with a mixture of warm water and vinegar to remove any dirt and grime.
- Next, choose a high-quality color-matching paint, such as Rust-Oleum or Benjamin Moore, to perfectly match the existing flooring.
- Using a fine brush or foam roller, apply a thin coat and allow it to dry completely.
- For added protection, finish with a clear sealant like Minwax Polycrylic to shield against wear and staining.
- This method typically yields impressive results within a few hours.
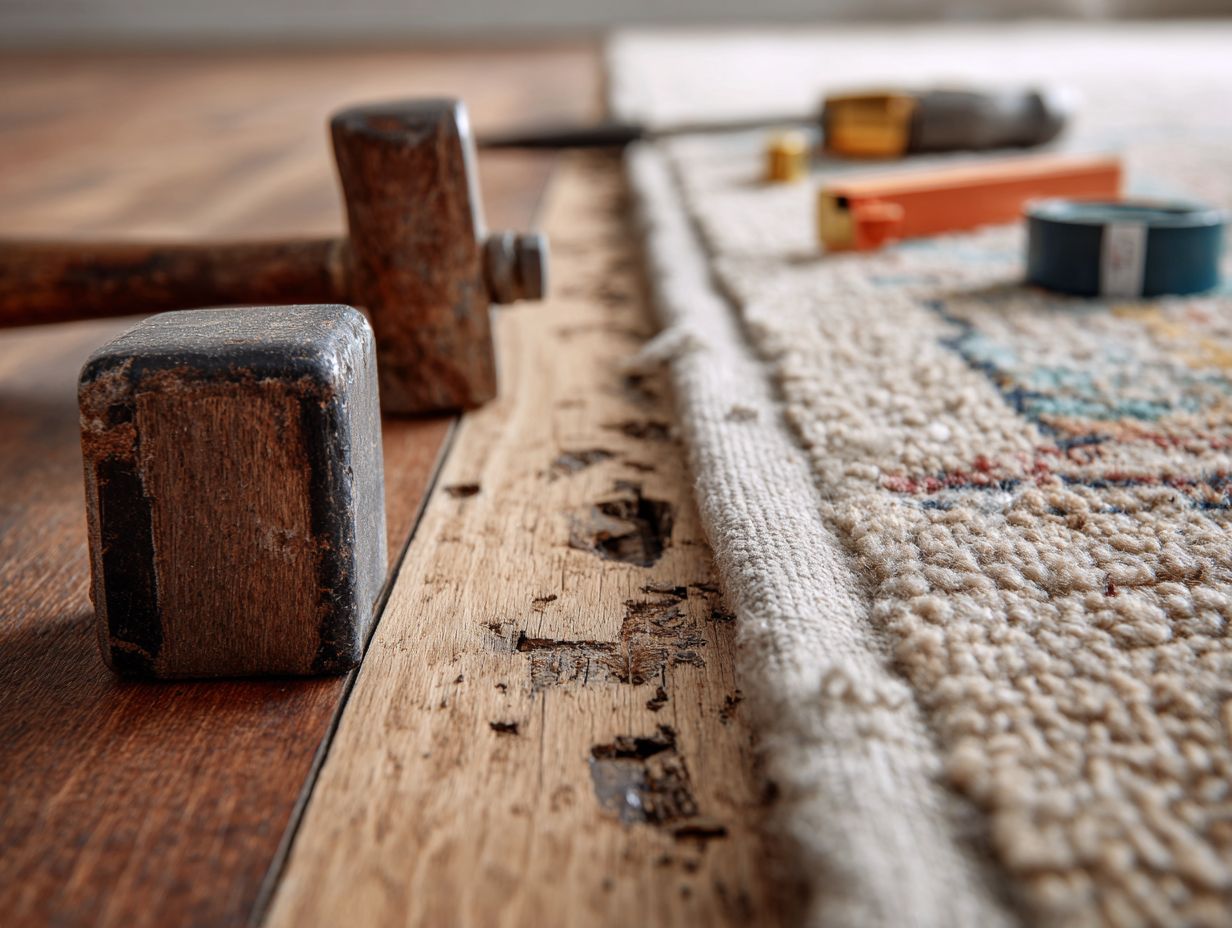
Reattaching Loose Strips
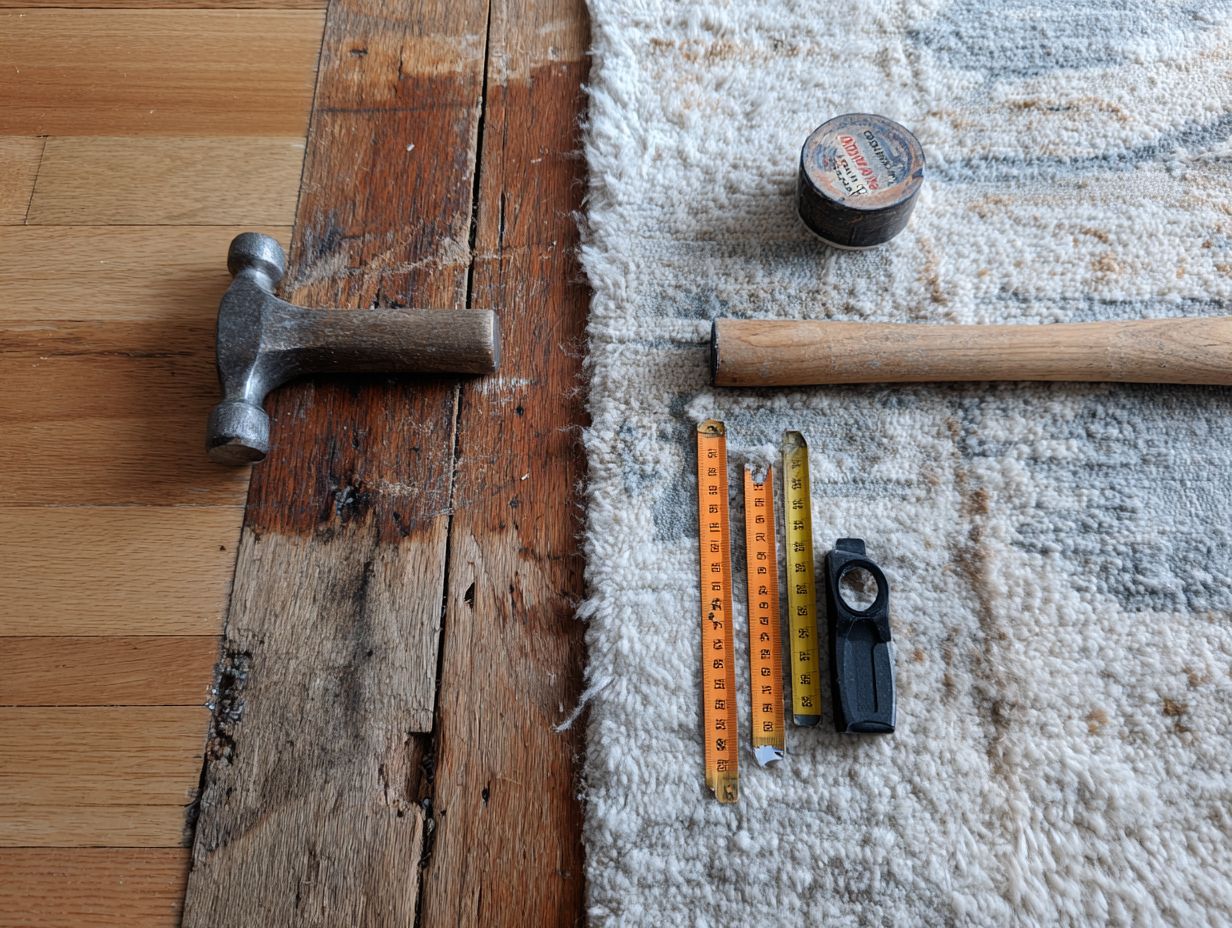
Securing loose transition strips is an easy job that can improve the safety and appearance of your floor.
To securely reattach the strips, start by gathering essential tools: a rubber mallet for gentle hammering, adhesive putty or construction adhesive, and a utility knife for any necessary trimming.
- To make sure the bond is strong, start by cleaning the area completely.
- Apply a thin line of adhesive to the underside of the transition strip, then position it over the gap.
- Use the rubber mallet to tap it down gently, ensuring it aligns properly with adjacent flooring.
Allow the adhesive to cure as per the manufacturer’s instructions for a secure fit.
Preventative Measures
Taking actions to protect transition strips can extend their lifespan and maintain their appearance, enhancing your flooring.
Choosing the Right Transition Strip
Selecting the appropriate transition strip is critical to ensuring a smooth transition between differing flooring materials, particularly when addressing height differences.
To choose the right transition strip, consider the following:
- Evaluate the material compatibility-wood to wood or laminate to carpet.
- Measure height differences; for example, a T-molding is suitable for height adjustments up to 1/4 inch.
- Assess the application area: use a reducer strip where one floor is lower (like carpet to tile) and a threshold for doorways.
Using tools like a measuring tape and a utility knife will help you install accurately, leading to a clean and attractive result.
Regular Maintenance Tips
Regularly maintaining transition strips can stop problems and keep them in good shape over time.
To maintain transition strips, follow these steps every three to six months:
- Clean the surface with a gentle cleaner like a pH-neutral soap to avoid damaging the finish.
- Inspect for wear or loose fittings; if you notice any gaps, consider using a quality adhesive like Gorilla Glue to secure them.
- Replace any damaged strips quickly to prevent tripping hazards.
- For stubborn grime, a microfiber cloth works well to lift dirt without scratching the surface, enhancing the strips’ longevity.
Environmental Considerations
Considering environmental factors when selecting transition strips can lead to more sustainable home improvement projects, aligning with eco-friendly practices.
One great option is bamboo transition strips, which are durable and renewable, thanks to the fast growth of bamboo. Alternatively, cork strips provide excellent insulation and are made from recycled materials, contributing to waste reduction.
To reduce harm to the environment when installing, use adhesives with low levels of volatile organic compounds. This helps maintain good air quality indoors. Plan your cuts carefully to reduce off-cuts and waste.
These practices create a more environmentally friendly space and can improve the look of your home.
Professional Help
Although you can fix many transition strip problems yourself, some cases need a professional for the best result.
When to Call an Expert
Determining when to call an expert can save time and money, particularly for significant issues that could compromise safety and aesthetic value.
Watch for signs like constant moisture, mold, or large water stains-these usually show hidden water damage.
Structural concerns can be identified by cracks in walls, sagging floors, or doors that won’t close properly. Each of these issues may escalate quickly, resulting in more costly repairs.
Engaging a professional offers benefits like thorough inspections, expert advice, and effective remediation strategies. For example, a licensed contractor can provide a detailed report and a clear plan to address these issues before they worsen.
Finding a Qualified Installer
Getting an experienced installer for transition strips ensures the work is completed correctly, preventing issues later and improving the flooring.
Start by searching local listings on platforms like Yelp or Angie’s List to find flooring professionals with good reviews. Look for those with at least 4 stars and read through customer feedback to gauge reliability.
Verify credentials by checking if they have relevant certifications, such as those offered by the National Wood Flooring Association. Ask to view previous work photos to judge the quality of their work.
These steps will help you select a competent installer and avoid potential issues.
Frequently Asked Questions
What are common issues with transition strips?
Common issues with transition strips include cracking, warping, and coming loose from the floor or wall.
What can cause transition strips to crack?
Transition strips can crack due to heavy foot traffic, improper installation, or exposure to moisture.
How can I fix a cracked transition strip?
If the crack is small, you can use wood glue or epoxy to fill in the gap. For larger cracks, it may be necessary to replace the transition strip altogether.
Why do transition strips warp?
Transition strips can warp due to changes in temperature or humidity levels, as well as poor quality materials.
How can I prevent my transition strip from warping?
To prevent warping, make sure to install the transition strip in a well-ventilated area and use high-quality materials. You can also apply a sealant or finish to the strip to protect it from moisture.
What should I do if my transition strip is coming loose?
If your transition strip is coming loose, you can try using adhesive to reattach it to the floor or wall. If that doesn’t work, it may be necessary to replace the strip with a sturdier one or have a professional installer take a look.