Flooring Expansion Gaps – Size and Placement Guide
When installing wood or vinyl flooring, knowing the need for expansion gaps is important. These gaps allow your flooring to expand and contract naturally, preventing warping and damage. This guide will explain the right size and position for expansion gaps so your floor looks good and works well. Learn how to set up these important areas correctly for a durable natural product that improves the look of your home.
Key Takeaways:
Contents
What are Expansion Gaps?
Expansion gaps are intentional spaces left between flooring materials and fixed objects, allowing for natural movement caused by environmental changes.
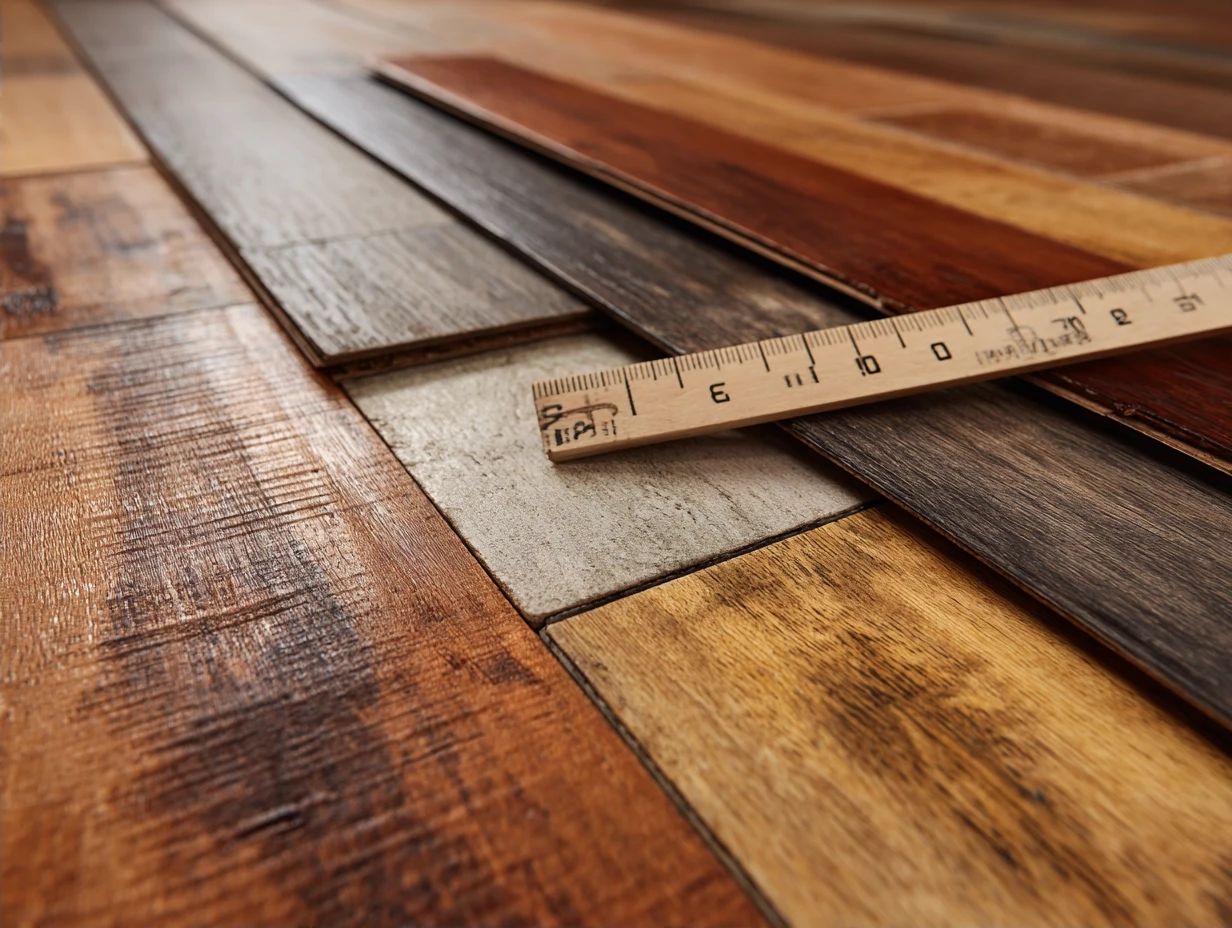
These gaps generally range from 1/4 to 1/2 inch, depending on the material used. For example, if you’re putting in solid hardwood flooring, it’s important to leave a 1/2 inch gap along walls and around fixtures. This lets the wood expand when the humidity changes, stopping it from bending or cracking.
To visualize this, consider using a spacer tool during installation, which helps maintain consistent gaps. On the other hand, laminate flooring might require only 1/4 inch. Applying caulking afterward can offer a cleaner finish while still allowing movement.
Importance of Expansion Gaps
Leaving proper expansion gaps is essential to prevent common flooring problems like buckling and cupping, which can arise from moisture and temperature changes.
If there are no gaps, flooring materials might swell or shrink, causing major problems. Statistics show that 85% of flooring failures are due to insufficient gaps.
For hardwood flooring, a gap of at least 1/4 inch around the perimeter is recommended, while laminate flooring often requires 1/8 inch.
- Use spacers during installation to keep these recommended distances.
- Regularly checking and maintaining humidity levels between 35% and 55% can further minimize the risk of expansion-related problems.
Proper installation and routine assessment are key to preserving the longevity of your flooring.
Understanding Flooring Materials
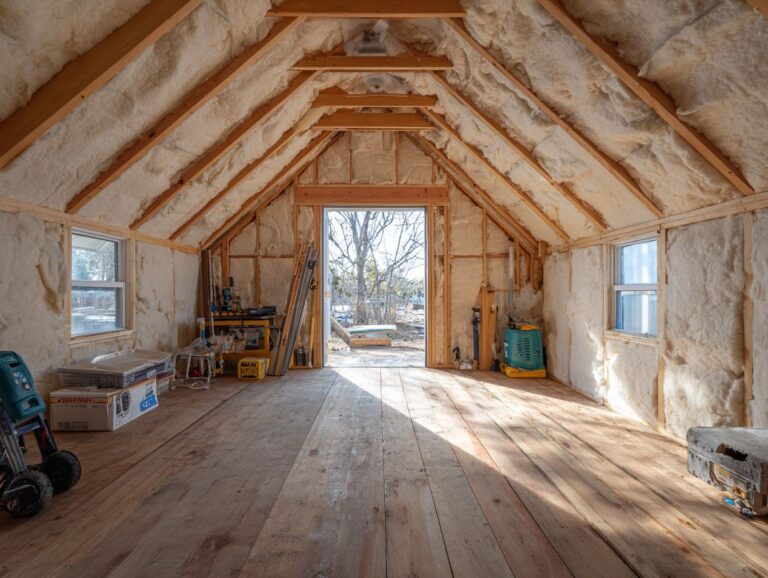
Various flooring types react differently to environmental conditions, affecting how much space should be left for expansion during installation. Understanding these reactions is crucial, especially when dealing with different bases, such as concrete, where moisture can be a significant factor. For those installing flooring over concrete slabs, using the correct moisture barriers is essential.
Flooring Industry Statistics 2024
Flooring Industry Statistics 2024
Flooring Market Overview: Market Growth Rate
Flooring Market Overview: Market Size
Flooring Market Overview: Average Prices and Costs
The Flooring Industry Statistics 2024 provides a detailed overview of how flooring markets work, showing the patterns in how fast they grow, their total value, and pricing. Looking closely at these numbers helps understand where the industry is heading and what consumers like, especially about different flooring choices such as carpet, vinyl, and laminate.
Market Growth Rate data highlights diverse growth rates across flooring segments. The Global Flooring Industry exhibits a healthy compound annual growth rate (CAGR) of 6.1% from 2021-2028, suggesting robust overall demand. Vinyl Flooring shows the highest CAGR at 7.4%, indicating rising popularity due to its durability and aesthetic versatility. Conversely, the North American Wood Flooring Market displays a modest CAGR of 1.5%, possibly reflecting stabilization after past growth spurts or shifts toward other materials like vinyl.
- Carpet Industry reflects a moderate CAGR of 4.6% from 2020-2026, maintaining steady appeal, particularly in residential settings. Laminate Flooring, with a CAGR of 5.3%, continues to attract consumers with its affordability and ease of installation.
Market Size figures show the flooring industry has a large economic impact. The Global Market Size was $409.03 billion in 2021, with projections reaching $621.54 billion by 2028, highlighting substantial expansion. This growth is supported by increasing urbanization, residential construction, and preferences for home renovations. The Vinyl Flooring Market alone reached $33 billion in 2021, reflecting its strong consumer demand.
The US Carpet Revenue stands at $12 billion, indicating its ongoing domestic importance, while the Laminate Flooring Market Size is projected at $90 billion by 2025, showcasing its growing footprint.
Average Prices and Costs reveal consumer expenditure tendencies. The Average Carpet Installation Price is $1,700, reflecting labor and material costs. Interestingly, the Average Selling Price of Flooring is estimated at $1.39 in 2024, suggesting competitive pricing strategies aimed at attracting a broad consumer base.
These Flooring Industry Statistics together show an industry with consistent growth, changing consumer tastes, and important economic impacts. The different growth rates for flooring types show changes in what consumers care about, and the market size data highlights the large opportunities within this changing industry.
Types of Flooring Materials
The main flooring types include solid wood, engineered wood, and vinyl, each with distinct properties that affect how they expand and contract.
Solid wood is very strong and can last for decades, but it can be damaged by changes in moisture, so it’s best used in dry areas.
Engineered wood, on the other hand, combines real wood with a plywood base, providing increased moisture resistance and versatility for various climates, while still offering an authentic wood appearance.
Vinyl, known for its water resistance and ease of maintenance, is perfect for high-moisture areas like bathrooms and kitchens.
Choosing the right flooring type for your surroundings will improve how well it works and how long it lasts. If interested, you might want to read our guide on floating floor installation for more insights on modern flooring solutions.
How Different Materials Expand and Contract
Solid wood can increase by up to 1/8 inch for every 10 feet, while vinyl tends to expand less. This shows the importance of having specific gaps for expansion depending on the type of flooring.
To accommodate these expansions effectively, consider the following methods:
- For solid wood floors, leave at least a 1/2 inch gap around the edges because they can expand and contract with changes in humidity.
- Vinyl, which usually expands around 1/16 inch per 10 feet, requires smaller gaps of approximately 1/4 inch.
- Utilizing a moisture meter to monitor humidity levels before installation can guide your expansion gap determination.
This proactive approach protects your flooring investment from buckling or gaps, enhancing durability and aesthetic appeal.
Determining the Size of Expansion Gaps
Getting the expansion gaps right is important to avoid flooring problems such as buckling and warping as time goes by. This process is critical, as highlighted in our detailed guide on the flooring acclimation process, which emphasizes the significance of proper acclimation to prevent these issues.
Factors Influencing Gap Size
Key factors influencing the size of expansion gaps include local humidity levels, room temperature, and the flooring material used.
Regional climate can significantly impact these gaps. For example, in areas with high humidity, such as the southeastern U.S., wood flooring may expand, necessitating larger gaps-ideally 1/4 inch.
Conversely, in drier climates like the southwest, tighter gaps may suffice. The type of flooring material matters; laminate needs smaller gaps (around 1/8 inch) because it doesn’t expand as much as hardwood.
Changes in temperature throughout the year in regions such as Canada lead to larger differences during winter and smaller ones during summer, highlighting the need for adjusting to these shifts.
General Guidelines for Gap Sizes
As a rule of thumb, expansion gaps should generally be between 1/4 to 1/2 inch, depending on the flooring material and total area covered.
For example, hardwood flooring typically requires a gap of 1/2 inch due to its tendency to expand and contract with humidity changes. In contrast, laminate flooring can often accommodate a 1/4 inch gap since it is less prone to significant swelling.
For tiles, a minimum 1/8 inch gap is advisable, ensuring enough space for grout movement. To determine the right size, measure the total area of your flooring installation; larger areas may necessitate wider gaps to prevent buckling.
Always refer to manufacturer guidelines for specific recommendations.
Placement of Expansion Gaps
Correct placement of expansion gaps is necessary to allow your flooring to move without being blocked.
Where to Place Expansion Gaps
Expansion gaps should be placed along walls, doorways, and other fixed objects, following the manufacturer’s guidelines for your specific flooring type.
To install correctly, leave a gap of 1/4 inch to 1/2 inch based on the type of flooring.
For example, laminate and engineered wood typically require a 1/4 inch space, while solid hardwood may need up to 1/2 inch. Place spacers during installation to measure these gaps correctly.
Mark critical areas on the walls and doorways using a pencil for consistent reference. Regularly check that the gaps remain unobstructed as temperature changes can cause the flooring to expand or contract.
Spacing Between Gaps
The general rule for spacing between gaps is approximately 8 to 12 feet, but this can vary based on the flooring material and installation conditions.
For instance, hardwood floors typically require a gap of 1/2 inch at the edges, while laminate might allow for 1/4 inch.
Always consult the flooring manufacturer’s guidelines as high-humidity environments may necessitate wider gaps to accommodate expansion.
When installing, use spacers to keep even gaps and a flat surface. After you install the flooring, look it over to spot anything unusual. If you see uneven gaps, fix them right away to prevent problems later.
Common Mistakes to Avoid
Avoid common installation mistakes to save time, money, and prevent significant flooring issues later.
Insufficient Gap Size
One of the most frequent issues is insufficient gap size, which can lead to buckling floors due to improper expansion allowances.
Homeowners can fix small gaps by using various methods.
- First, evaluate the existing gaps; they should be at least 1/4 inch for engineered wood floors and 1/2 inch for solid hardwood.
- Use a spacer during installation for proper edge spacing.
- If the boards have already bent, carefully raise them and widen the spaces using a chisel or saw if needed.
- After that, keep an eye on the humidity in your home with a hygrometer, keeping it between 30-50% to stop problems from happening again.
Incorrect Placement
Incorrect placement of expansion gaps can cause stress points and stop flooring from moving as it should, which can end up harming your flooring setup.
To prevent common mistakes, make sure the spacing around the edges is even. Usually, a 1/4 inch gap is suggested for laminate flooring. For example, if your room is 12 by 15 feet, this allows for adequate expansion.
Use spacers during installation to maintain these gaps consistently. A case study of a poorly installed laminate flooring project revealed that neglecting these gaps resulted in buckling after humidity changes.
By correcting the gap placement before finalizing the installation, the problem was resolved, leading to a durable, aesthetically pleasing floor.
Tools and Materials Needed
Having the right tools and materials is necessary for accurate measurement and allowing room for growth when laying floors.
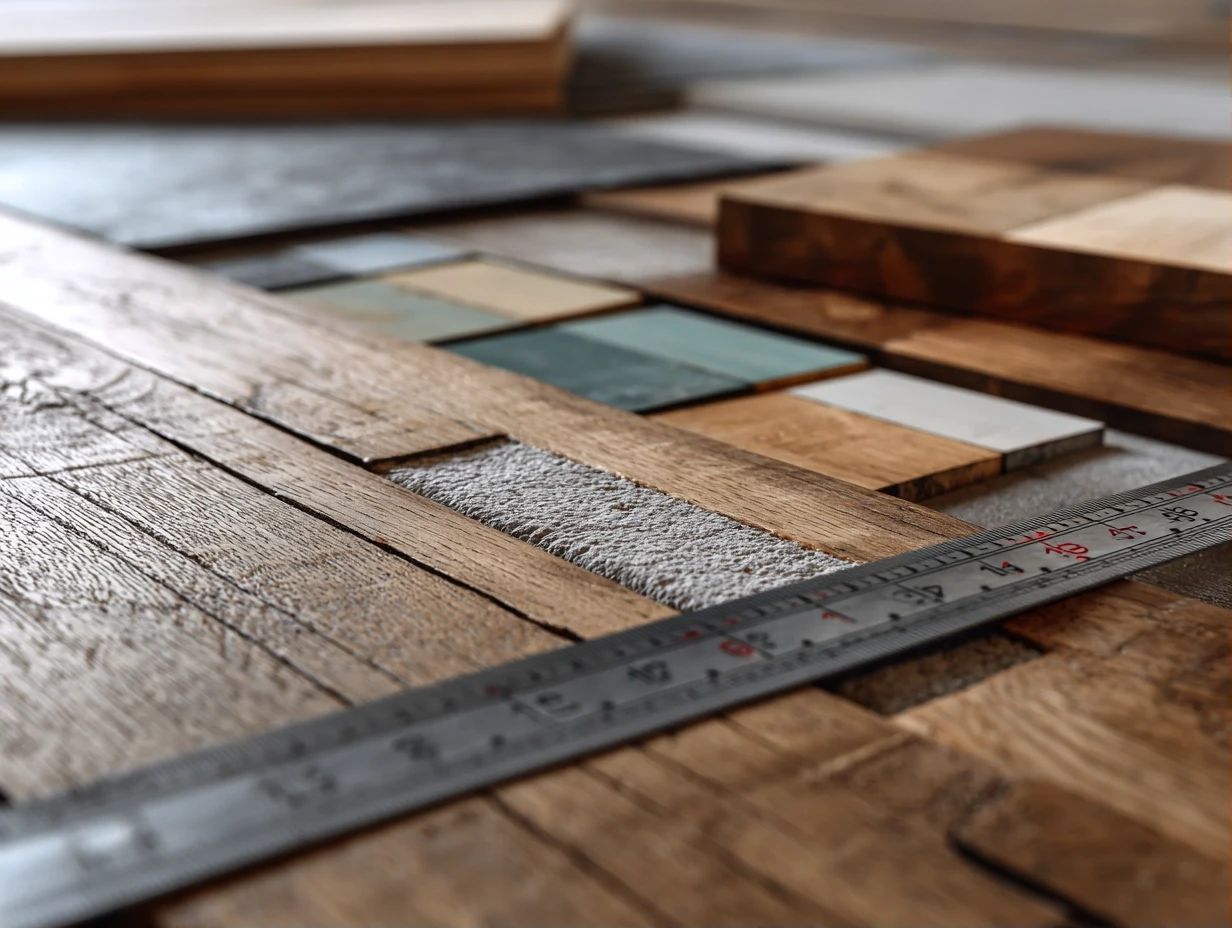
Measuring Tools
Important tools you should have include a tape measure ($10-$30) to measure gaps precisely, a square for accurate angles, and a moisture meter ($20-$100) to check moisture levels.
A tape measure is necessary for getting exact sizes when cutting materials, and a square makes sure angles are correct, which is important for woodworking projects.
For moisture control, a moisture meter allows you to assess humidity levels in materials, avoiding issues like mold or deterioration.
Invest in reliable brands such as:
- Stanley for tape measures
- Swanson for squares
- Extech for moisture meters
These tools improve accuracy and quality in your projects, making them essential for any DIY toolkit.
Materials for Filling Gaps
Filling gaps can require materials like caulking ($5-$15) or wood filler ($7-$25) depending on the flooring type and aesthetic needs.
For small gaps in tile or vinyl floors, a high-quality silicone caulk often works best, providing flexibility and durability.
For hardwood floors, consider using wood filler that matches the flooring color. This filler can seamlessly blend in when sanded and stained.
If you’re dealing with larger gaps, foam backer rods may help by providing support under the caulk or filler.
Generally, allocate a couple of hours for application and drying, ensuring a clean, polished finish.
Installation Process
Having a properly organized installation process is key to the success of any flooring work, especially in dealing with expansion gaps.
Preparing the Floor
Before installation, make sure the subfloor is clean, dry, and level, as this is important for the flooring to be properly aligned.
- Start by thoroughly sweeping and vacuuming the area to remove dirt and debris.
- Next, use a moisture meter to test the subfloor’s moisture content; it should be below 12% for optimal conditions.
- If it’s too high, let the subfloor dry for a few days or use a dehumidifier.
- Check for any unevenness by laying a straightedge across the surface; any gaps over 1/8 inch may require leveling compound to fill.
This important preparation will stop problems like warping or buckling from happening later.
Creating the Expansion Gaps
When installing flooring, use spacers ($5-$15) to create the required gaps for expansion as you work, maintaining even spacing.
These spacers serve to prevent buckling due to temperature fluctuations, allowing the flooring to expand and contract naturally.
To install your flooring, begin by placing spacers along the perimeter, ensuring a gap of at least 1/4 inch from the wall. As you lay each plank, adjust the spacers accordingly.
For larger rooms, consider using longer strips of flooring material or even a laser level to maintain accuracy. This method increases strength and provides a smooth finish for your setup.
Final Checks and Adjustments
After installation, do final checks to make sure all gaps are properly placed and filled, and confirm the floor is stable.
- Begin by examining each seam and corner for even alignment; gaps should be minimal, ideally no more than 1/8 inch.
- Use a leveling tool to assess stability across the flooring surface, addressing any uneven spots with shims or adjustments to the underlayment as needed.
- Make sure all boards are firmly secured. Walk on them to check for any shifting.
- For added durability, applying a sealant can help protect against moisture and wear, extending the life of your flooring.
Maintenance and Care
Regular upkeep and attention can extend how long your flooring lasts and keep it looking good. For those considering flooring renovations, using the right tools can make a significant difference (our complete equipment guide covers essential tools and tips) to ensure a professional finish.
Regular Inspections
Regular checks on expansion gaps and moisture levels can stop major flooring problems from developing.
Homeowners should inspect these areas every three months. During each inspection, focus on specific aspects:
- Check expansion gaps for alignment-gaps should typically range from 1/8 to 1/4 inch.
- Measure moisture levels using a reliable digital moisture meter; readings above 13% may indicate a problem.
- Look for signs of warping or uneven surfaces, which could suggest underlying issues.
By sticking to this schedule and performing these checks, you’ll keep your flooring in great shape for a long time.
Addressing Issues Promptly
Quickly fixing problems like gaps or moisture issues can prevent expensive repairs and keep your flooring in good condition.
Begin by identifying the specific problem. For gap widening, you may need to adjust humidity levels, using a humidifier if your home is too dry.
For moisture-related issues, inspect for leaks or high humidity sources and contact a plumbing professional if necessary. Keep an installation manual handy for warranty reference, and consider using a moisture barrier during repairs.
Remediation steps should be documented, ensuring you maintain a log of actions taken, completed with photographs, as this may be required for insurance claims.
Frequently Asked Questions
What are flooring expansion gaps?
Flooring expansion gaps refer to the space left between the edge of the flooring and the surrounding walls or fixed objects. This space allows the flooring to expand and contract with changes in temperature and humidity without buckling or warping.
Why are expansion gaps necessary?
Expansion gaps are necessary because all types of flooring materials are affected by changes in temperature and humidity. Without expansion gaps, the flooring could potentially buckle or warp, leading to costly repairs or replacements.
What is the recommended size for flooring expansion gaps?
The recommended size for flooring expansion gaps varies depending on the type of flooring and the size of the room. As a general rule, for hardwood and laminate flooring, a gap of 1/4 inch is recommended. For tile and vinyl flooring, a gap of 1/8 inch is sufficient.
Where should flooring expansion gaps be placed?
Flooring expansion gaps should be placed around the perimeter of the room, between the flooring and the walls or fixed objects. They should also be placed at doorways and transitions between different types of flooring to allow for a smooth and seamless installation.
How can I make sure expansion gaps are placed correctly?
To place expansion gaps correctly, measure the room’s perimeter and mark where the gaps will go. It is also important to follow the manufacturer’s guidelines for the recommended gap size and placement for the specific type of flooring being installed.
Can I fill in expansion gaps after installation?
No, it is not recommended to fill in expansion gaps after installation. These gaps serve an important purpose in allowing the flooring to expand and contract, and filling them in can lead to buckling or warping. If you have concerns about the appearance of the gaps, there are options such as trim or quarter round that can be used to cover them.