Common Flooring Installation Mistakes and How to Avoid
To achieve a durable result when installing floors, it’s important to avoid typical errors. Whether you’re working with hardwood or vinyl flooring, proper measurements and thorough subfloor preparation can save you time and money. At Twin Brothers Floors, we look into common problems people face with DIY projects and offer professional advice to help you prevent errors. Keep reading to make sure your flooring installation goes well!
Key Takeaways:
Contents
- Flooring Installation Error Rates and Costs
- Choosing the Wrong Flooring Material
- Poor Subfloor Preparation
- Incorrect Measurements and Layout
- Improper Installation Techniques
- Neglecting Expansion Gaps
- Ignoring Environmental Conditions
- Failure to Follow Manufacturer Instructions
- Frequently Asked Questions
- What are some common flooring installation mistakes to avoid?
- Why is preparing the subfloor important in flooring installation?
- What does it mean to acclimate flooring before installation?
- How can I avoid damaging the flooring during installation?
- What are some common mistakes to avoid when installing hardwood flooring?
- What should I do if I encounter difficulties during flooring installation?
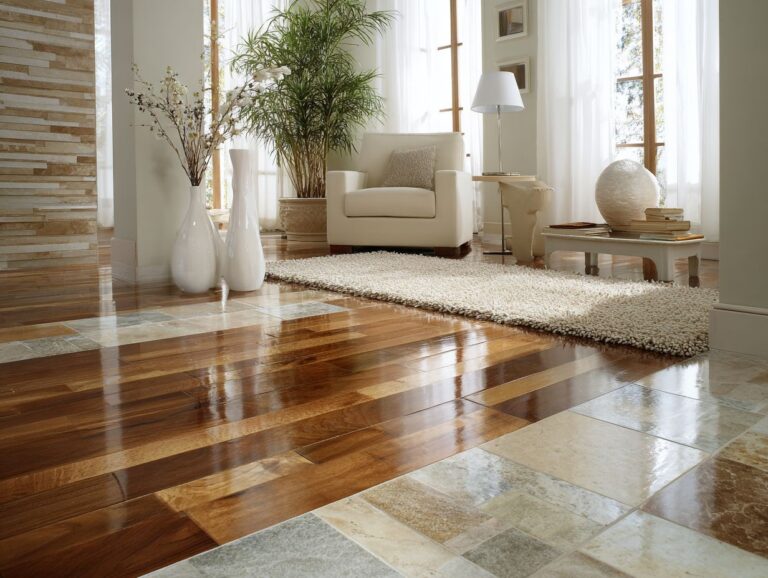
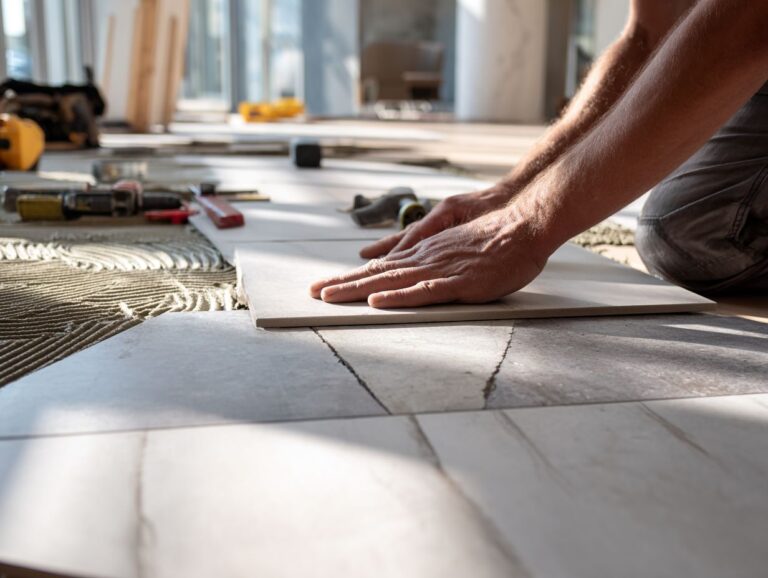
Importance of Proper Flooring Installation
Putting money into expert flooring installation improves the look and protects your flooring materials, helping them last longer.
Proper installation significantly affects flooring durability, as it helps prevent issues like buckling and warping.
For example, hiring an experienced installer can make sure the wood floors are spaced correctly, which is important. The cost for professional installation typically ranges from $2 to $6 per square foot, depending on the material and complexity of the job (our analysis of DIY vs Professional Flooring Installation provides a detailed cost comparison).
While this may seem high upfront, the long-term savings from reduced maintenance and repairs justify the expense. A well-installed floor can last decades, offering both beauty and functionality while minimizing overall costs.
Overview of Common Mistakes
Homeowners often encounter problems during flooring installation, which can raise expenses and cause frustration. Knowing these common errors is the first step to getting it right.
Common errors include improper measurements, which account for 25% of installation issues, and poor material selection, leading to 30% of DIY project failures.
To avoid these pitfalls, invest in a quality measuring tape and double-check dimensions before purchasing materials. Look into different flooring choices carefully; for example, hardwood lasts long but might not be good for all climates. Consider visiting local showrooms to see samples in person.
Make sure you have a reliable saw and glue available to make the installation easier. For a comprehensive understanding of necessary tools, our complete guide on flooring installation tools offers invaluable insights.
Flooring Installation Error Rates and Costs
Flooring Installation Error Rates and Costs
Moisture-Related Flooring Failures: Repair Costs
The Flooring Installation Error Rates and Costs report highlights the financial implications associated with moisture-related flooring failures, a common issue that can lead to significant repair costs. Knowing these costs is important for homeowners and experts who want to reduce repair costs and improve installation quality.
Moisture-Related Flooring Failures often result in varying repair costs. The data reveals a minimum repair cost $200, which might indicate small problems that are quickly fixed. On the other end, the maximum repair cost $20,000, showing a lot of damage that might need major repairs, possibly involving replacing the entire flooring system.
- The average subfloor repair cost for DIY projects is about $438. This suggests that homeowners can manage repairs themselves, especially if the damage is minor and they have the necessary skills and tools. Fixing things yourself might not be accurate enough and could cause problems to happen again.
- In contrast, professional subfloor repair averages $658. The higher cost reflects the value of expert ability and dependable work, which are important for preventing issues later and ensuring the work’s durability.
The big difference between doing repairs yourself and hiring a professional shows how important it is to judge how bad the flooring problem is and think about hiring a professional for complete repairs. While DIY repairs might save money upfront, professional repairs often provide a more lasting solution, potentially saving money in the long run by preventing further issues.
Knowing how repair costs can differ helps homeowners and flooring professionals make smart choices about handling moisture issues, balancing expenses and quality to keep floors in good shape.
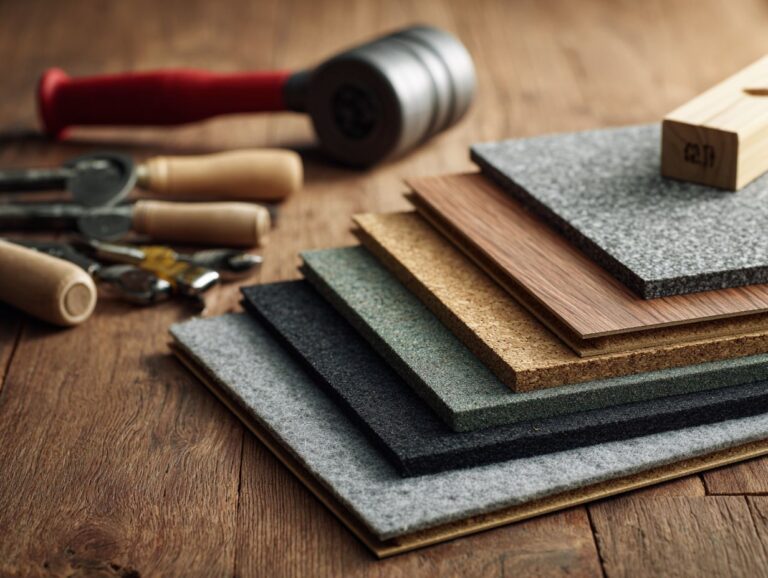
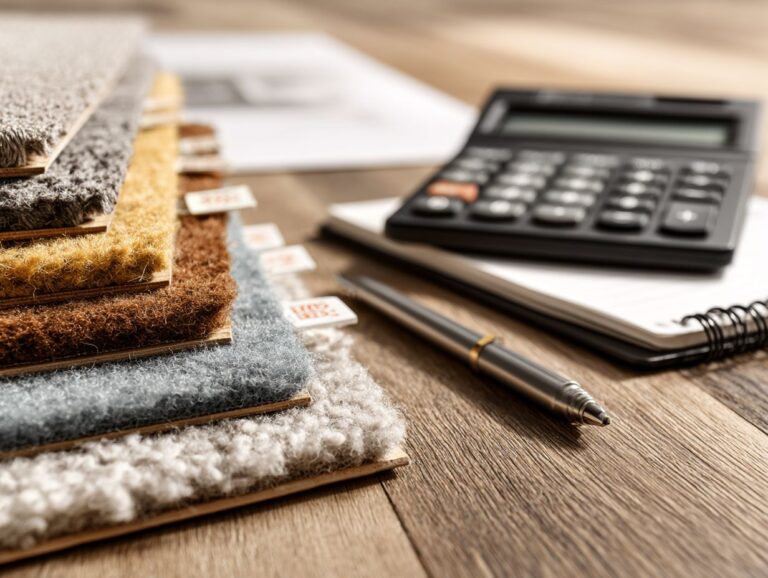
Choosing the Wrong Flooring Material
Choosing the right flooring is important because it impacts how your room looks and works.
Knowing about the materials helps you choose wisely. Related insight: VOC emissions in flooring can significantly affect your indoor air quality and health.
Understanding Material Properties
Each flooring material has unique properties; for instance, hardwood offers durability but is more susceptible to moisture compared to vinyl, which is water-resistant.
Laminate flooring provides a cost-effective alternative, typically costing between $2-$5 per square foot, and can mimic the appearance of hardwood without the moisture issues.
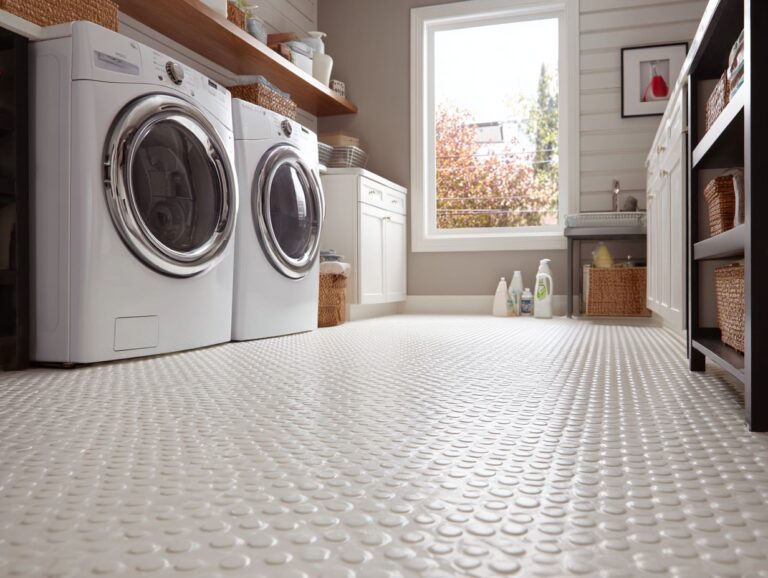
When selecting a material, consider the room’s function: bathrooms benefit from vinyl’s water resistance, whereas living areas can take advantage of hardwood’s aesthetic appeal.
In high-traffic zones, laminate can endure wear and tear while being budget-friendly. Choosing a product that balances price, upkeep, and strength will lead to lasting satisfaction.
Common Misconceptions About Flooring Types
Some people think laminate flooring is not as good as hardwood, but today’s laminate can look very realistic and is much cheaper.
For example, a stunning laminate option from Pergo can replicate the look of oak wood for about $2-$3 per square foot, compared to hardwood’s $5-$10.
Lots of laminates can withstand water, which makes them a good choice for kitchens and bathrooms.
In a case study of a budget remodel, a homeowner replaced worn-out carpet with laminate and saved over $3,000 while significantly enhancing the home’s visual appeal.
Thanks to new technology, laminate is practical and stylish, proving wrong the idea that it’s of lower quality.
Poor Subfloor Preparation
Getting the subfloor ready is very important for any flooring installation. It greatly affects how long the floor will last and how good it will look.
Assessing Subfloor Conditions
Begin by carefully examining the subfloor. Look for any dampness and make sure it is strong and stable to avoid problems with the flooring later.
Start with a moisture meter, like the Wagner Meters, which costs $150, to get an exact moisture reading.
For structural integrity, perform a stability test by checking for squeaks and loose boards; applying weight to various points can help identify weak areas.
Document any findings, and if moisture exceeds 14%, consider installing a dehumidifier or adding a moisture barrier before proceeding with your flooring project. These steps provide a strong base and increase the lifespan of your new flooring. As mentioned, waterproof flooring options can be critical in areas prone to moisture, and you might find our Bathroom Flooring Guide insightful for additional waterproofing strategies.
Cleaning and Leveling the Subfloor
Cleaning and leveling the subfloor are essential steps; using leveling compounds can help create a smooth surface for installation, ensuring flooring integrity.
- Start by removing all items from the area and sweeping the subfloor thoroughly.
- Use a floor scraper to eliminate any debris or old adhesive, ensuring a clean slate.
- Next, inspect for any low spots; areas deeper than 1/8 inch may require leveling compound.
- Mix the compound according to the instructions-typically, one 25-pound bag covers 50 square feet at a quarter-inch thickness-and pour it into the low spots.
- Use a trowel to spread evenly, working in manageable sections to achieve a smooth finish.
- Let it cure as per package instructions before proceeding.
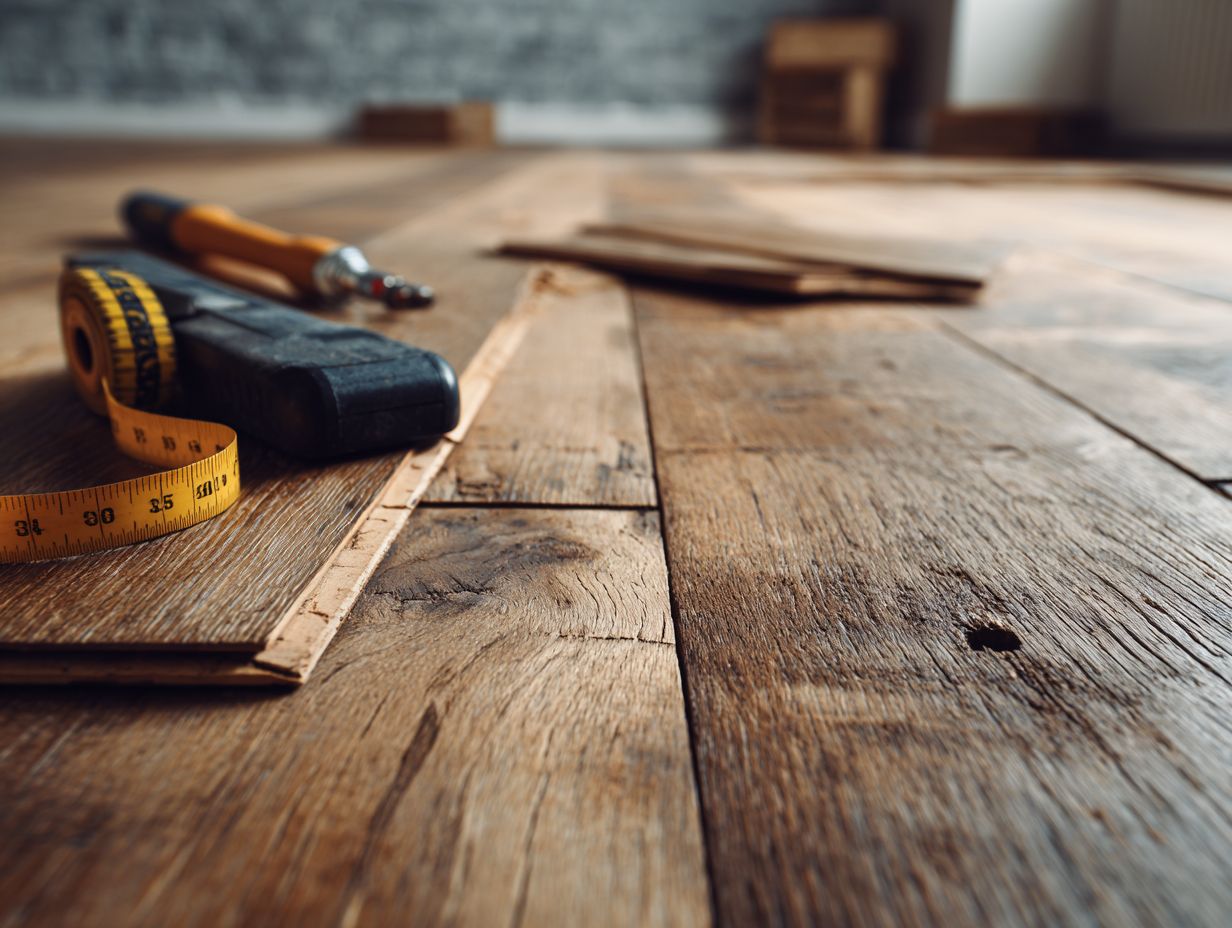
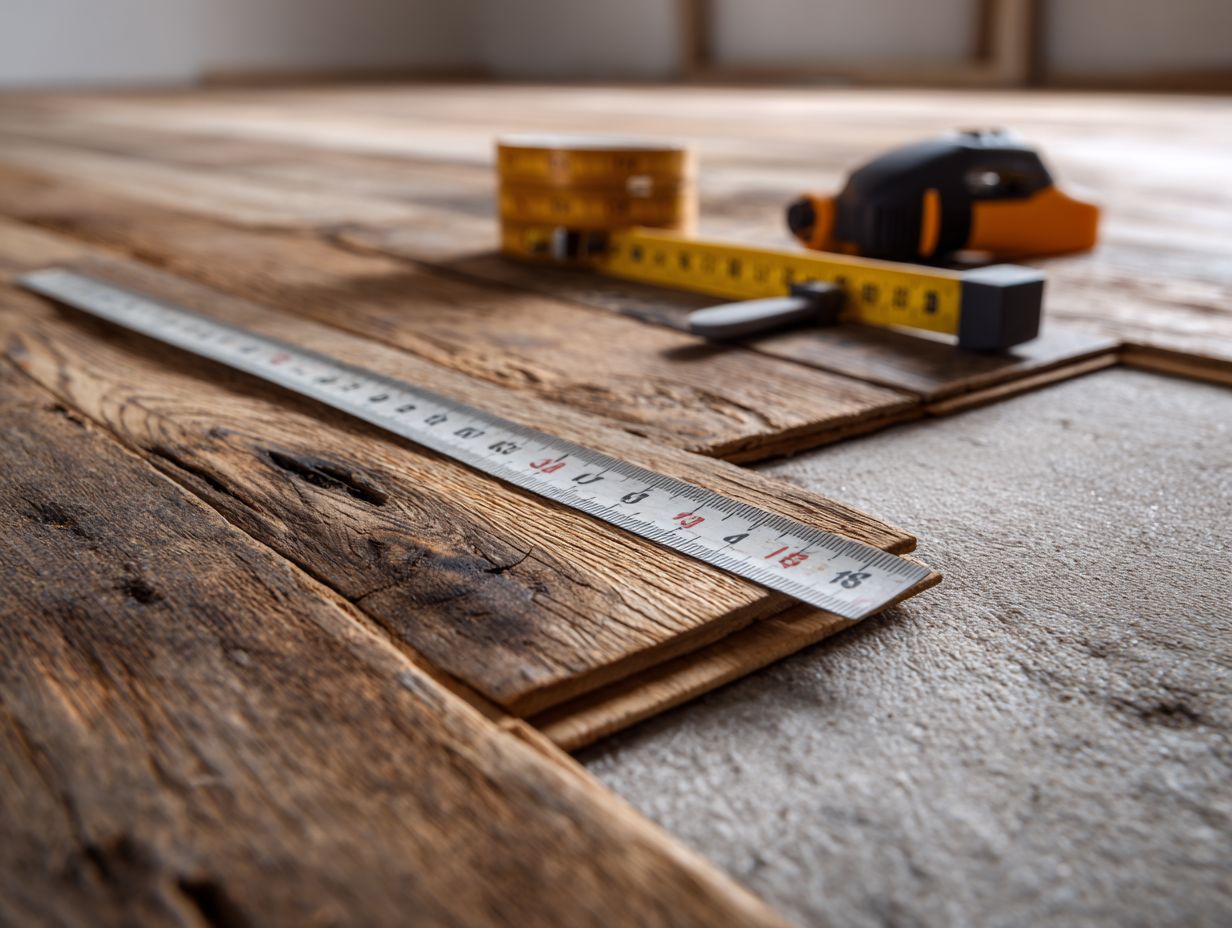
Incorrect Measurements and Layout
Careful measuring and planning the design are important for a successful flooring job, as mistakes can result in expensive material waste and problems during installation.
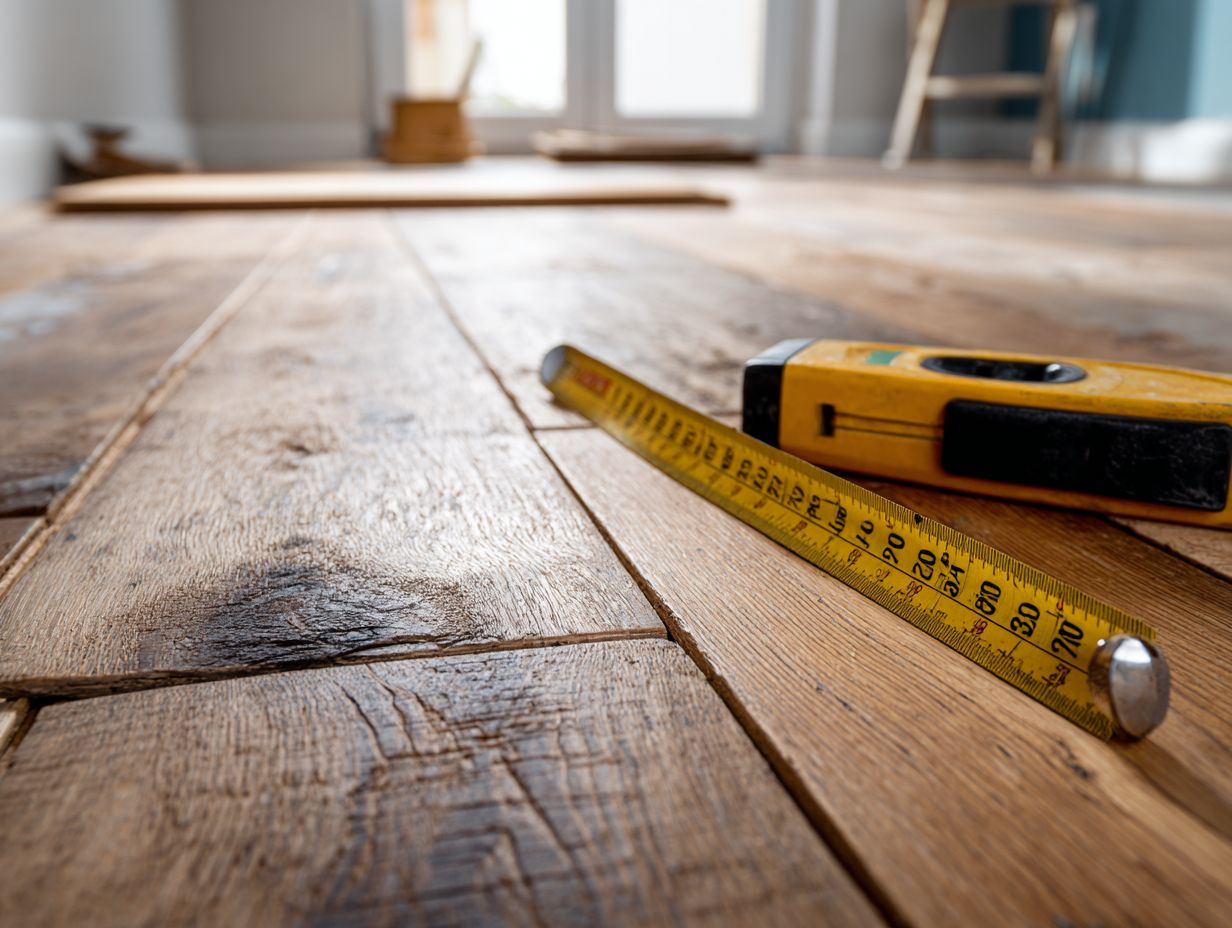
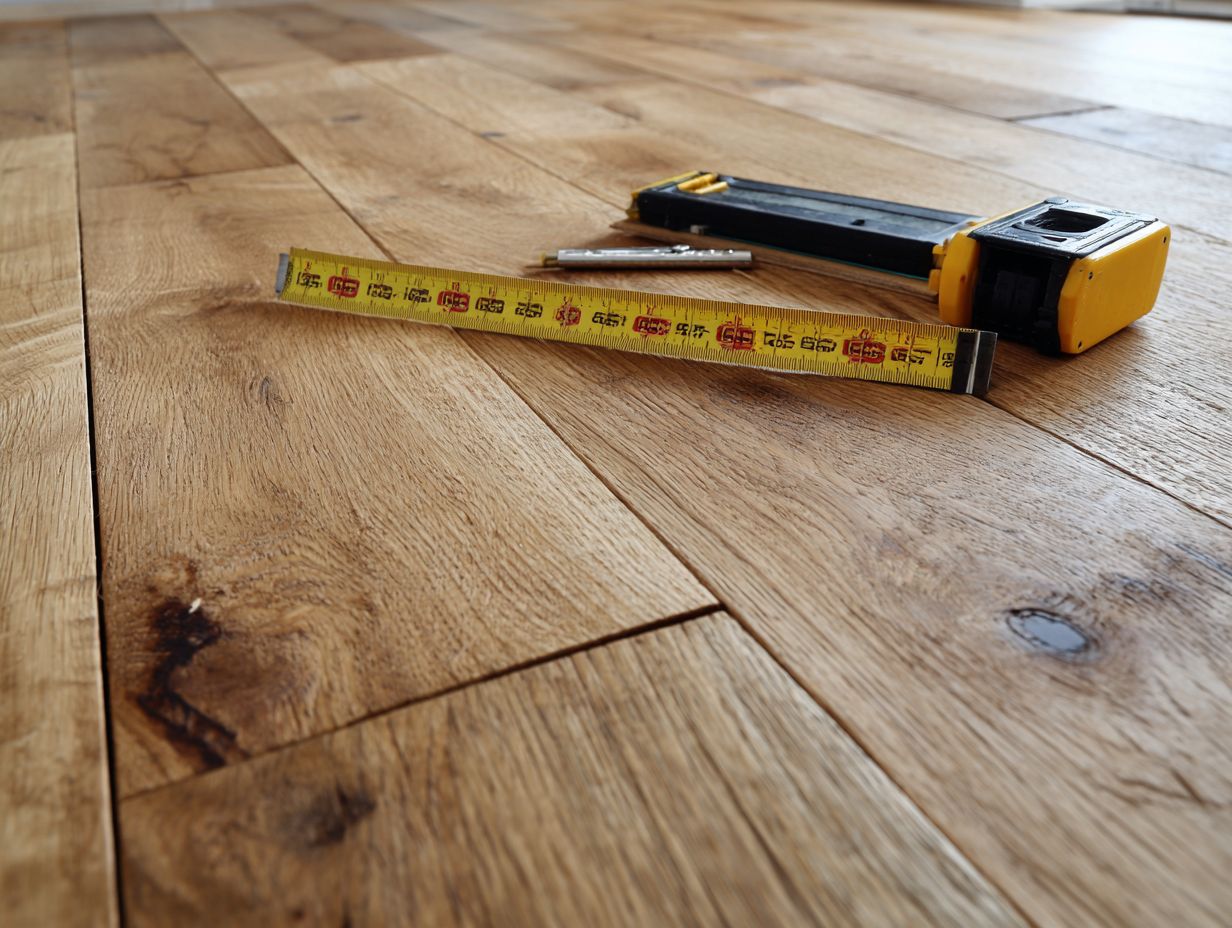
Importance of Accurate Measurements
Using exact measurements can help homeowners save a lot of time and money, as mistakes often lead to 10-20% more waste than needed.
To get exact measurements, purchase a laser tape measure for around $40. It can quickly provide correct distances up to 300 feet.
Always measure twice before cutting, and account for the width of the blade in your calculations. Create a dedicated measuring checklist to track your measurements, minimizing the chance of overlooking essential dimensions.
If you’re measuring complex areas, sketching a simple diagram can help visualize space and prevent errors. Adopting these best practices can lead to more successful home improvement projects.
Planning the Layout for Aesthetic Appeal
A carefully planned flooring design can improve how a room looks, directing movement and drawing attention.
Experiment with different layout ideas, such as arranging planks diagonally for a unique look, or creating patterns like herringbone for a more polished style.
For instance, diagonal placements can make small rooms appear larger, while herringbone patterns work well in entryways to create a focal point.
It’s also beneficial to use visual aids like software tools-Floorplanner or RoomSketcher-allowing you to visualize different layouts before installation.
Focus on blending practical use with design; a good layout draws interest and makes effective use of space.
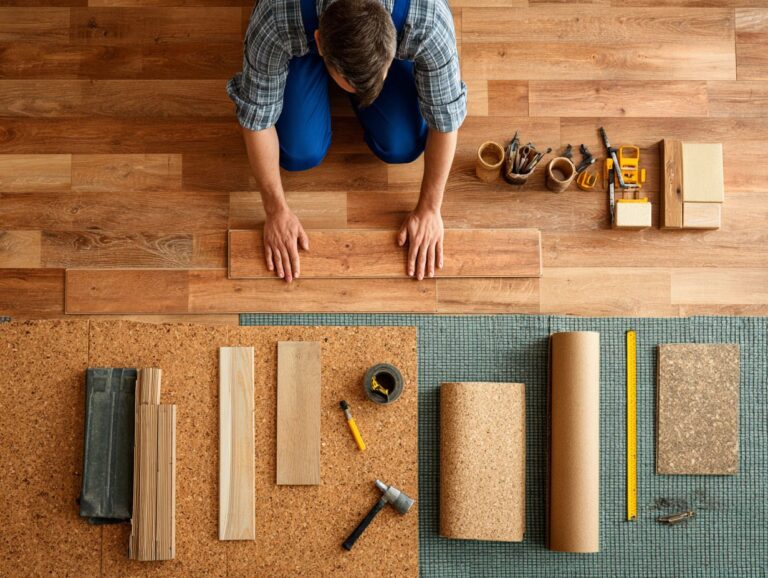
Improper Installation Techniques
Poor installation methods can cause various problems, from appearance defects to serious structural issues, affecting the quality of the flooring.
Common Installation Errors
Common installation errors, like inadequate adhesive application or failing to account for moisture levels, can lead to premature flooring failure.
For example, using too little adhesive can prevent proper bonding, resulting in tiles separating over time. To mitigate this, always follow the manufacturer’s guidelines for adhesive coverage.
Neglecting to test the subfloor’s moisture content may lead to mold growth and warped flooring. It’s important to use a moisture meter before installation to make sure levels are within acceptable ranges.
Using the right amount of glue and properly readying the base, you can greatly improve the strength and look of your floor.
Using the Right Tools and Techniques
Employing the right tools, such as a flooring nailer (priced around $150) and a moisture meter, is essential for executing effective flooring installation techniques.
Plus these tools, consider acquiring a rubber mallet for tapping boards into place without damaging them.
Using a ruler and measuring tape will help you make accurate cuts, while a chalk line helps keep straight lines over bigger areas.
Don’t forget safety gear-gloves, knee pads, and goggles improve comfort and protection during installation.
For visual learners, refer to detailed video tutorials on platforms like YouTube that demonstrate best practices in use and technique, significantly enhancing your installation skills and outcomes.
Neglecting Expansion Gaps
If you don’t leave space for expansion, flooring can warp and buckle, especially where moisture and temperature change.
Why Expansion Gaps Are Needed
Expansion gaps allow flooring materials to expand and contract without causing damage, essential for materials like hardwood and laminate.
To make sure the floor lasts, leave certain spaces depending on the kind of flooring. For laminate, a gap of 1/4 inch along the perimeter is recommended, while hardwood typically requires a 1/2 inch gap.
These measurements allow for sufficient expansion due to temperature fluctuations and humidity changes. Using a spacer during installation can help maintain these gaps consistently.
Checking the spaces around door frames and where rooms connect is important because these spots are often missed but essential for managing expansion properly.
How to Properly Leave Expansion Gaps
Leaving enough space during installation is easy and essential for maintaining the flooring’s condition over time.
To achieve this, start by measuring the room’s dimensions, allowing for a gap of 1/4 inch from walls.
Use spacers to maintain consistent distance as you lay the flooring. You can get exact measurements by using a tape measure and a chalk line.
If installing near doorways or columns, consider the room’s humidity levels, which may require wider gaps.
Remember, proper gaps prevent buckling and warping, ensuring your flooring lasts for years without issues.
Ignoring Environmental Conditions
Humidity and temperature affect how well flooring works, yet people often ignore these factors during planning and installation.
Impact of Humidity and Temperature
High humidity can cause certain flooring materials to expand, while low humidity can lead to contraction, compromising flooring durability and aesthetics.
This is particularly true for hardwood and laminate floors, which are sensitive to moisture levels.
To effectively monitor moisture levels, it’s important to purchase a moisture meter such as the Wagner Meters MMC220. This tool helps you measure moisture levels precisely, ensuring your flooring remains stable.
Consider using dehumidifiers or humidifiers to regulate indoor humidity levels, particularly during seasonal changes. Regular maintenance can extend the life of your flooring and preserve its appearance.
Preparing for Seasonal Changes
Getting ready for seasonal changes can prevent flooring problems. Changing installation methods to suit the weather can improve how well the flooring works.
For hardwood flooring, it’s important to let the planks adjust to the room conditions before installing them. Ideally, they should remain in the installation area for 3 to 5 days. This allows the wood to adjust to the room’s temperature and humidity, reducing warping risk.
In colder months, consider using a humidifier to maintain optimal moisture levels (around 30-50%) during installation.
For vinyl tiles, make sure the floor underneath is dry and flat, as moisture can cause the tiles to expand and shrink. Always check your local climate and choose materials that best suit your seasonal environment.
Failure to Follow Manufacturer Instructions
Ignoring manufacturer instructions may void warranties and cause major installation mistakes, putting the whole flooring project at risk.
Specific Product Guidelines
Knowing the specific instructions for each type of flooring can help avoid errors that affect its quality and look.
-
Before installing hardwood floors, let the planks sit in the room for 48 hours to adjust to the conditions. Use a moisture meter to confirm acceptable wood moisture levels, ideally between 6-9%.
-
For vinyl flooring, clean and level the subfloor before laying planks, as imperfections can lead to wear over time.
-
Daily maintenance for all types typically requires sweeping or vacuuming to remove dirt, followed by occasional damp mopping with manufacturer-recommended cleaners.
-
For more detailed installation techniques and care, consider visiting resources like the National Wood Flooring Association and vinyl flooring manufacturers’ websites.
Consequences of Ignoring Instructions
Not following installation instructions can cause many problems, such as losing your warranty and higher repair costs that could be more than what you paid to install.
For instance, improperly installed appliances can malfunction, leading to repairs that could cost up to 50% of the original purchase price. To avoid these issues, always read the manufacturer’s manual thoroughly before starting any installation.
Use tools like a torque wrench to tighten screws to the right torque settings, and use a level tool to check proper alignment. Documenting each step taken can provide clarity if issues arise later, aiding in warranty claims or disputes.
Frequently Asked Questions
What are some common flooring installation mistakes to avoid?
Some common flooring installation mistakes to avoid include not properly preparing the subfloor, not acclimating the flooring beforehand, and not following manufacturer instructions.
Why is preparing the subfloor important in flooring installation?
Getting the subfloor ready is important because it creates an even base and stops moisture or structural problems from damaging the flooring later on.
What does it mean to acclimate flooring before installation?
Acclimating flooring means allowing it to adjust to the temperature and humidity of the room it will be installed in. This helps prevent warping and other issues after installation.
How can I avoid damaging the flooring during installation?
To prevent harm to the flooring, use the right tools and equipment, stick to the correct installation procedure, and take your time to make sure each piece is firmly set.
What are some common mistakes to avoid when installing hardwood flooring?
When installing hardwood flooring, common mistakes to avoid include not leaving enough space for expansion, using the wrong type of adhesive, and not properly securing the flooring to the subfloor.
What should I do if I encounter difficulties during flooring installation?
If you run into problems while installing flooring, it’s a good idea to pause and call an expert. Attempting to fix the issue yourself may result in further damage and potentially void any warranties on the flooring.