DIY Floor Refinishing – Tools, Steps and Risks
Contents
- Introduction to DIY Floor Refinishing
- Floor Refinishing Market Data
- Essential Tools for Floor Refinishing
- Preparation Steps Before Refinishing
- The Refinishing Process
- Post-Refinishing Care
- Risks and Considerations
- Frequently Asked Questions
- What tools do I need for DIY floor refinishing?
- What are the steps involved in DIY floor refinishing?
- Are there any risks involved in DIY floor refinishing?
- Can I refinish all types of floors using the same tools and steps?
- What are the benefits of DIY floor refinishing?
- How long does DIY floor refinishing typically take?
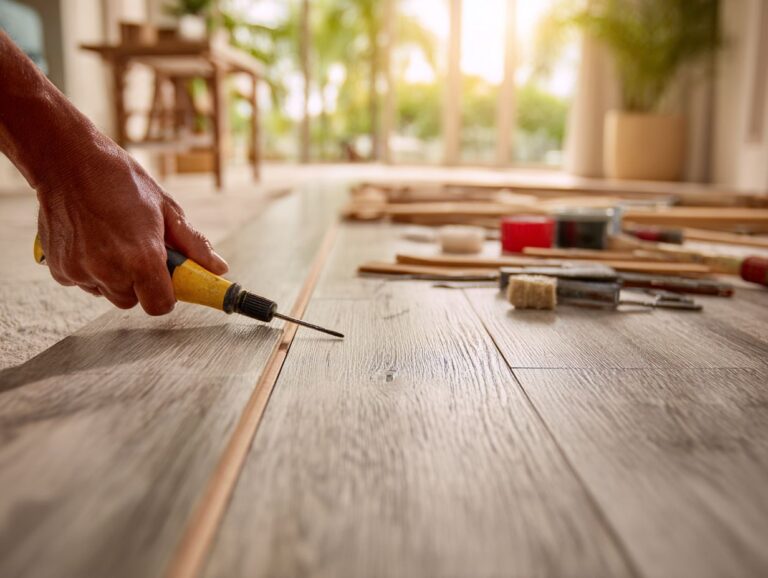
Introduction to DIY Floor Refinishing
 Ready to breathe new life into your hardwood floors? Refinishing your own floors can be a satisfying task, improving old surfaces and helping you save cash. This guide covers essential tools and steps, including sanding and applying stain, while addressing risks such as water damage. Whether you’re experienced with DIY projects or just starting out, you’ll learn important tips to get great results and keep your floors in good condition for a long time.
Key Takeaways:
What is Floor Refinishing?
Floor refinishing involves sanding down the top layer of hardwood to remove scratches and stains, followed by applying a new stain and finish.
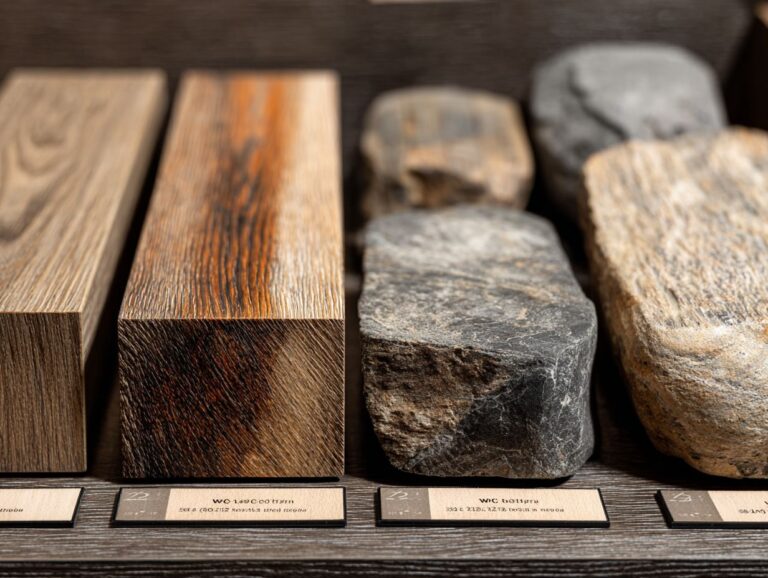
The type of finish you choose significantly affects the wood’s appearance and durability. Oil-based finishes provide a rich, warm tone and excellent wear resistance but take longer to dry.
Water-based finishes dry quickly and have less smell, making them a suitable choice for indoor projects.
To maintain the wood’s integrity, always sand lightly between coats and clean the surface with a damp cloth. This guarantees the best stickiness and an even finish.
Typically, this process can yield stunning results with proper preparation and attention to detail.
Floor Refinishing Market Data
Floor Refinishing Market Data
Global Floor Refinishing Services Market: Market Value
U.S. Wood Floor Refinishing Services Market: Market Value
The Floor Refinishing Market Data gives information about the expected growth of the floor refinishing market worldwide and in the U.S., highlighting the rising need for these services. This data highlights the market trends and the expected value growth over the next decade.
Global Floor Refinishing Services Market reveals a promising trajectory, with a market size of $4.47 billion in 2024 and projections to $7.99 billion by 2033. This growth signifies a substantial opportunity driven by trends such as increased home renovations, awareness of sustainable practices, and the demand for aesthetic improvements in residential and commercial spaces. As consumers and businesses prioritize maintenance and improvement of flooring, the market is set to expand.
- Factors contributing to this growth include technological advancements in refinishing techniques, which make the process more efficient and environmentally friendly. The rise of eco-conscious consumers also drives demand for sustainable floor refinishing solutions that minimize waste and use non-toxic finishes.
U.S. Wood Floor Refinishing Services Market shows a focused growth pattern from a market size of $0.75 billion in 2024 to $1.0 billion by 2033. Homeowners in the U.S. are using refinishing services to raise the value of their properties thanks to a stable housing market. Also, the move to fix current wood floors instead of installing new ones helps the market grow.
The data shows that businesses in the floor refinishing industry can benefit from this market growth. Businesses that use sustainable methods and meet customer demands for high-quality and environmentally-friendly services are likely to succeed as things change.
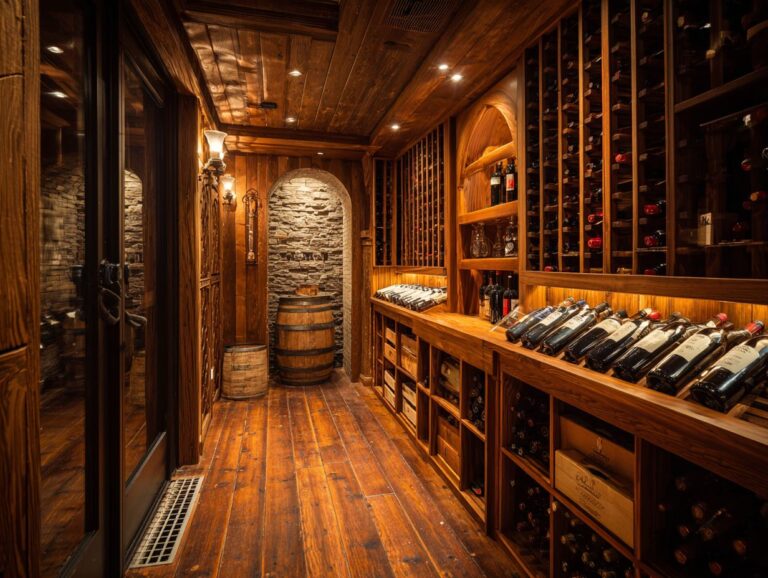
Benefits of Refinishing Your Floors
Sanding and re-coating hardwood floors can make them look better, increase your property’s worth, and extend the life of your floors.
To effectively refinish your hardwood floors, follow these steps:
- Start by removing furniture and carpets to clear the area.
- Next, use a drum sander to strip the old finish, moving slowly and evenly across the surface.
- After sanding, vacuum thoroughly and apply a stain of your choice-dark walnut or classic oak are popular options.
- Apply multiple layers of polyurethane to make the wood long-lasting.
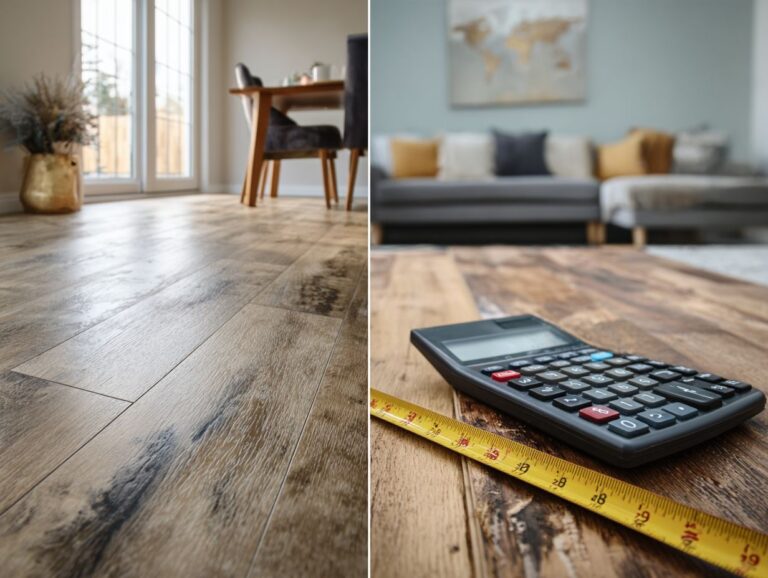
These methods refresh your floors and help you avoid the expense of replacing them, usually costing $4 to $8 per square foot.
Essential Tools for Floor Refinishing
Having the right tools is important for a successful floor refinishing job, affecting how quickly and how well you can complete the work.
Sanding Equipment
A floor sander is the primary tool for refinishing, with options like drum sanders ($50-$100 rental/day) and edge sanders ($40-$80 rental/day) available for different tasks.
Drum sanders are best for large areas, using coarse grit (40-60) for heavy material removal, while edge sanders excel at corners and edges, typically requiring fine grit (80-120) for a smooth finish.
For optimal results, start with a coarse grit and progress to finer grits, ensuring even sanding across the surface. Always wear safety goggles and a dust mask, and operate the machines in a steady, controlled manner to avoid gouging the wood.
Remember to check the sander’s weight and maneuverability, especially for tighter spaces.
Finishing Tools
Brushes and rollers are important for applying stains and top coats. Good tools help spread the material evenly.
Among the most effective finishing tools are synthetic brushes for water-based finishes and natural bristle brushes for oil-based products.
A synthetic brush priced between $10 and $15, such as the Purdy Nylox, gives a smooth coat with few streaks. For oil-based finishes, a $15-$30 natural bristle brush, such as the Wooster Silver Tip, allows for better paint pickup.
When using these brushes, apply the finish in long, even strokes and avoid overworking the material to minimize bubbles. Rollers with a fine nap are also excellent for larger surfaces, helping to achieve a consistent coat.
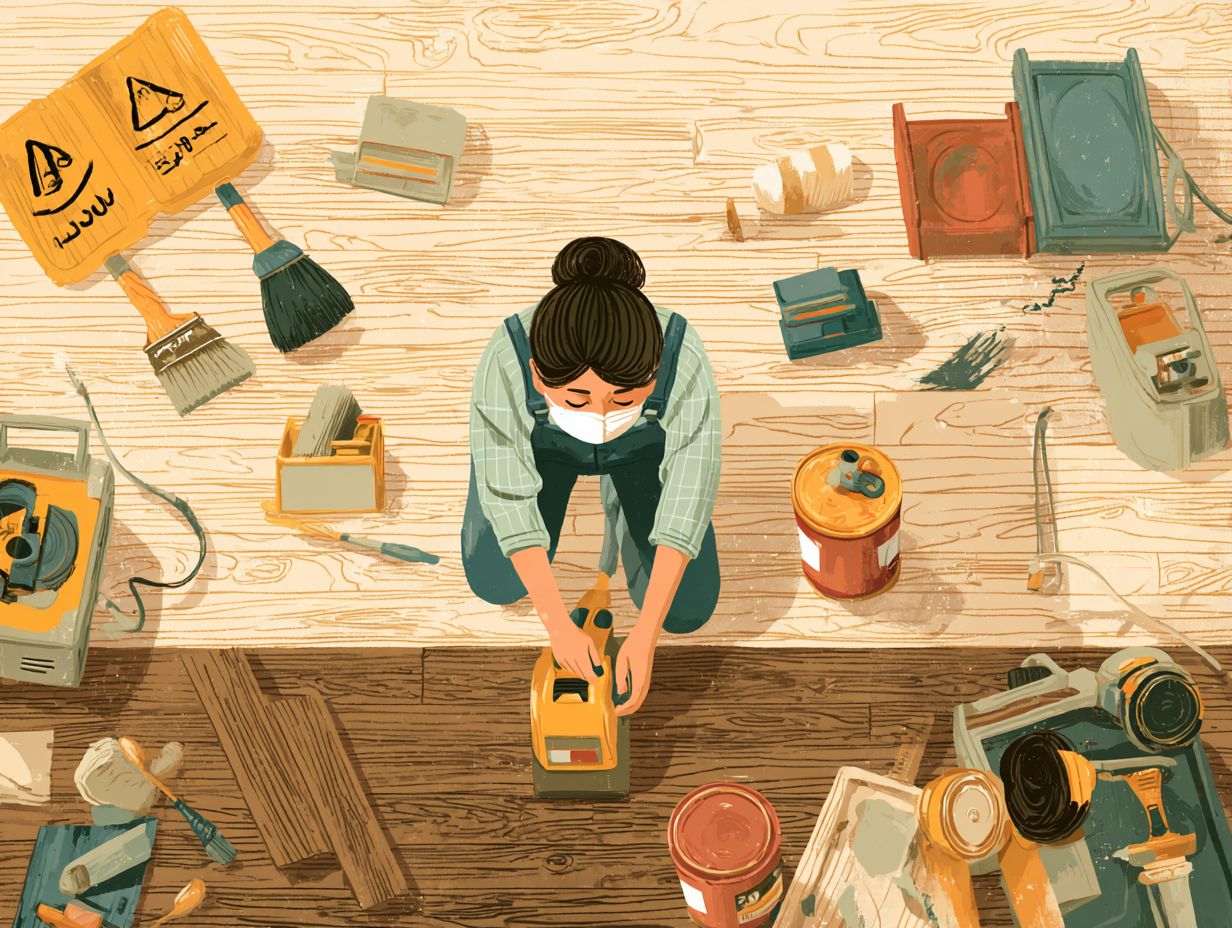
Safety Gear
Wearing safety equipment like dust masks ($10) and safety glasses ($5) is important to shield yourself from dangerous particles and fumes while refinishing.
Along with these necessary items, make sure you have a respirator ($30-$60) that protects against organic vapors and dust, and gloves ($15) to protect against chemicals.
Proper ventilation is essential; use fans to move air around and think about getting an air purifier with a HEPA filter to trap tiny particles.
Invest in a specialized vacuum cleaner designed for wood dust, such as:
- Festool CT Mini ($500)
- Shop-Vac ($100)
to keep your workspace clean and safe.
Cleaning Supplies
Using proper cleaning products, like a hardwood floor cleaner ($10-$20) and a good vacuum, helps keep your area tidy for refinishing.
Plus these, consider using a microfiber mop ($15) to trap dust effectively, and a dust mask to protect yourself from fine particles.
Before starting the sanding process, sweep the area thoroughly and vacuum to eliminate any remaining debris.
During refinishing, maintain cleanliness by frequently wiping down surfaces and keeping the workspace organized. This stops your finishes from getting dirty and makes the area less slippery, reducing the risk of falls.
Spending enough time on detailed cleaning can greatly improve your final result.
Preparation Steps Before Refinishing
Getting ready properly is the key to a successful refinishing job. This helps fix any problems before beginning the work.
Assessing the Condition of Your Floors
Before refinishing, inspect your floors for signs of wear, discoloration, or water damage, which may require special repair techniques.
Start by checking for water damage, looking for dark spots or buckling near seams.
Minor scratches can often be repaired with a wood filler or matching stain; simply apply the product and blend it with a fine sanding sponge.
For deeper issues, like large dents, you may use a steam iron to raise the wood fibers-just place a damp cloth over the area before steaming.
Always apply a protective finish after repairs to make them last longer.
Clearing the Area
Clearing the area is essential for both safety and efficiency; remove all furniture and cover vents to avoid dust contamination.
- Start by disassembling large furniture pieces, using tools like a screwdriver or wrench for easy transport. Label each item with where it was removed to make putting it back together easier later.
For temporary storage, consider using sturdy boxes or storage bins; these can be stacked in a corner. Use tarps to cover any remaining items that you cannot move.
This helps keep dust away and maintain a tidy workspace while you work on your project.
Choosing the Right Finish
Selecting the right finish, whether stain or polyurethane, significantly impacts the final look and durability of your refinished floors.
Oil-based finishes usually provide a deep amber color and require about 8-12 hours to dry, which makes them good for bigger projects. They’re more durable but can yellow over time.
In contrast, water-based finishes dry in 2-4 hours, providing a clear, non-yellowing surface ideal for lighter woods. While oil-based finishes are often less expensive initially, water-based options can save on labor costs due to quicker drying.
Consider your specific project needs; if time is of the essence, a water-based finish might be more suitable.
The Refinishing Process
The process of refinishing involves different steps, each contributing to a beautiful and durable final finish for hardwood floors.
Sanding the Floors
Sanding is very important in refinishing; selecting the right grit size (coarse grit for rough sanding and fine grit for finishing) creates a smooth surface.
- Start with 40 or 60 grit sandpaper to remove old finish and imperfections. Use a belt sander for large areas, ensuring even pressure to avoid gouging.
- For corners and detailed spots, switch to a palm sander with an 80 grit paper. Progress to 120 grit for a smoother finish and complete the process with a 220 grit for final smoothing.
Always sand with the grain to prevent scratches. Wear a dust mask and goggles to protect yourself from fine dust particles.
Applying the Stain
Applying stain requires careful mixing techniques and application methods to highlight the natural wood grain while achieving an even finish.
- Start by mixing the stain thoroughly in a container, ensuring even pigment distribution. Test the stain on a small, inconspicuous area of the wood to check the color and absorption.
- When applying, use a high-quality brush or clean rag, working in the direction of the grain for a smooth finish. Remember to apply evenly, avoiding puddles, and let it sit for a few minutes before wiping off excess stain with a clean cloth.
- For deeper color, consider applying a second coat after the first has dried completely.
Applying the Finish
Applying a protective finish such as polyurethane seals and protects your newly refinished floors, significantly enhancing their durability.
Before putting on the final coat, make sure the surface is clean and without any dust, as this could damage the outcome. Use a high-quality brush or roller for even application; a foam applicator can prevent bubbles.
For best results, apply multiple thin coats, allowing each to dry completely before the next (typically 4-6 hours). If you’re using water-based polyurethane, wait 24 hours before light foot traffic and a week for heavy traffic.
Consider using a sanding screen between coats for a smooth finish, which improves adhesion and creates a professional look.
Drying Time and Curing
Knowing how long floors need to dry and harden is important to make sure your refinished floors look good and last a long time.
Oil-based finishes typically need around 24 hours to dry and can take up to a week to fully cure, which makes them suitable for areas with less foot traffic during this time.
Water-based finishes dry more quickly, usually within 2-4 hours, but can take around 30 days to cure fully. During curing, avoid placing rugs or heavy furniture on the floors to prevent indentations.
To keep your floors clean and scratch-free, place felt pads under the furniture legs and walk on them with clean shoes that have soft soles.
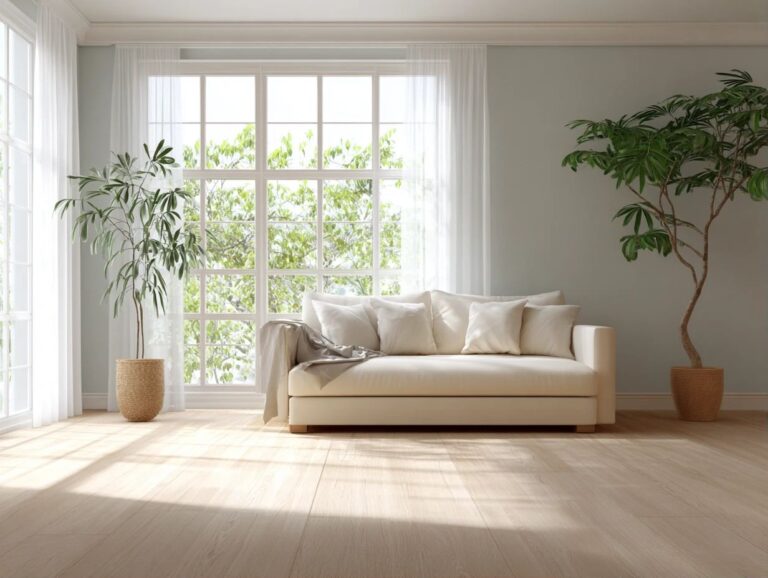
Post-Refinishing Care
Looking after your newly refinished floors helps them look nice and last a long time. You need to clean them regularly and use the right methods.
Cleaning and Maintenance Tips
Regular cleaning with a hardwood floor cleaner and adopting a proper maintenance routine can significantly extend the life of your refinished floors.
To maintain your floors effectively, clean them weekly using a pH-balanced hardwood floor cleaner. Popular options include Bona Hardwood Floor Cleaner and Method Squirt + Mop.
Place felt pads under furniture to prevent scratches and minimize wear. To clean more thoroughly, use a microfiber mop once a month.
To prevent damage, keep indoor humidity between 30-50% to stop wood from expanding. Using these methods will keep your floors in great condition and make them last longer.
When to Refinish Again
It’s important to know when your floors need refinishing; signs include noticeable wear, scratches, and color changes that don’t go away with cleaning.
Consider refinishing if the finish appears dull or if water starts to seep into the wood. Typically, hardwood floors should be refinished every 5 to 7 years, though areas with a lot of foot traffic might require it earlier.
To assess the floor’s condition, do a simple test: drop a few drops of water on the surface. If the water beads up, the finish is still effective; if it soaks in, it’s time to refinish.
Keeping track of your floor’s age and wear will help maintain its beauty and longevity.
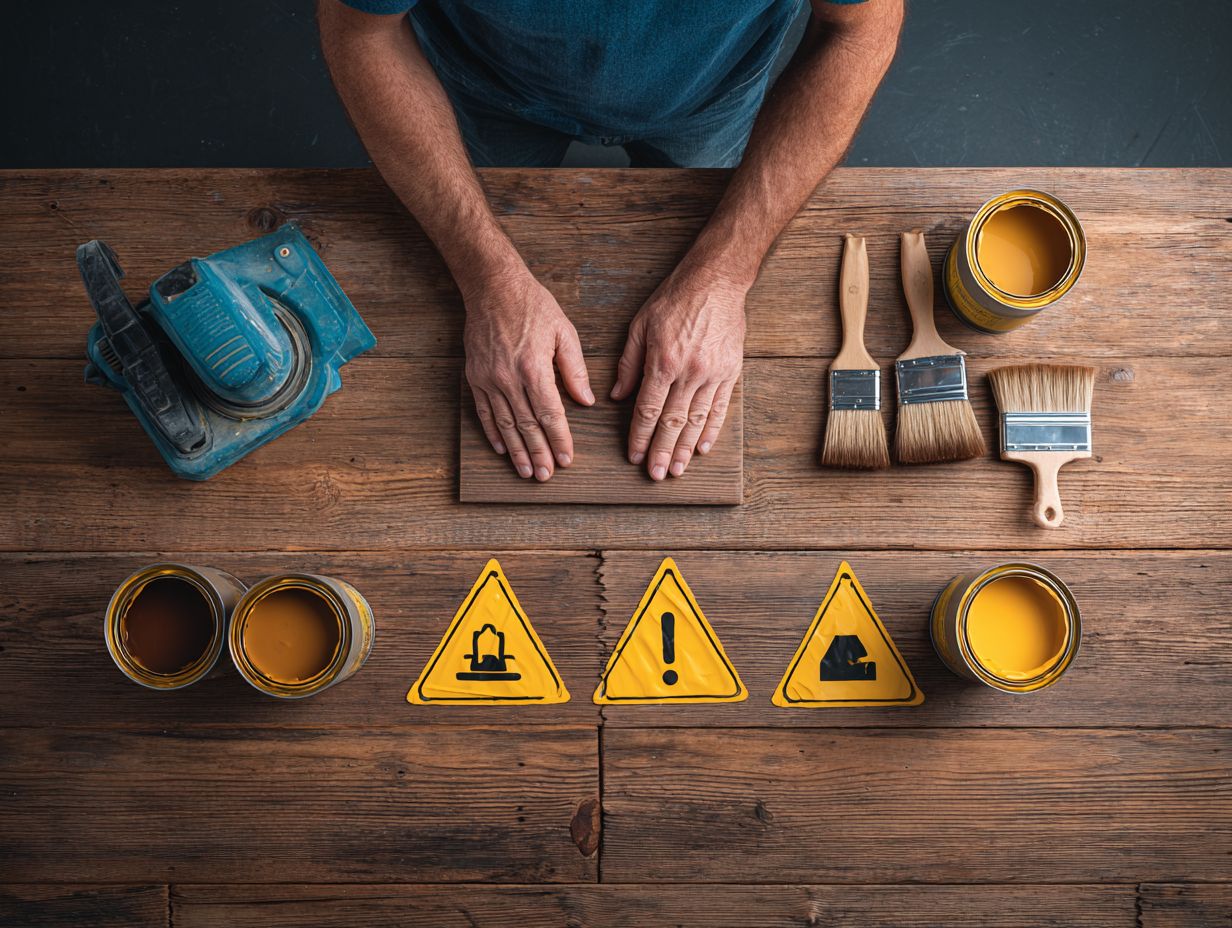
Risks and Considerations
Being aware of potential risks and important factors is key to a successful floor refinishing project, allowing DIYers to prevent costly mistakes.
Common Mistakes to Avoid
Avoid common mistakes such as skipping sanding stages or choosing the wrong stain, which can lead to poor results and increased costs.
To make sure you refinish successfully, avoid these mistakes:
- Neglecting to clean the surface beforehand can trap dirt and grease, so carefully wipe down the piece with a degreaser.
- Failing to test your stain on a small section can lead to unexpected colors; always choose a hidden area to gauge the final outcome.
- Rushing the drying time compromises the finish’s integrity, so adhere strictly to manufacturer’s guidelines.
By carefully preparing your surface and working slowly, you’ll get a smoother, more professional finish.
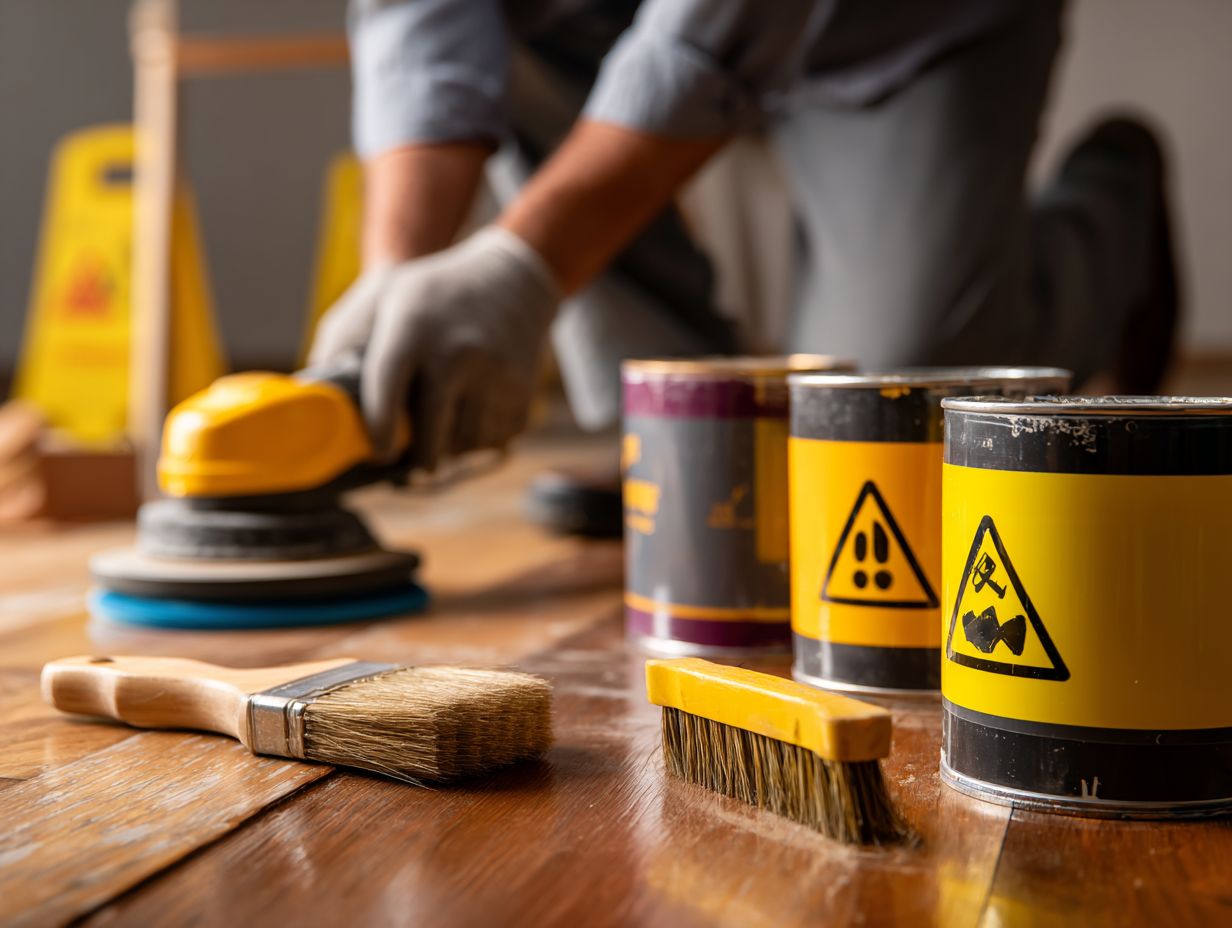
Health and Safety Risks
Health and safety risks, including exposure to dust and fumes, can be mitigated with proper ventilation and personal protective equipment.
To keep the work area safe during refinishing, follow these safety steps.
- Always wear a respirator rated for particulate and organic vapors, along with goggles to shield your eyes from dust and chemicals.
- Use gloves made from nitrile or latex to protect your hands.
- Set up your workspace in a well-ventilated area, ideally outdoors or near open windows.
- If indoors, use fans to improve airflow and reduce harmful concentrations of fumes.
Following these steps greatly reduces the chance of breathing problems and skin rashes.
Environmental Considerations
When refinishing floors, consider environmental impacts such as choosing low-VOC finishes to promote a healthier indoor air quality.
To find sustainable options, start by researching brands like Benjamin Moore’s Natura or Behr’s Premium Plus, which offer low-VOC and zero-VOC products.
You can also look into online resources and certifications like the Green Seal or the Forest Stewardship Council (FSC) for confirmed sustainable materials.
Consider using natural oils or water-based products that minimize harmful emissions. By prioritizing these eco-friendly choices, you can achieve a beautiful finish while ensuring a safer environment for your family.
Frequently Asked Questions
What tools do I need for DIY floor refinishing?
For DIY floor refinishing, you will need a drum sander, an edge sander, a buffer, sandpaper in various grits, a vacuum, a scraper, a putty knife, and a tack cloth.
What are the steps involved in DIY floor refinishing?
The first step is to prepare the room by removing all furniture and covering any vents or doorways. Next, sand the floor using a drum sander, followed by the edges with an edge sander. Then, use a buffer to smooth out the floor. After vacuuming up the dust, apply wood filler and stain if desired. Lastly, apply a coat of polyurethane for protection.
Are there any risks involved in DIY floor refinishing?
Yes, there are risks involved in DIY floor refinishing, such as inhaling harmful fumes from the stain and polyurethane, and potential injuries from using power tools. It is important to wear proper protective gear, work in a well-ventilated area, and follow safety precautions when using the tools.
Can I refinish all types of floors using the same tools and steps?
The tools and steps for DIY floor refinishing may vary depending on the type of flooring. For example, hardwood floors may require a different sanding technique than laminate floors. It is important to research and follow the specific steps for your particular type of flooring.
What are the benefits of DIY floor refinishing?
DIY floor refinishing can save you money as hiring a professional can be costly. It also gives you the freedom to choose the type of stain and finish you want for your floors. It can be a fulfilling experience and an excellent method to refresh the appearance of your home.
How long does DIY floor refinishing typically take?
The time it takes to refinish a floor will vary depending on the size of the room, the type of flooring, and the condition of the floors. On average, it can take anywhere from 2-3 days, including drying time for the stain and polyurethane. It is important to plan and set aside enough time for the project.